Galleria Romanelli, Advanced Mold Making
Once a sculpture is completed in clay, it is still temporary, the clay will eventually lose water overtime and the clay will shrink and crack, especially if an armature was used in its construction. If you want to preserve a sculpture in its original form for an extended amount of time, it becomes necessary to make a mold of your sculpture. There are many materials and methods for making a mold, but for this mold we would be using silicone, rubber and plaster.
Sometimes if a series of similar sculptures is going to be made, the original clay version can be recovered and fixed and reused for a different work If you are careful with the mold making process.
The first step is to start with the pouring of the silicone. It is to be started from the highest point of the sculpture and then gravity will help carry the silicone down the length of the sculpture. The silicone is very thick and takes a while to slide down the sculpture. you can also use a brush to help move the silicone around when needed, but be careful to only brush lightly as the brush bristles may scratch the clay underneath if brushed to hard.
Here i brush lightly to help move some of the silicone over the surface of the sculpture.
It is important to look for and pop air bubbles in cracks or other features in the sculpture as they will cause issues in later versions of the mold further down the line. Wherever an air bubble is left will cause a bump on any future cast from the mold, this can multiply future work for yourself so it is best to pop bubbles whenever you see them.
Adding the next layer of silicone. This is very time sensitive material and it is important to work quickly but thoroughly. If you take too long to activate it with the catalyst it will harden.
The center line for the two halves of the mold is chosen and a lip is built up in silicone for cutting the mold in half. This lip will be the part of the mold under the most stress so it needs to be thick enough so you can cut down the center without tearing.
A clay divider is placed to keep separate the two plaster halves of the mold. Plaster plugs placed in overhangs under the wings that are washed with clay so that they will be removable when the mold is opened. This step is very important.
Building up plaster half of the mold. It is important to move quickly when working with plaster.
The clay divider is removed and a clay wash is applied to the plaster where the two sides will meet. The purpose of the clay wash is to keep the two sides of the mold from sticking together.
The other side completed, the meeting point is cleaned up to make it easier to open the mold later.
The next day, with the plaster shell dried the mold is opened.
The silicone is cut in two, the original clay remains inside. If you wanted to reuse the clay scuplture later this is still possible at this point, but the cut would have to be repaired later.
The clay sculpture removed, and one side of the completed mold. This shape was somewhat difficult to mold, but you should never limit your sculpture to easier shapes, find the shape that you want, and work to make the as good as possible.
Once the two sides are cleaned, plaster is coated on the inside of the two halves, it is important to work the plaster into all the details of the mold with your hands to try and remove any air bubbles.
The sides of the mold are filled with plaster, leaving the center clear to be poured to seal the two halves together.
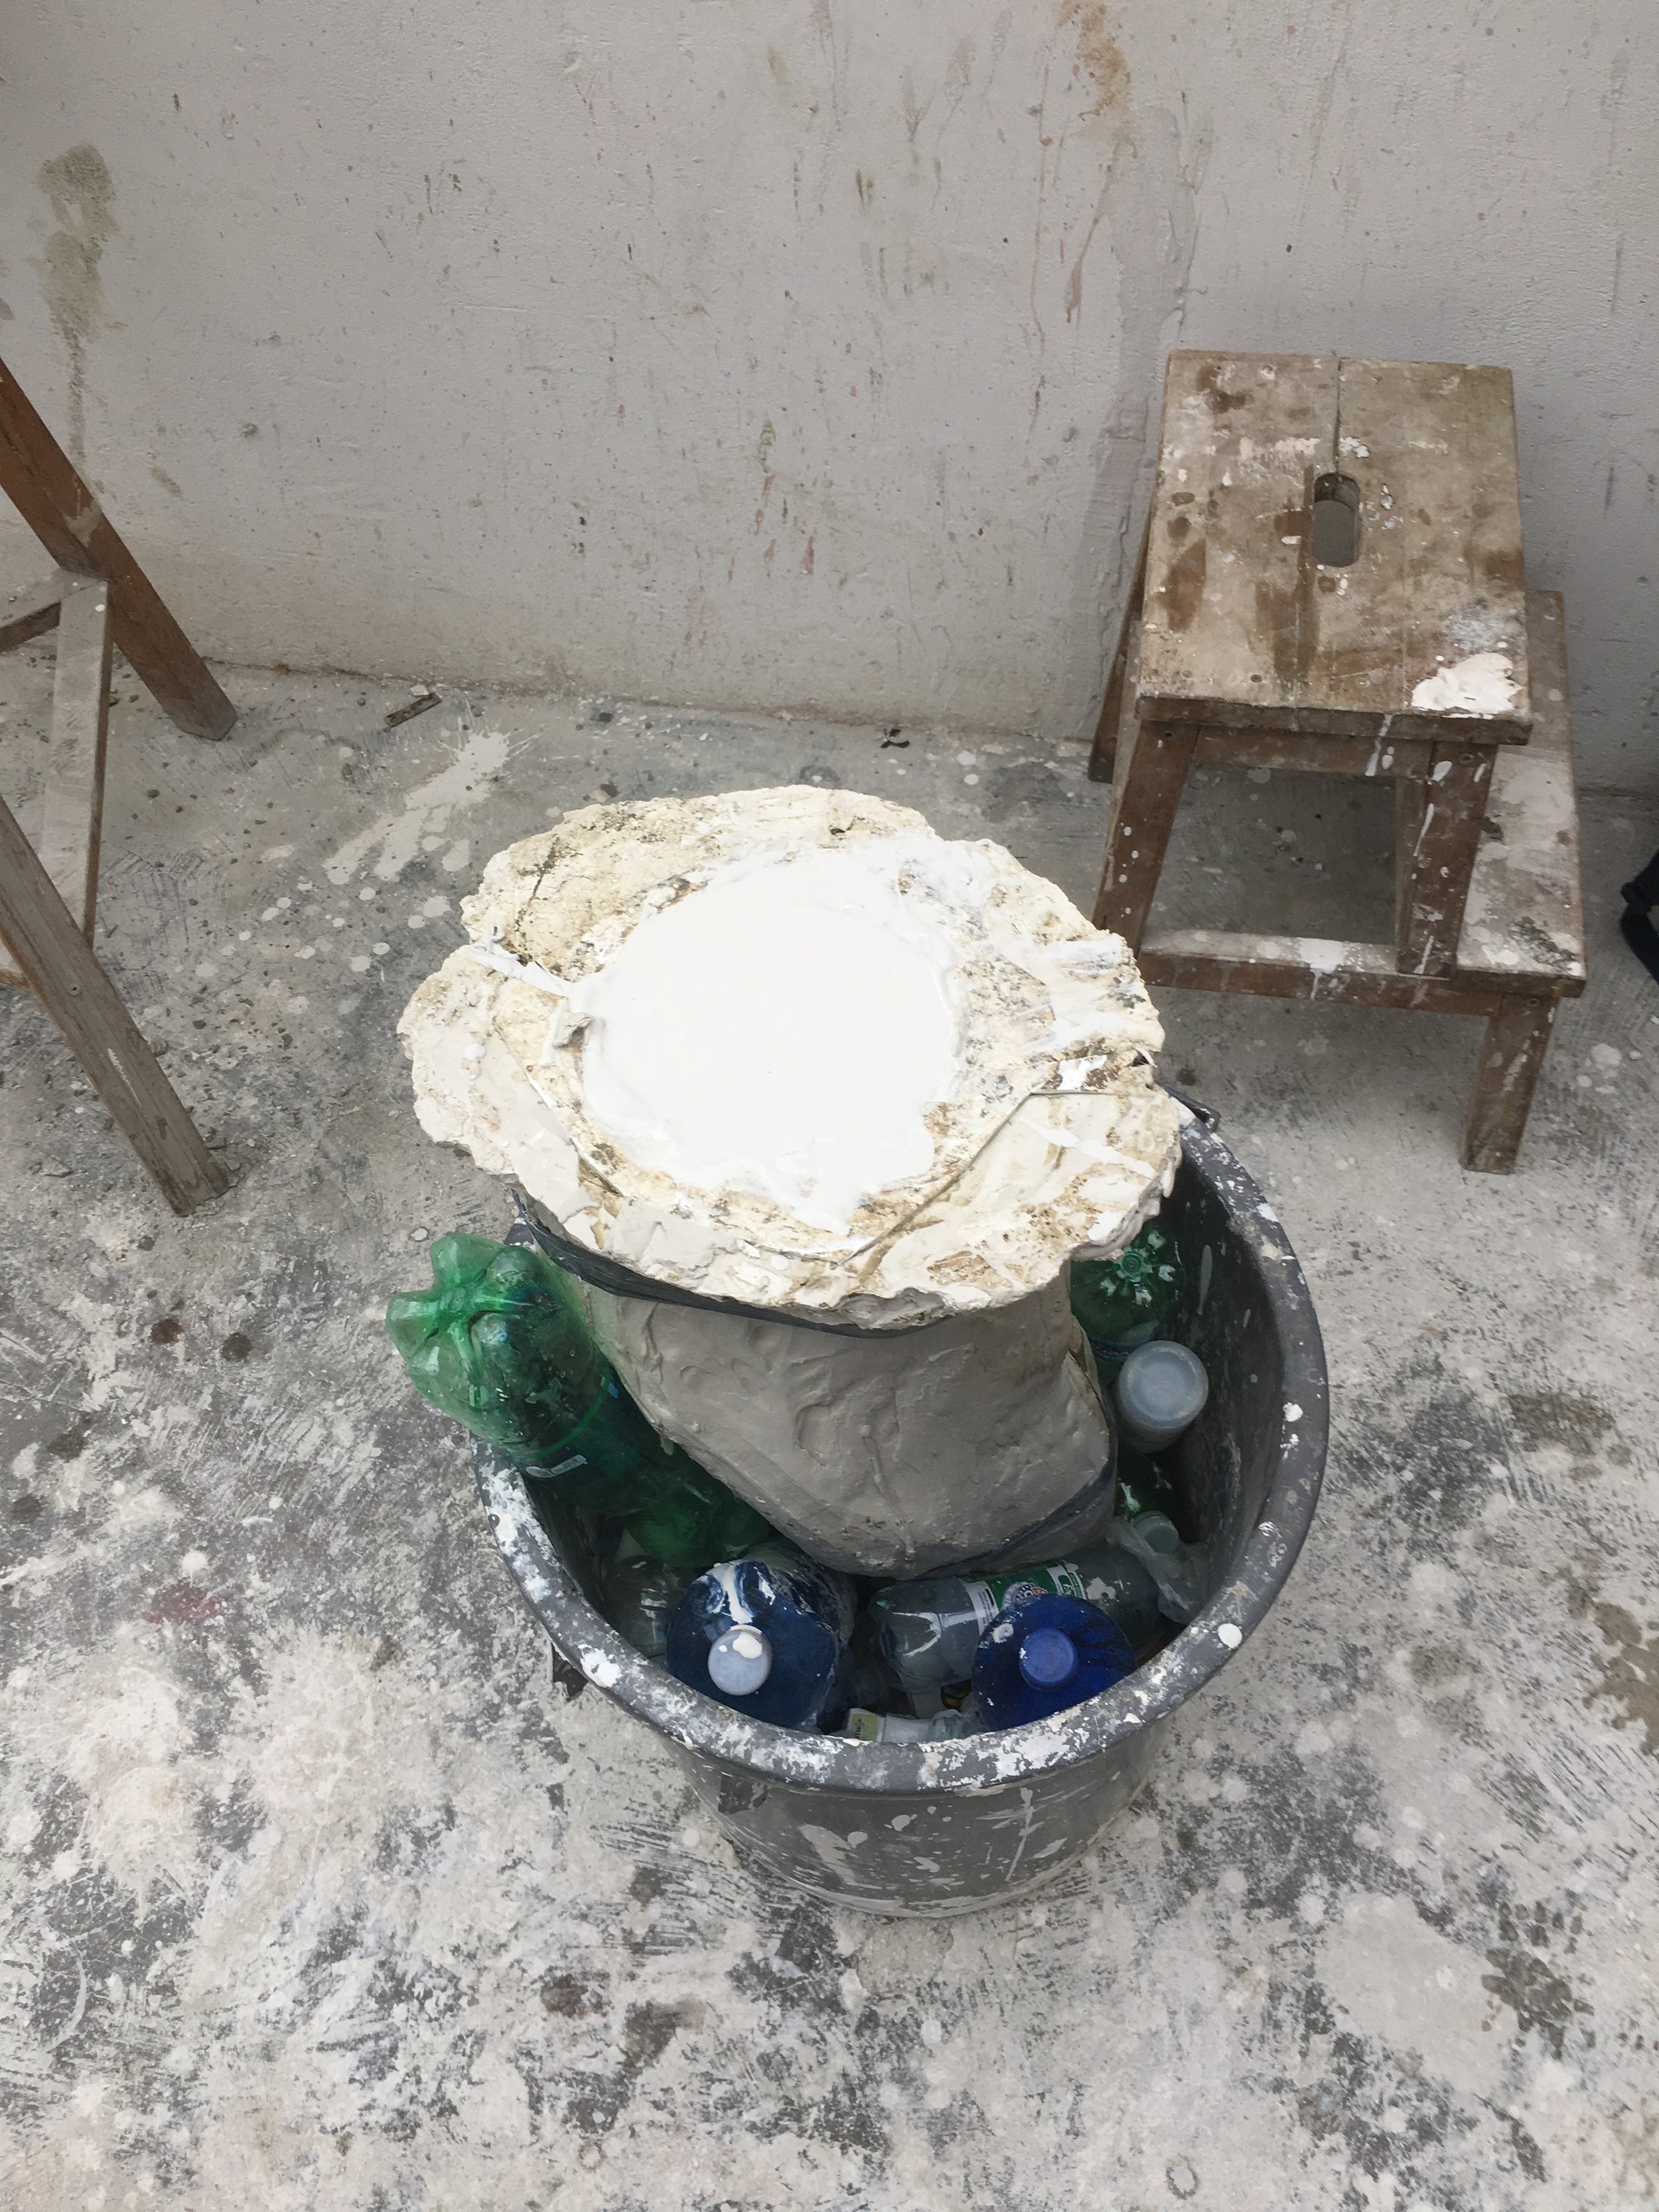
The two halves of the mold are secured together with ties, and placed upside down. plaster is then poured in the center to seal the two sections together. It is then shaken to try and remove any remaining air bubbles. It is left to cure over the weekend.
Once the plaster is cured the two sides are split open where the clay wash meets.
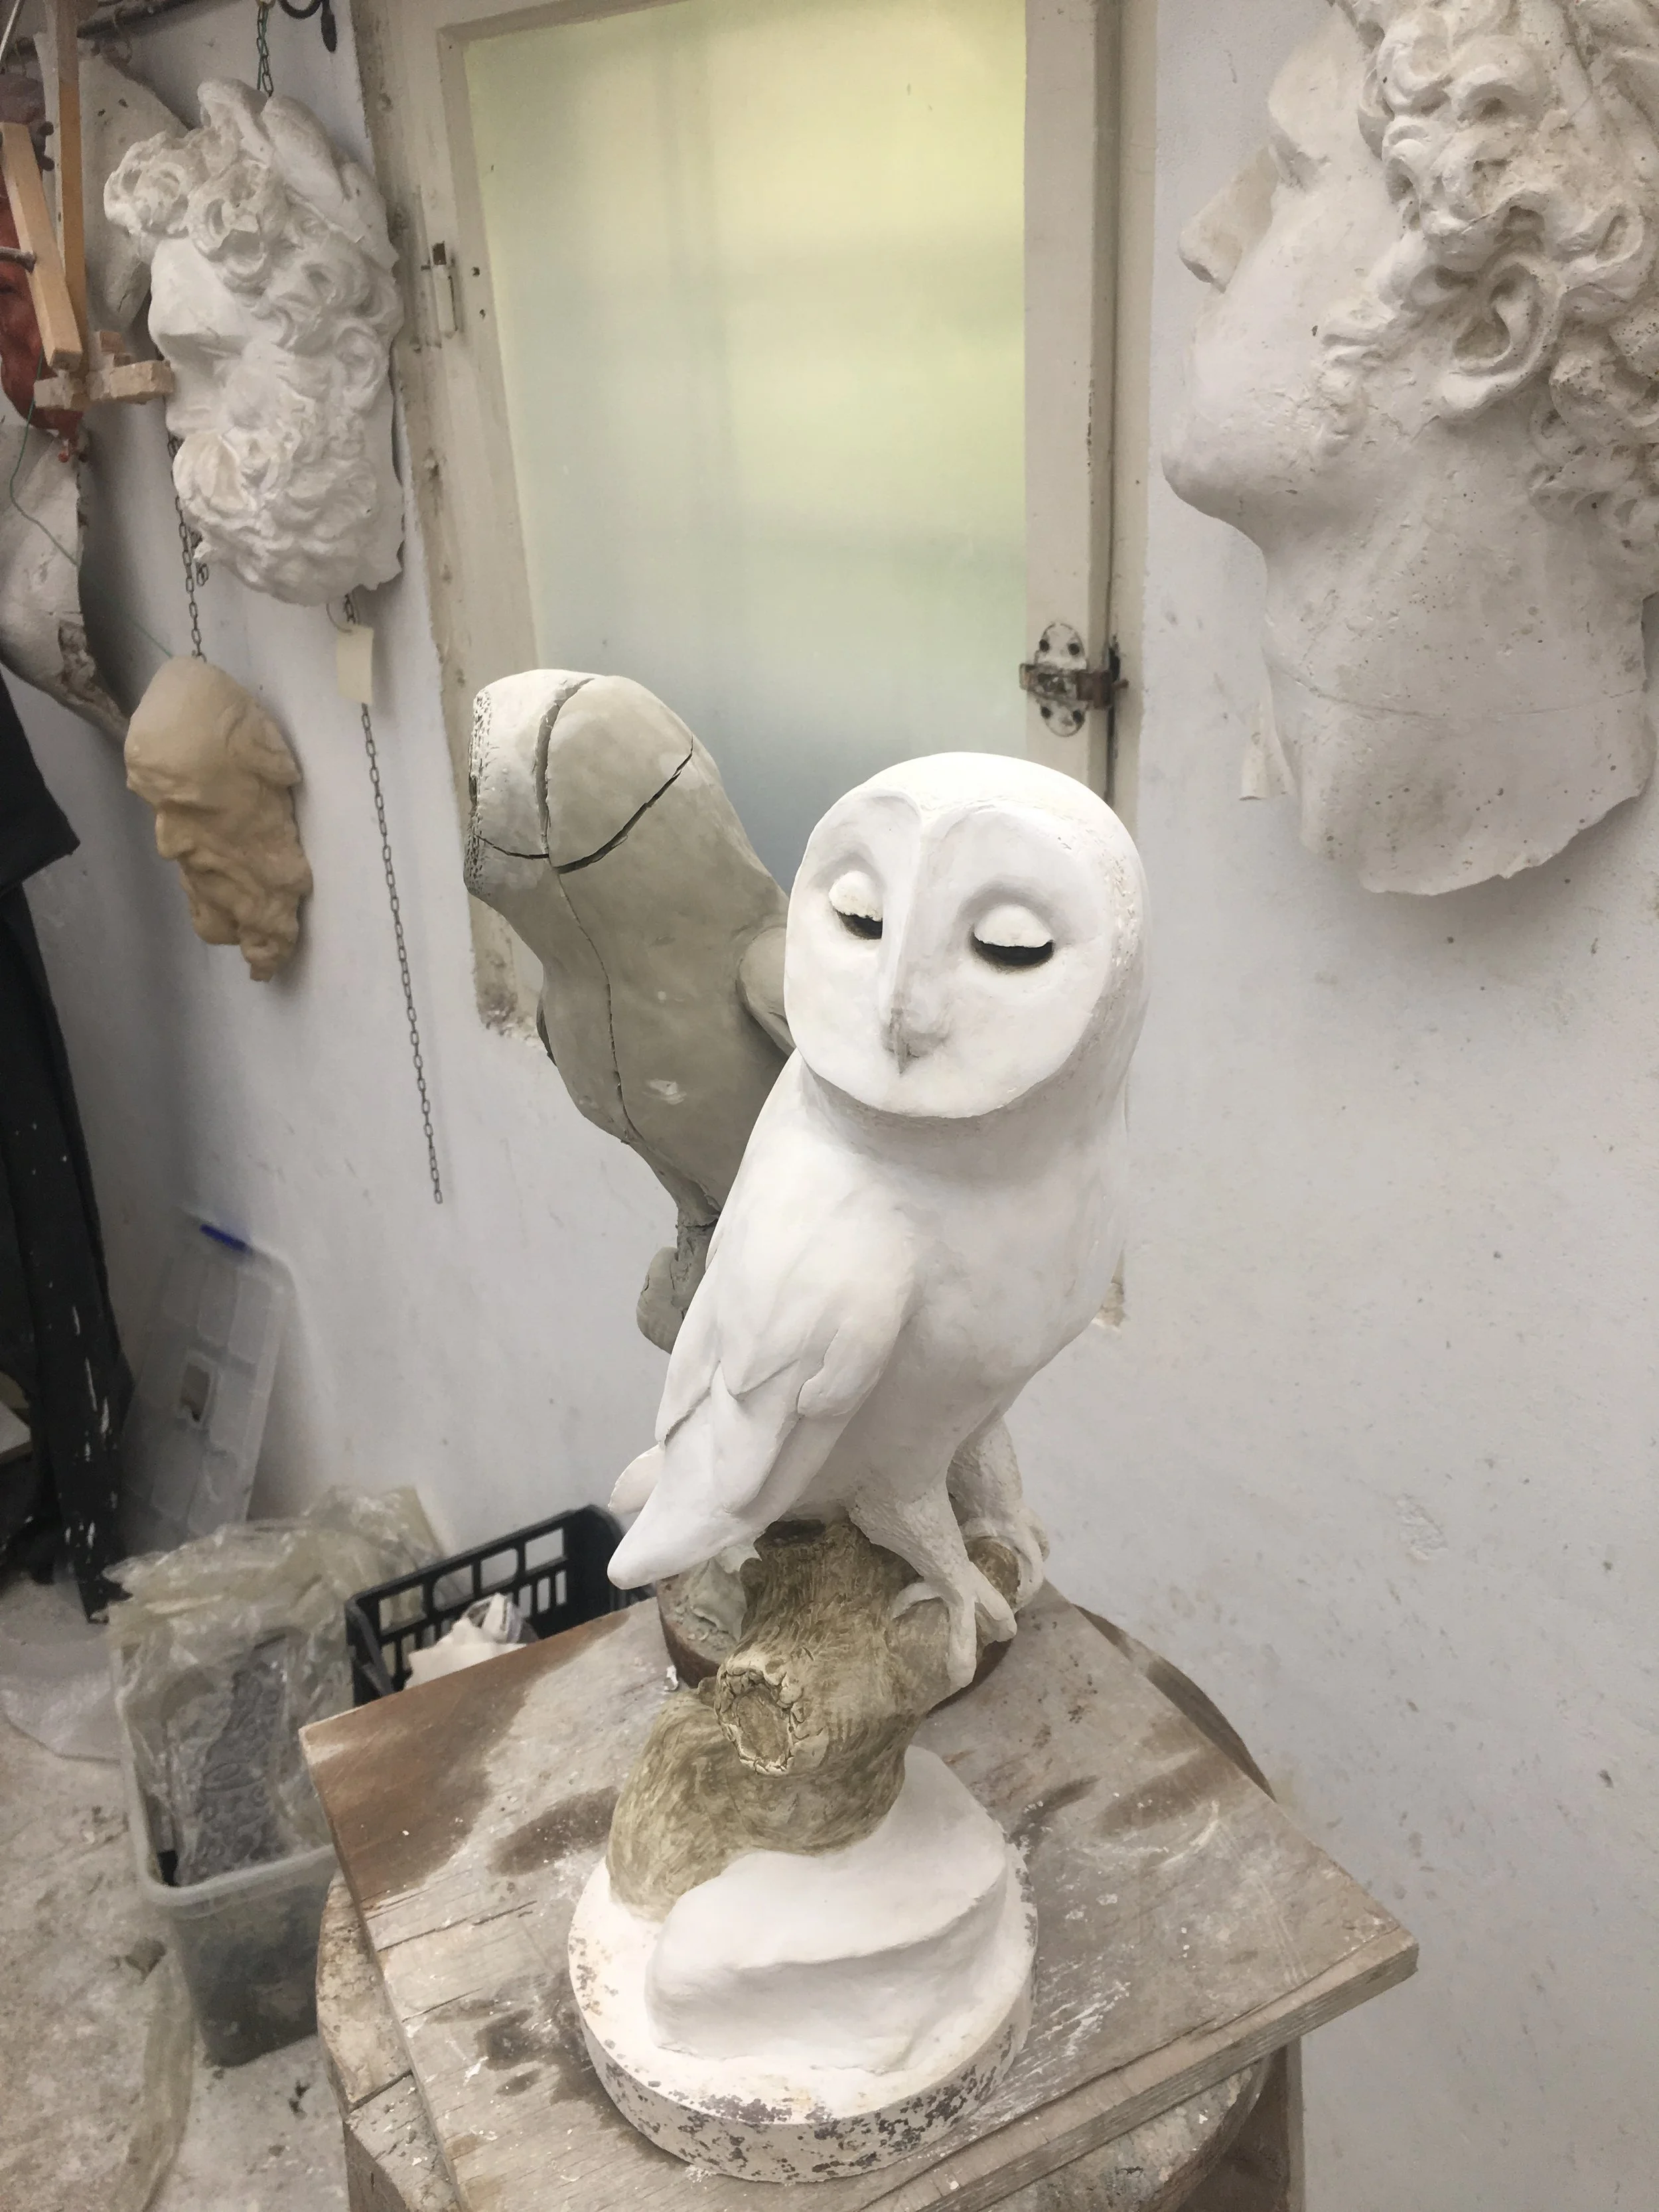
Plaster cast is removed from the mold, and ready for working.


