Galleria Romanelli, Advanced Sculpture
This summer I would return again to Galleria Romanelli for working on an advanced sculpture. The goal of this project was to work on a sculpture from the start of an idea all the way through making a mold and finally getting the sculpture bronzed. After walking around the studio and seeing the various sculptures of birds there I decided I wanted to work on an Owl sculpture. Apart from just liking owls in general, I wanted to do a sculpture of the owl because I enjoy ancient mythology, and the owl was sacred to Athena the patron goddess of the Craftsmen.
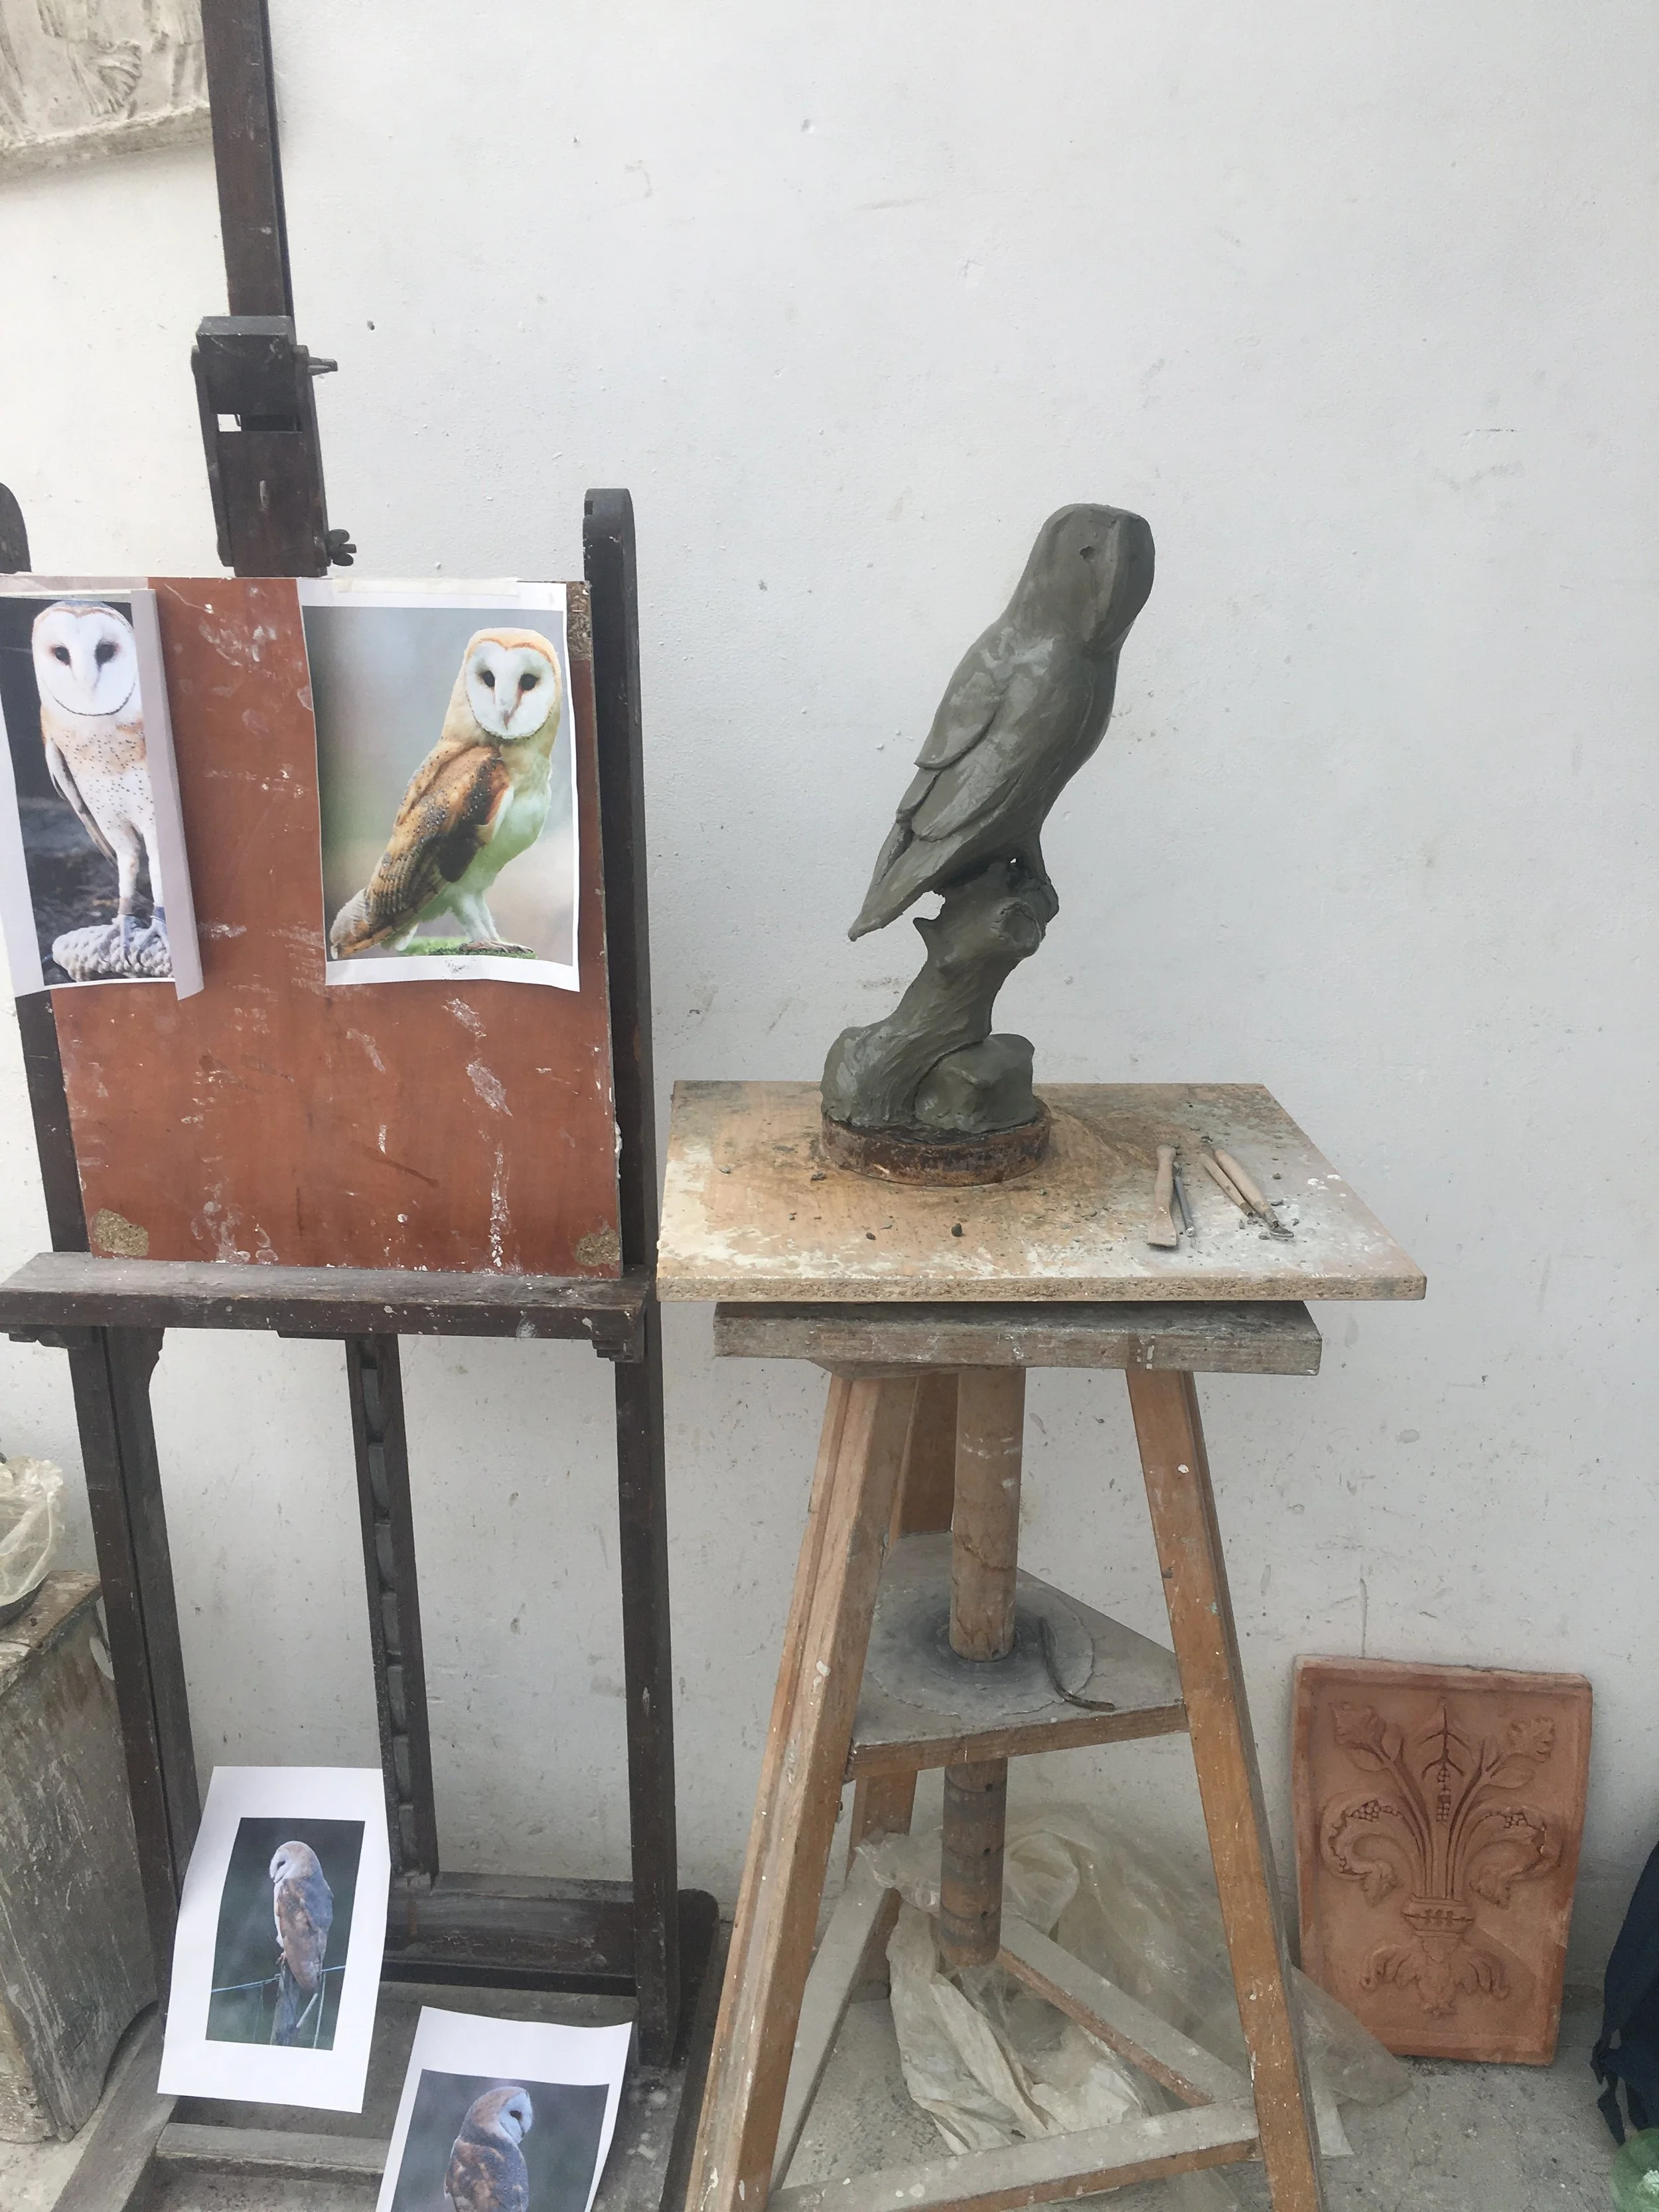
We would use pictures of owls as models to base the sight size technique. The picture was substituted for the plaster models I used last year. This is more complicated than using a plaster model to copy, as you have to visualize things that can not be seen in the picture. The next step was to create a heavier duty armature then the wire ones I used last year. for this step we would use steel re-bar and then weld it to a steel base. This was my first experience with welding and It was very helpful. The steel re-bar armature was very sturdy and I had not problems with the clay overloading the armeture at all.

The base of the sculpture with steel re-bar armature.
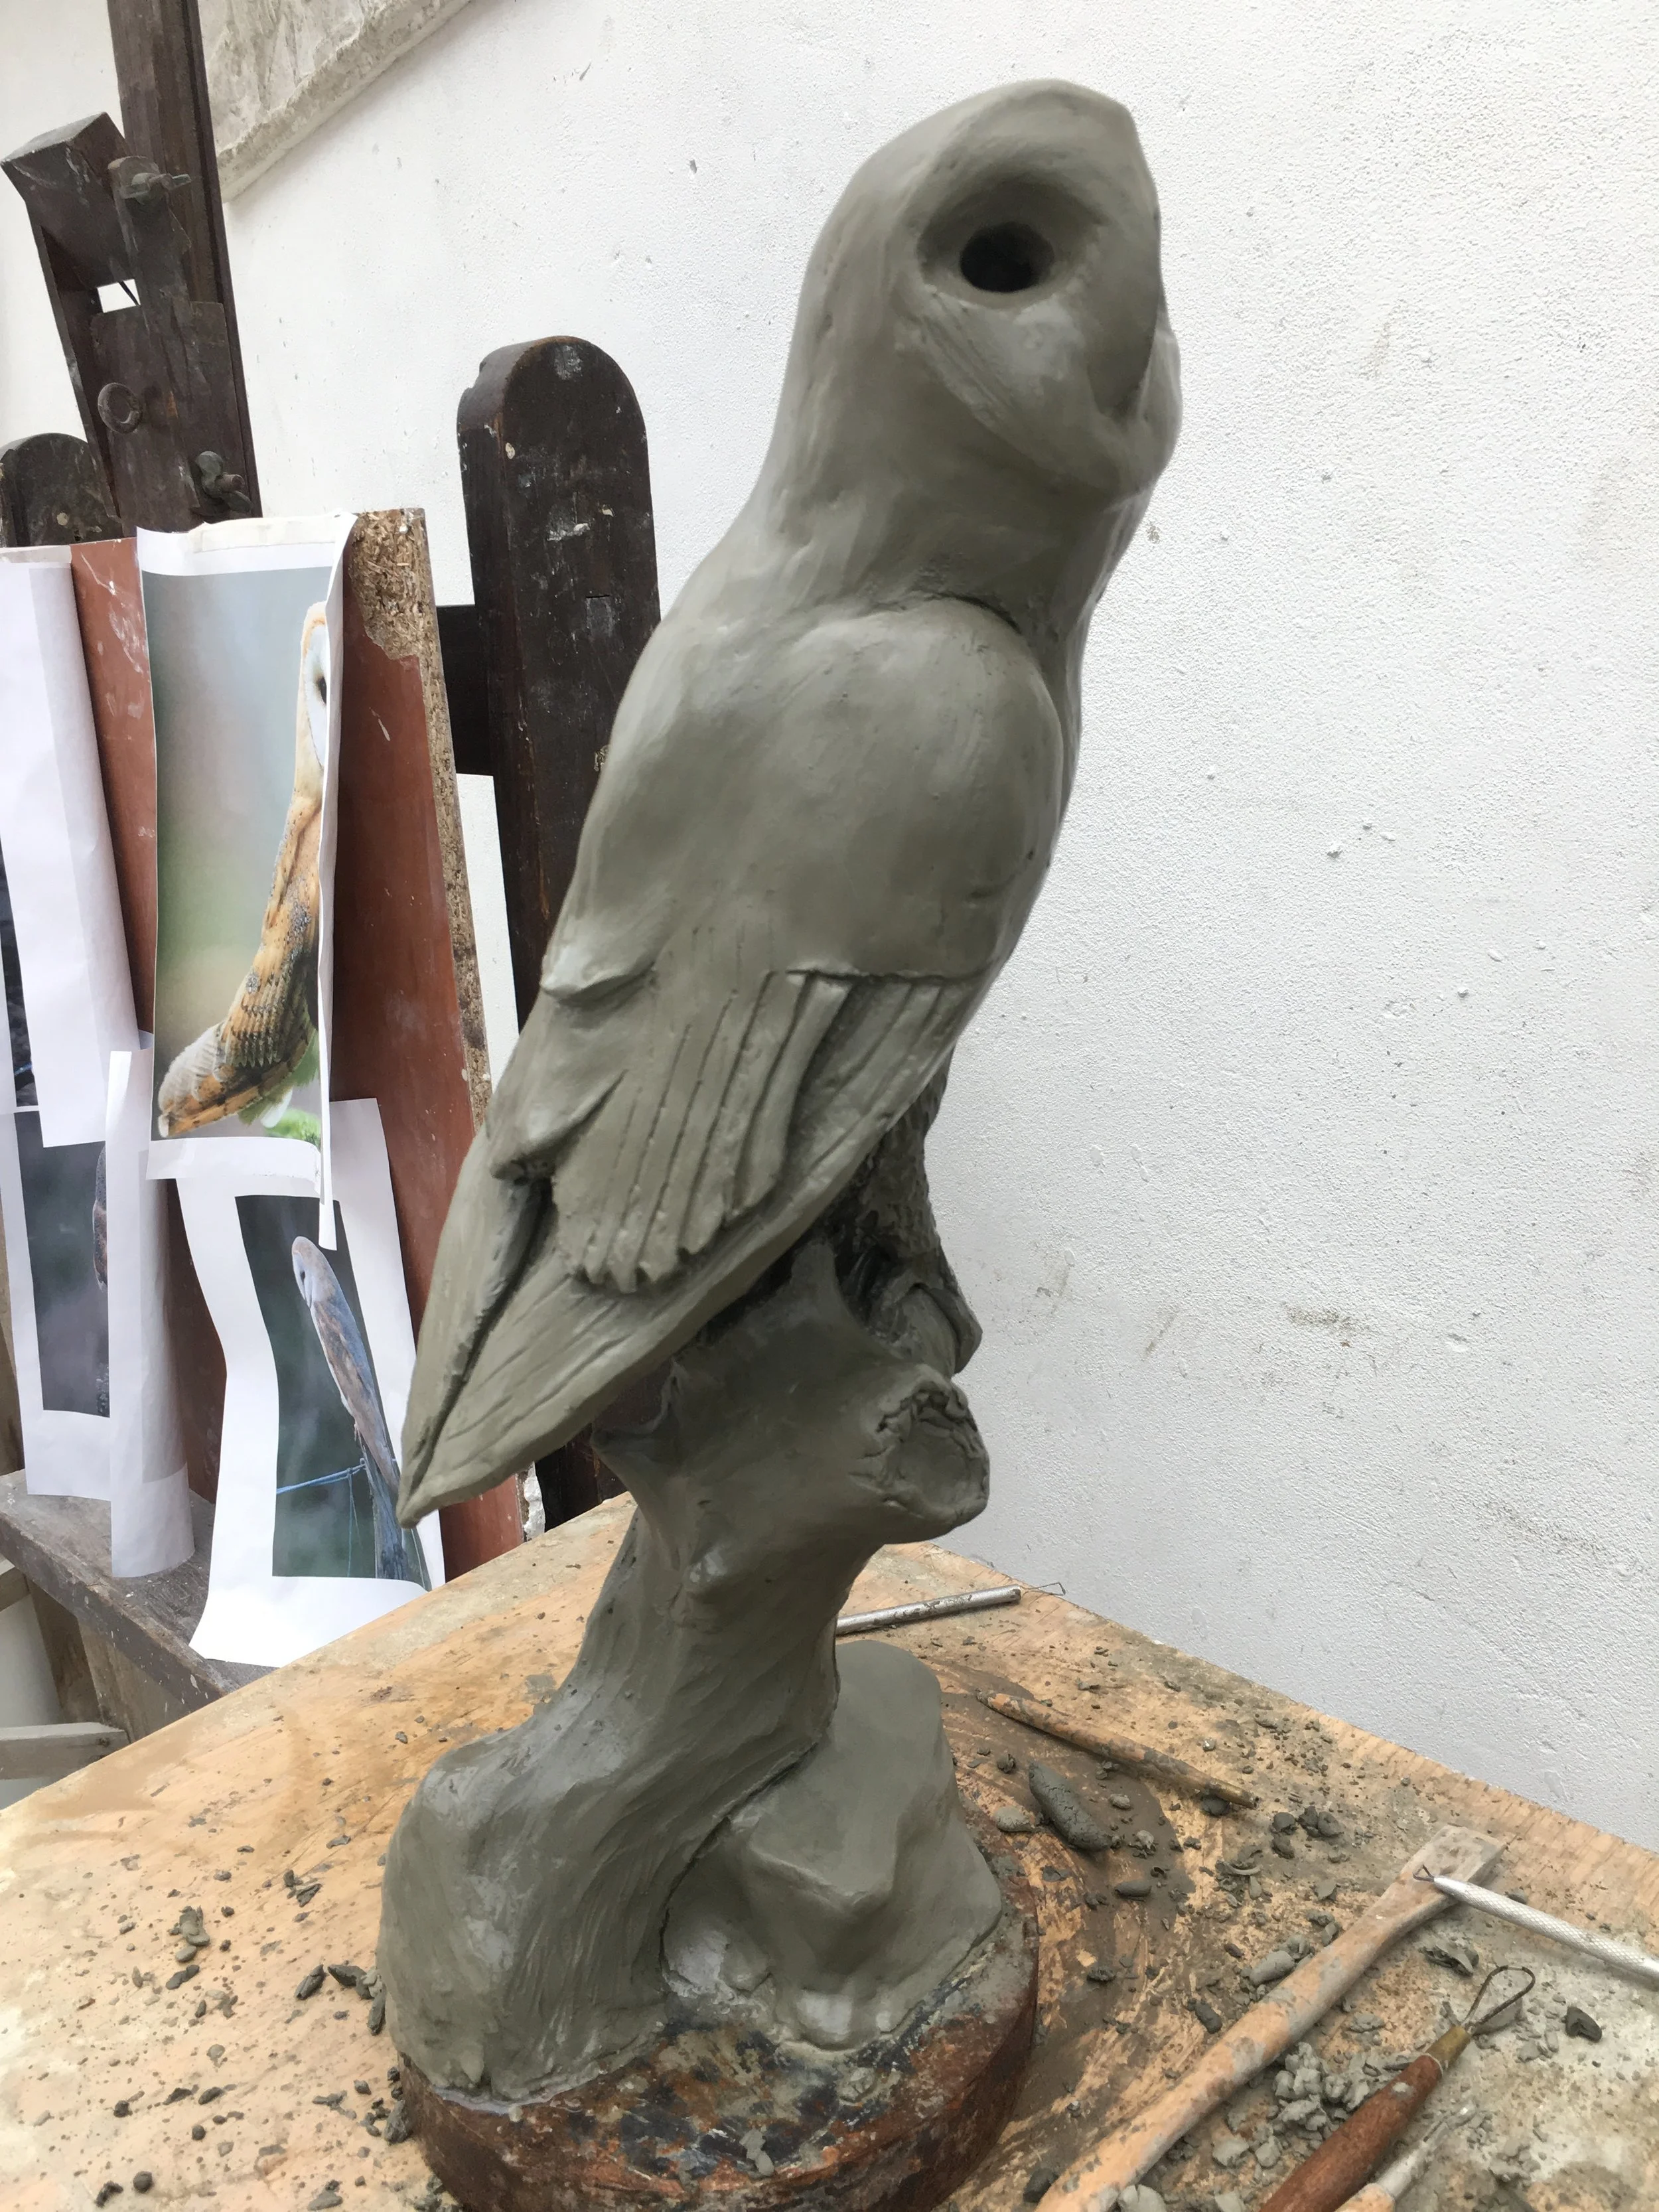
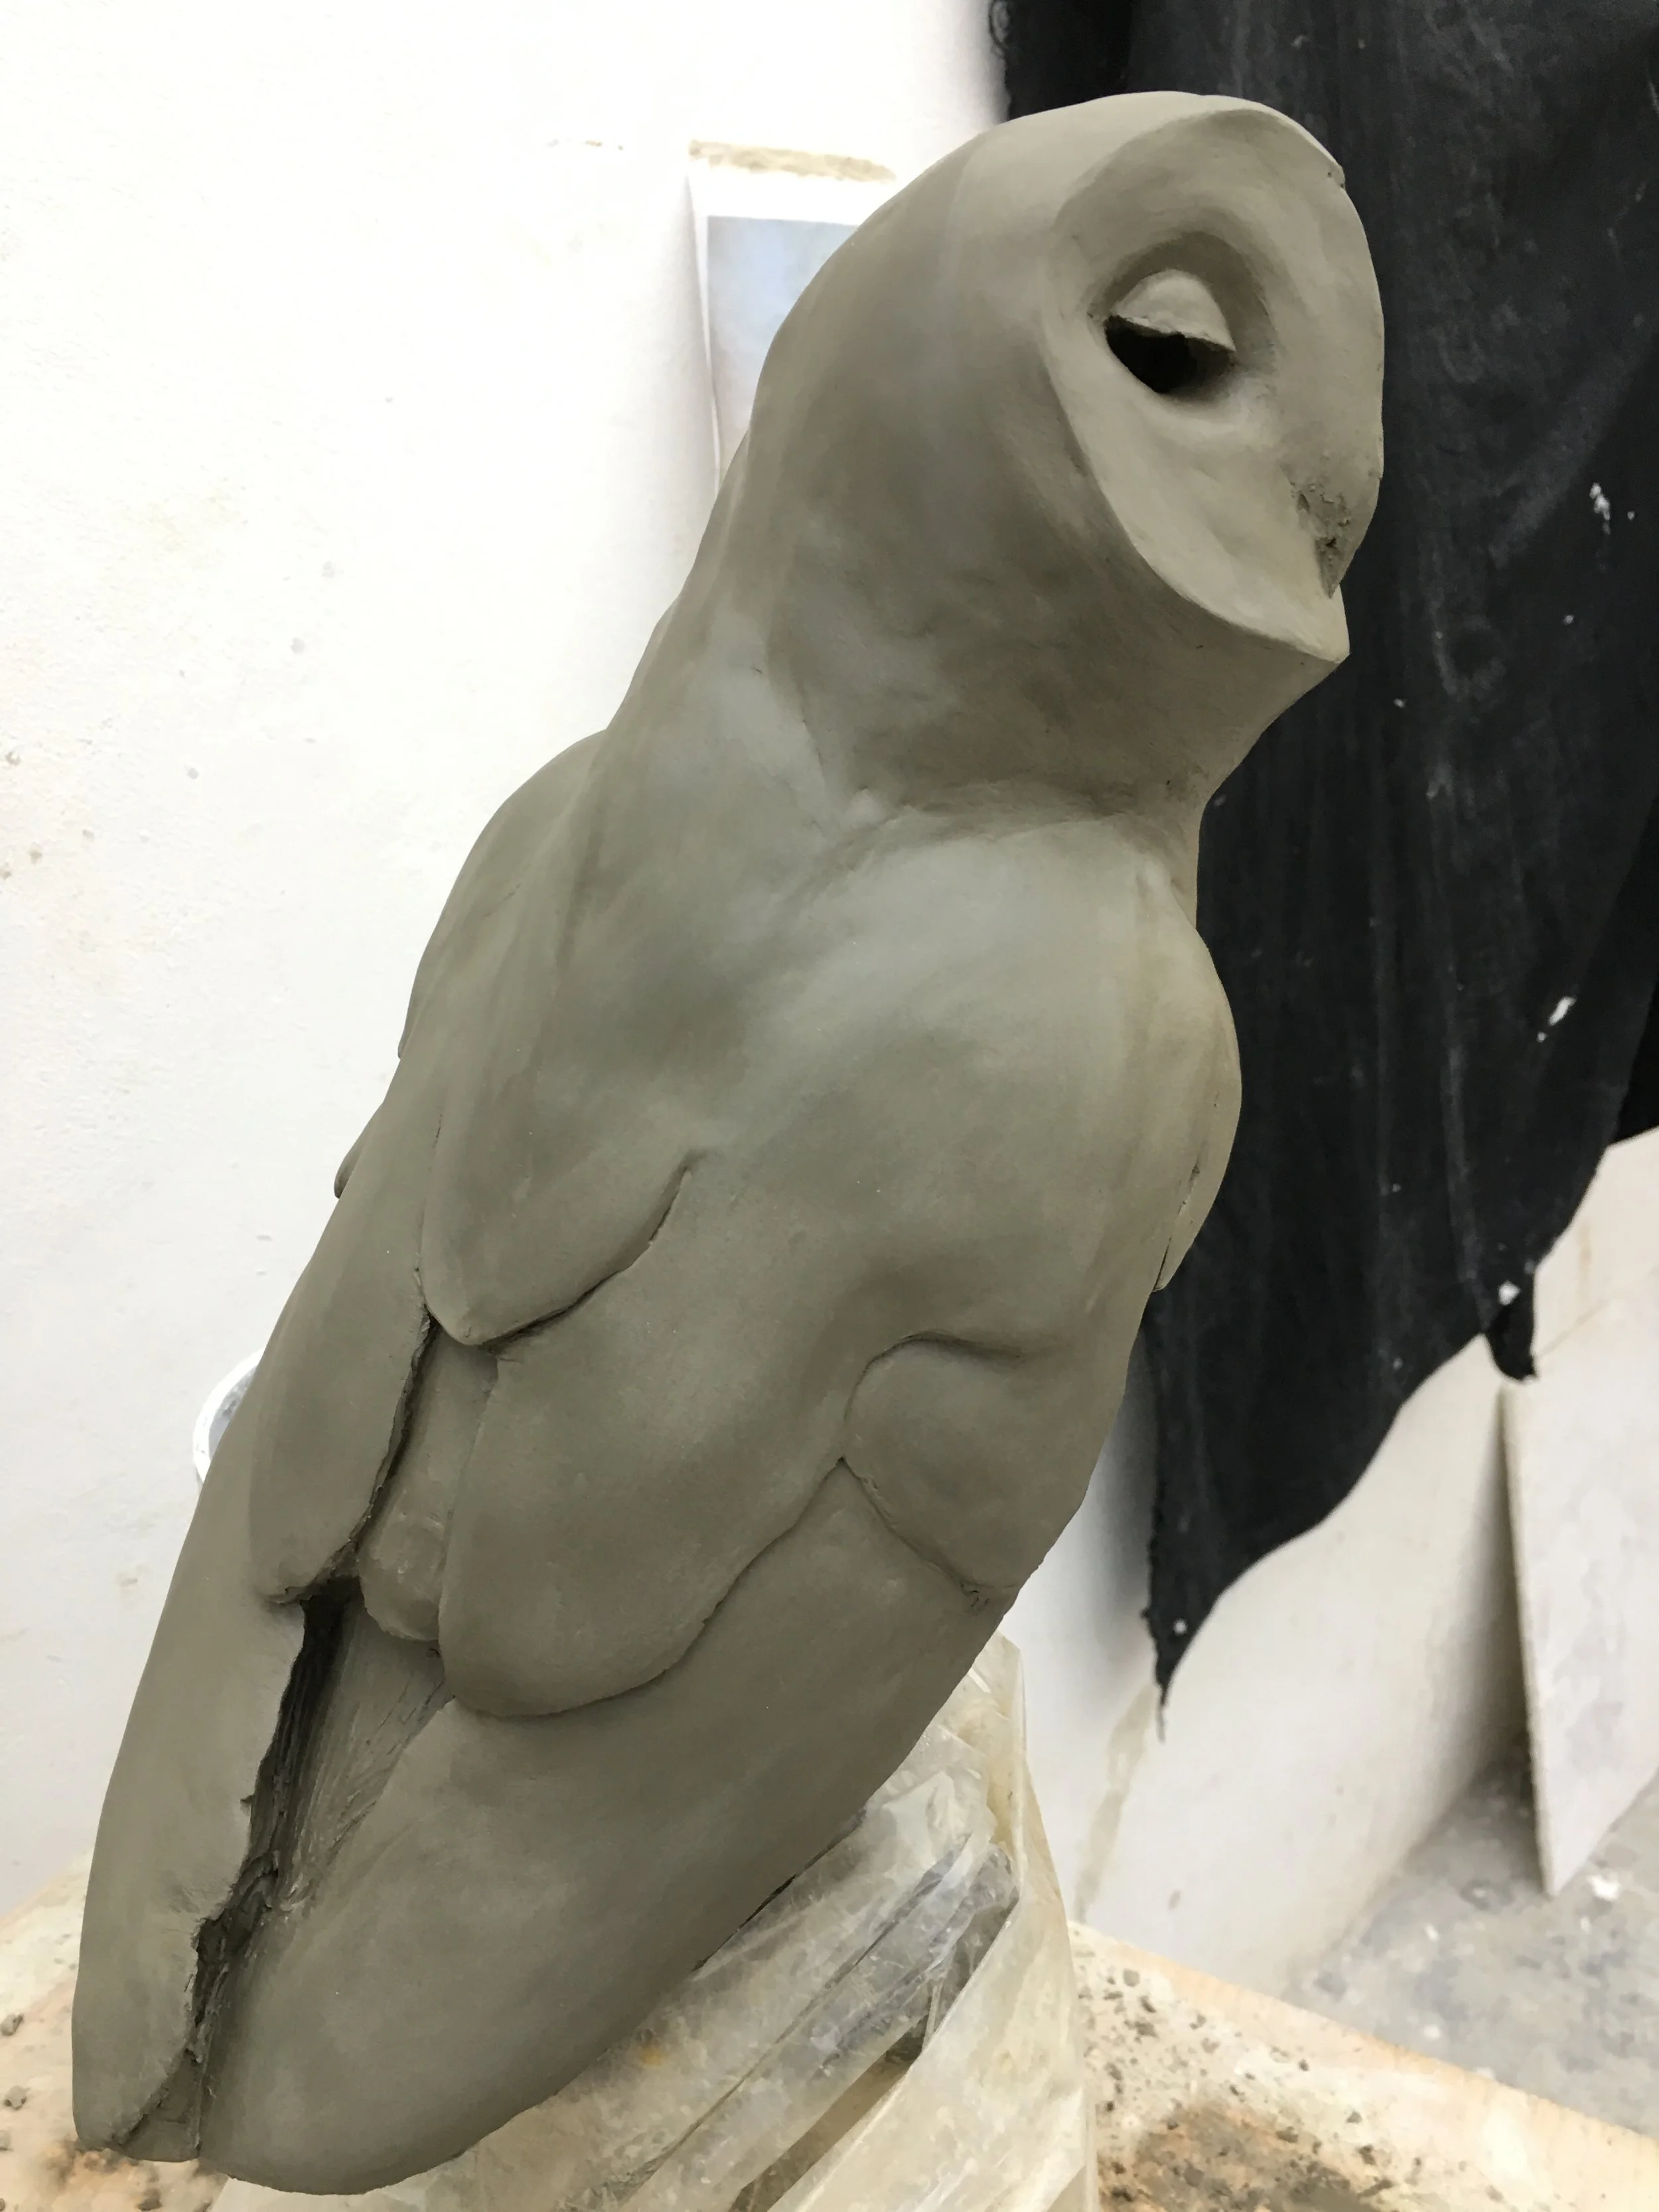
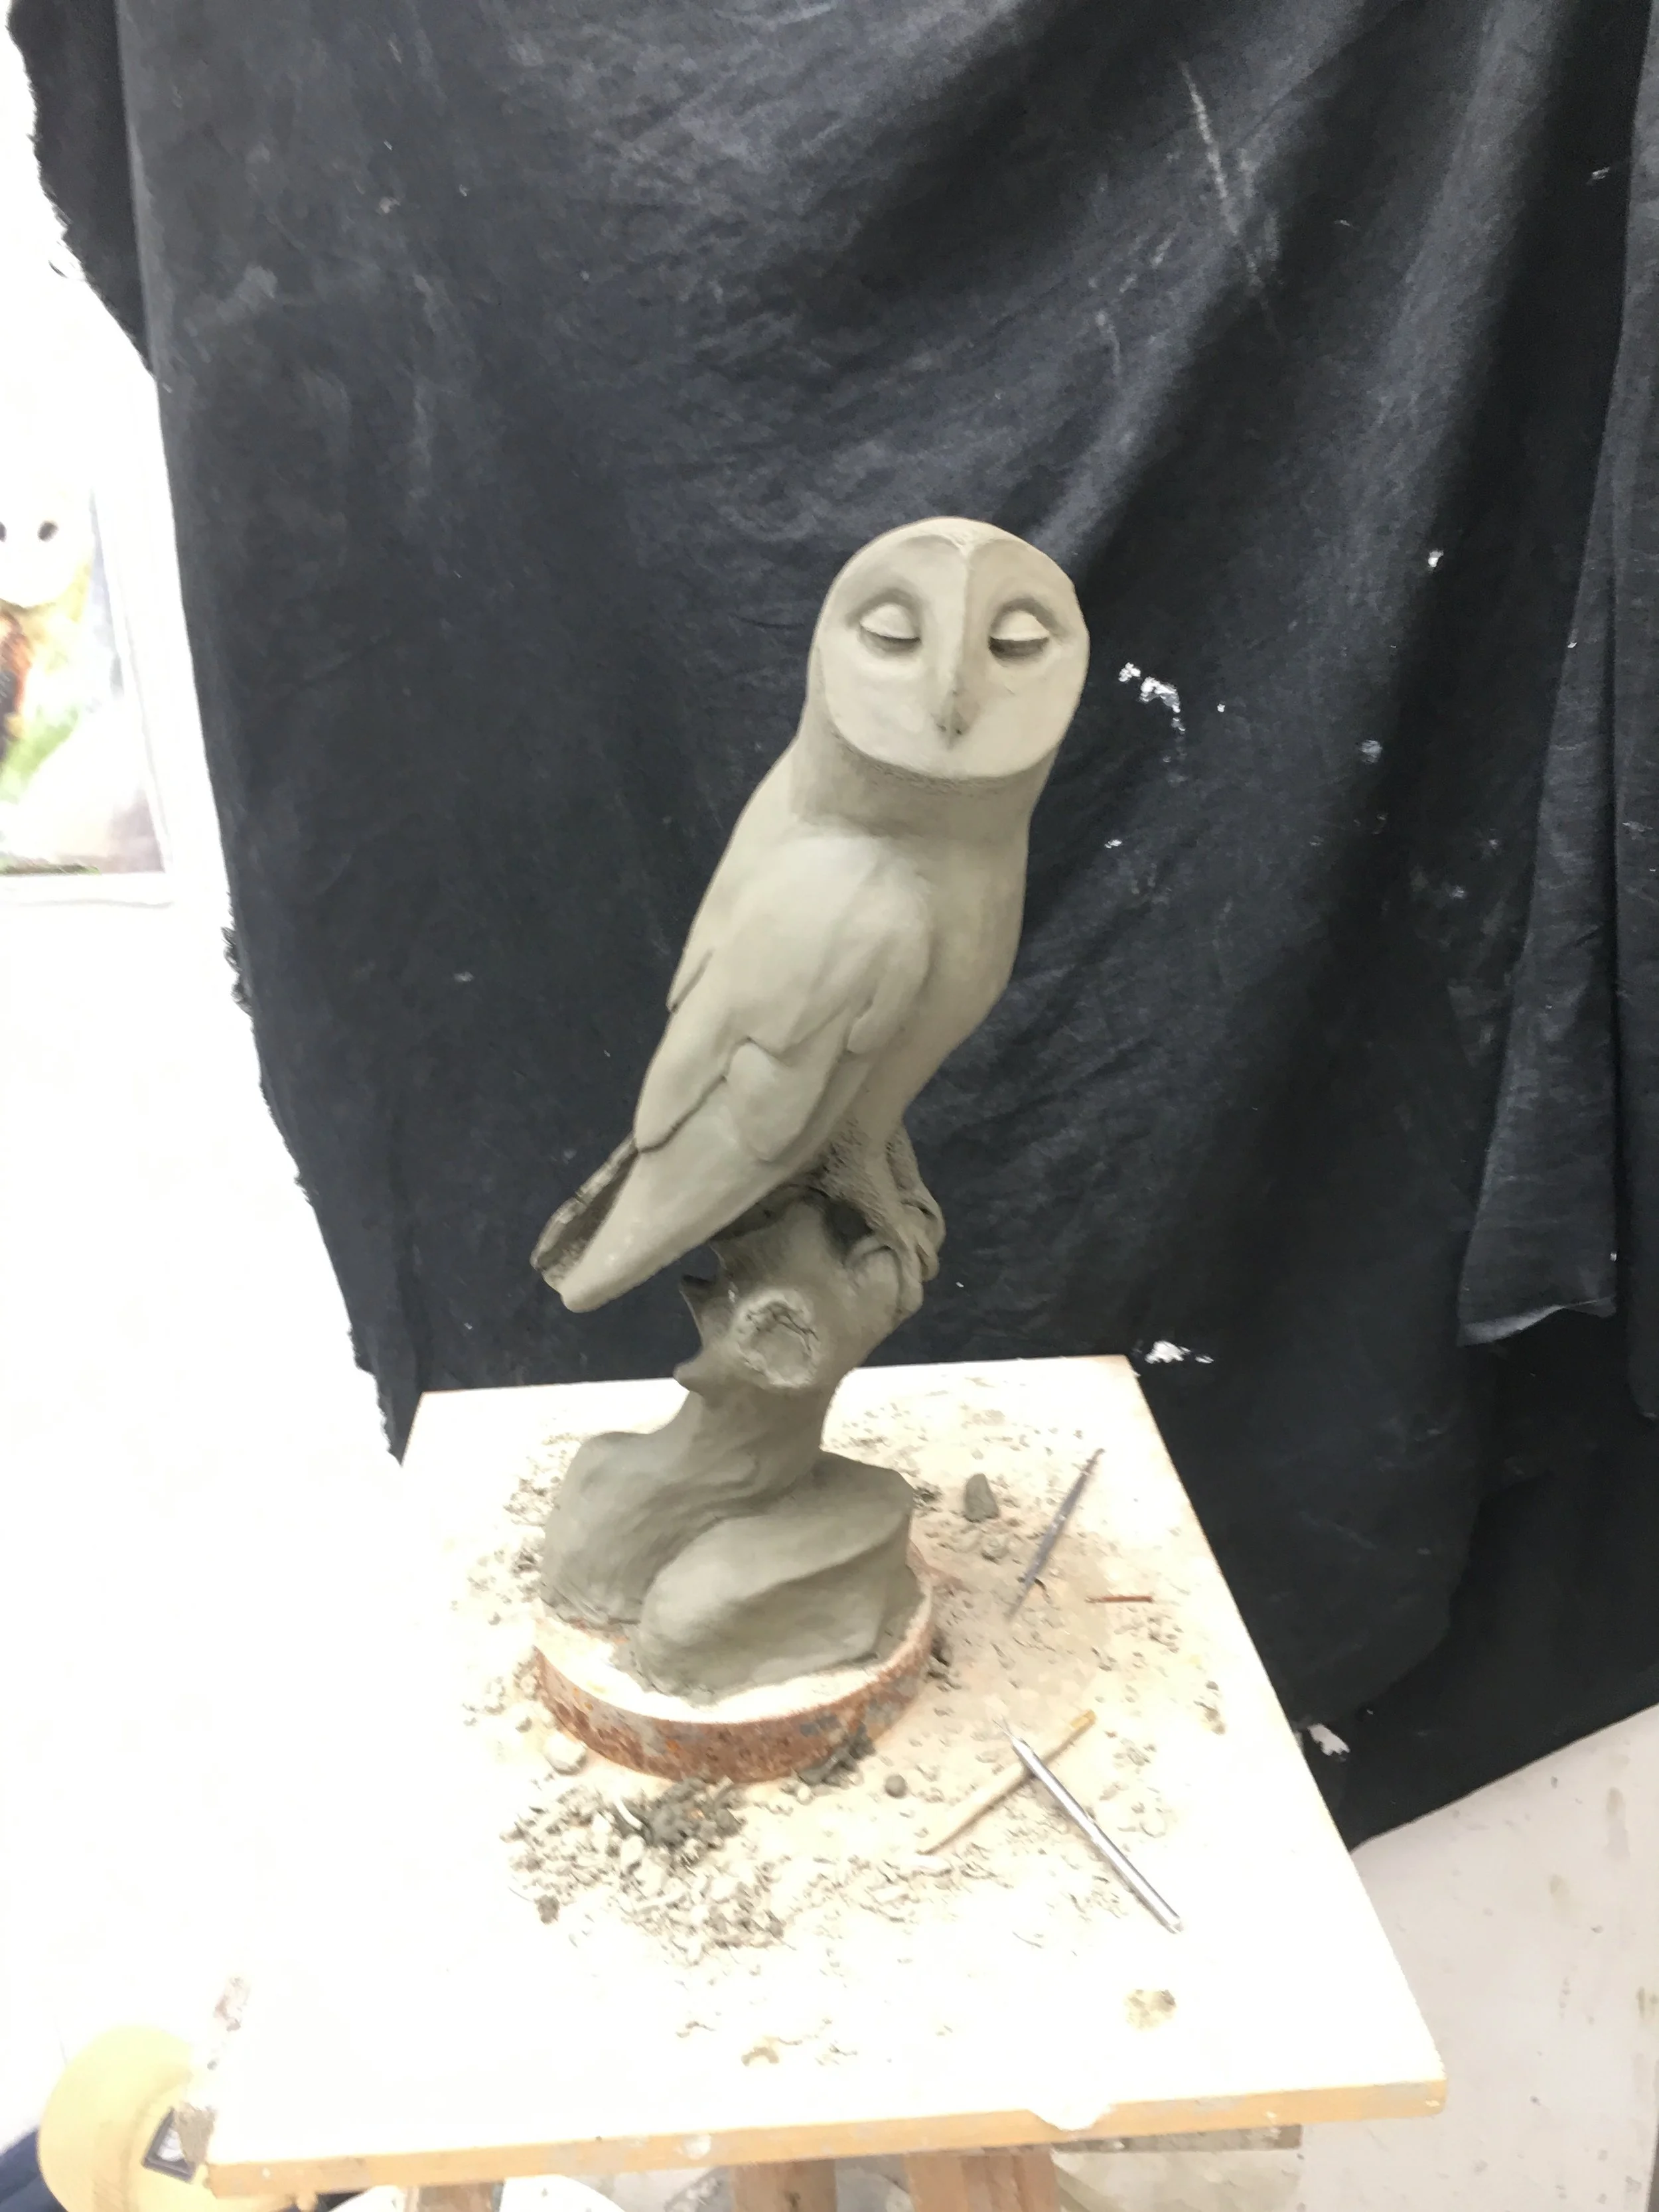
After the base was complete it was time to work on the sculpture working with the image I had chosen, I would use several pictures of the Barn Owl in different poses from different angles. Ideally you would be able to use pictures of the same subject from different angles, at the same distance, but this is not always possible. Sometimes you have to visualize to fill the gaps.
At the end of the first day I had decided on the pose and basic shape of the sculpture.
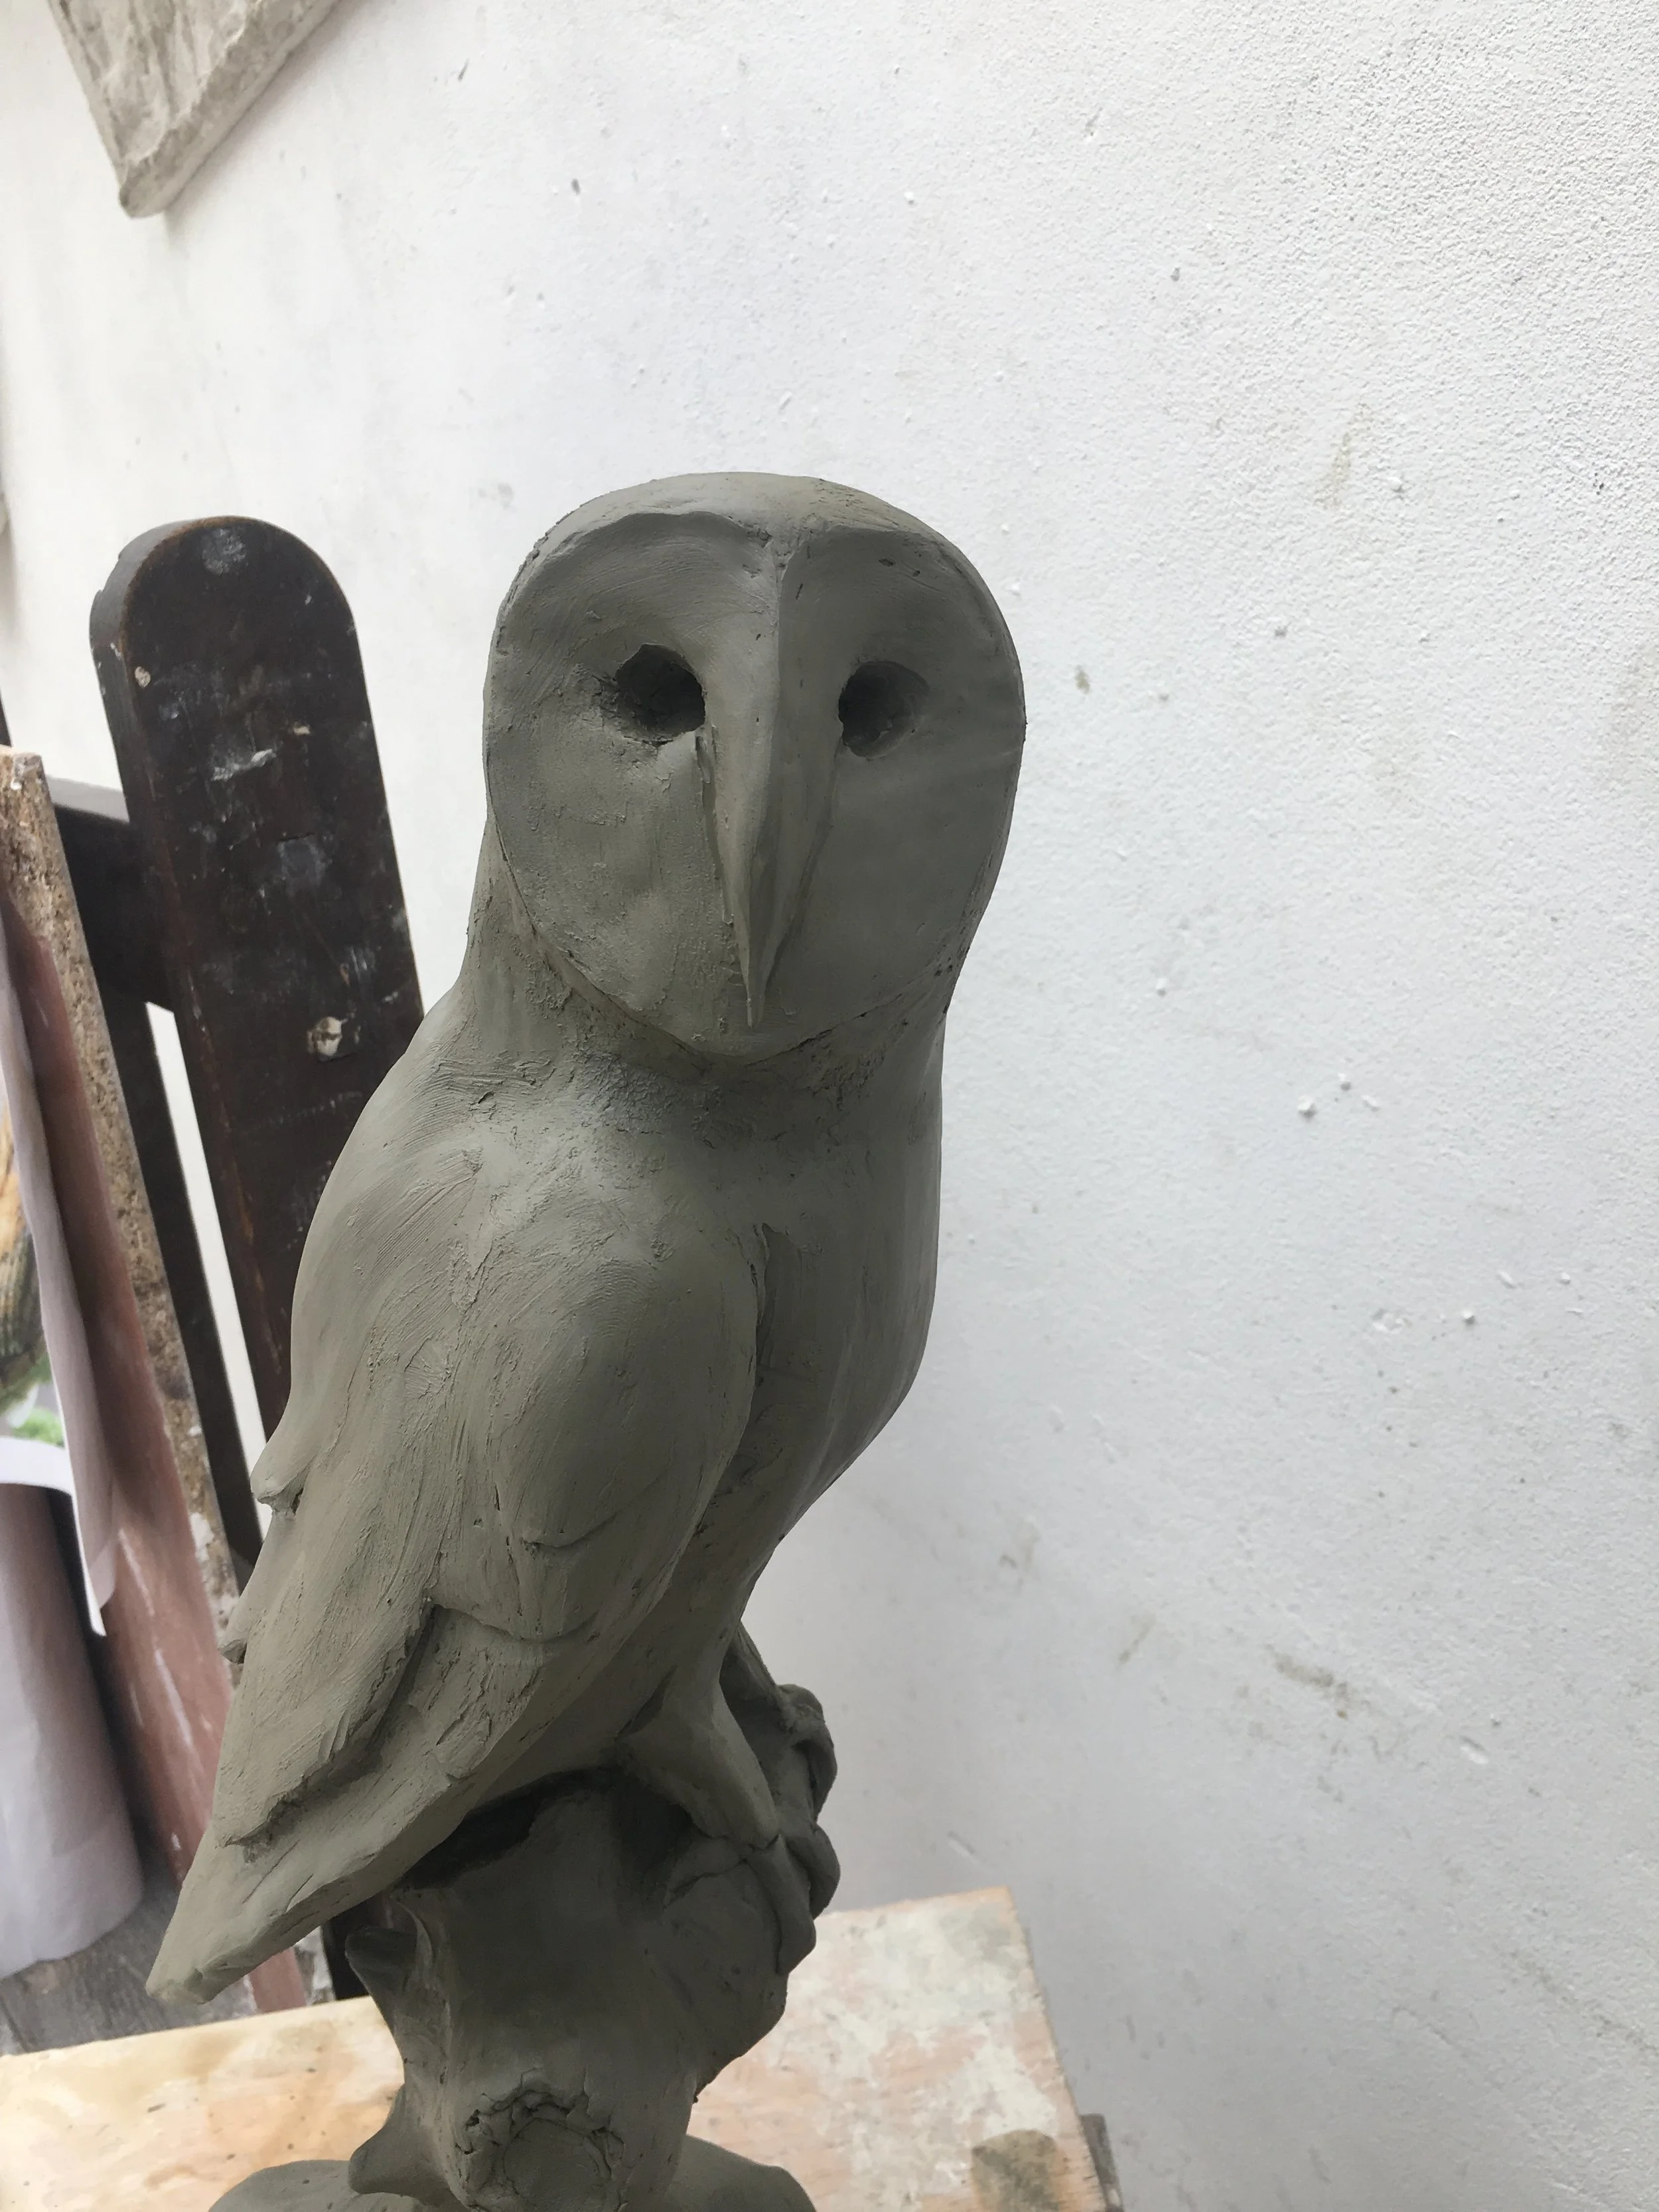
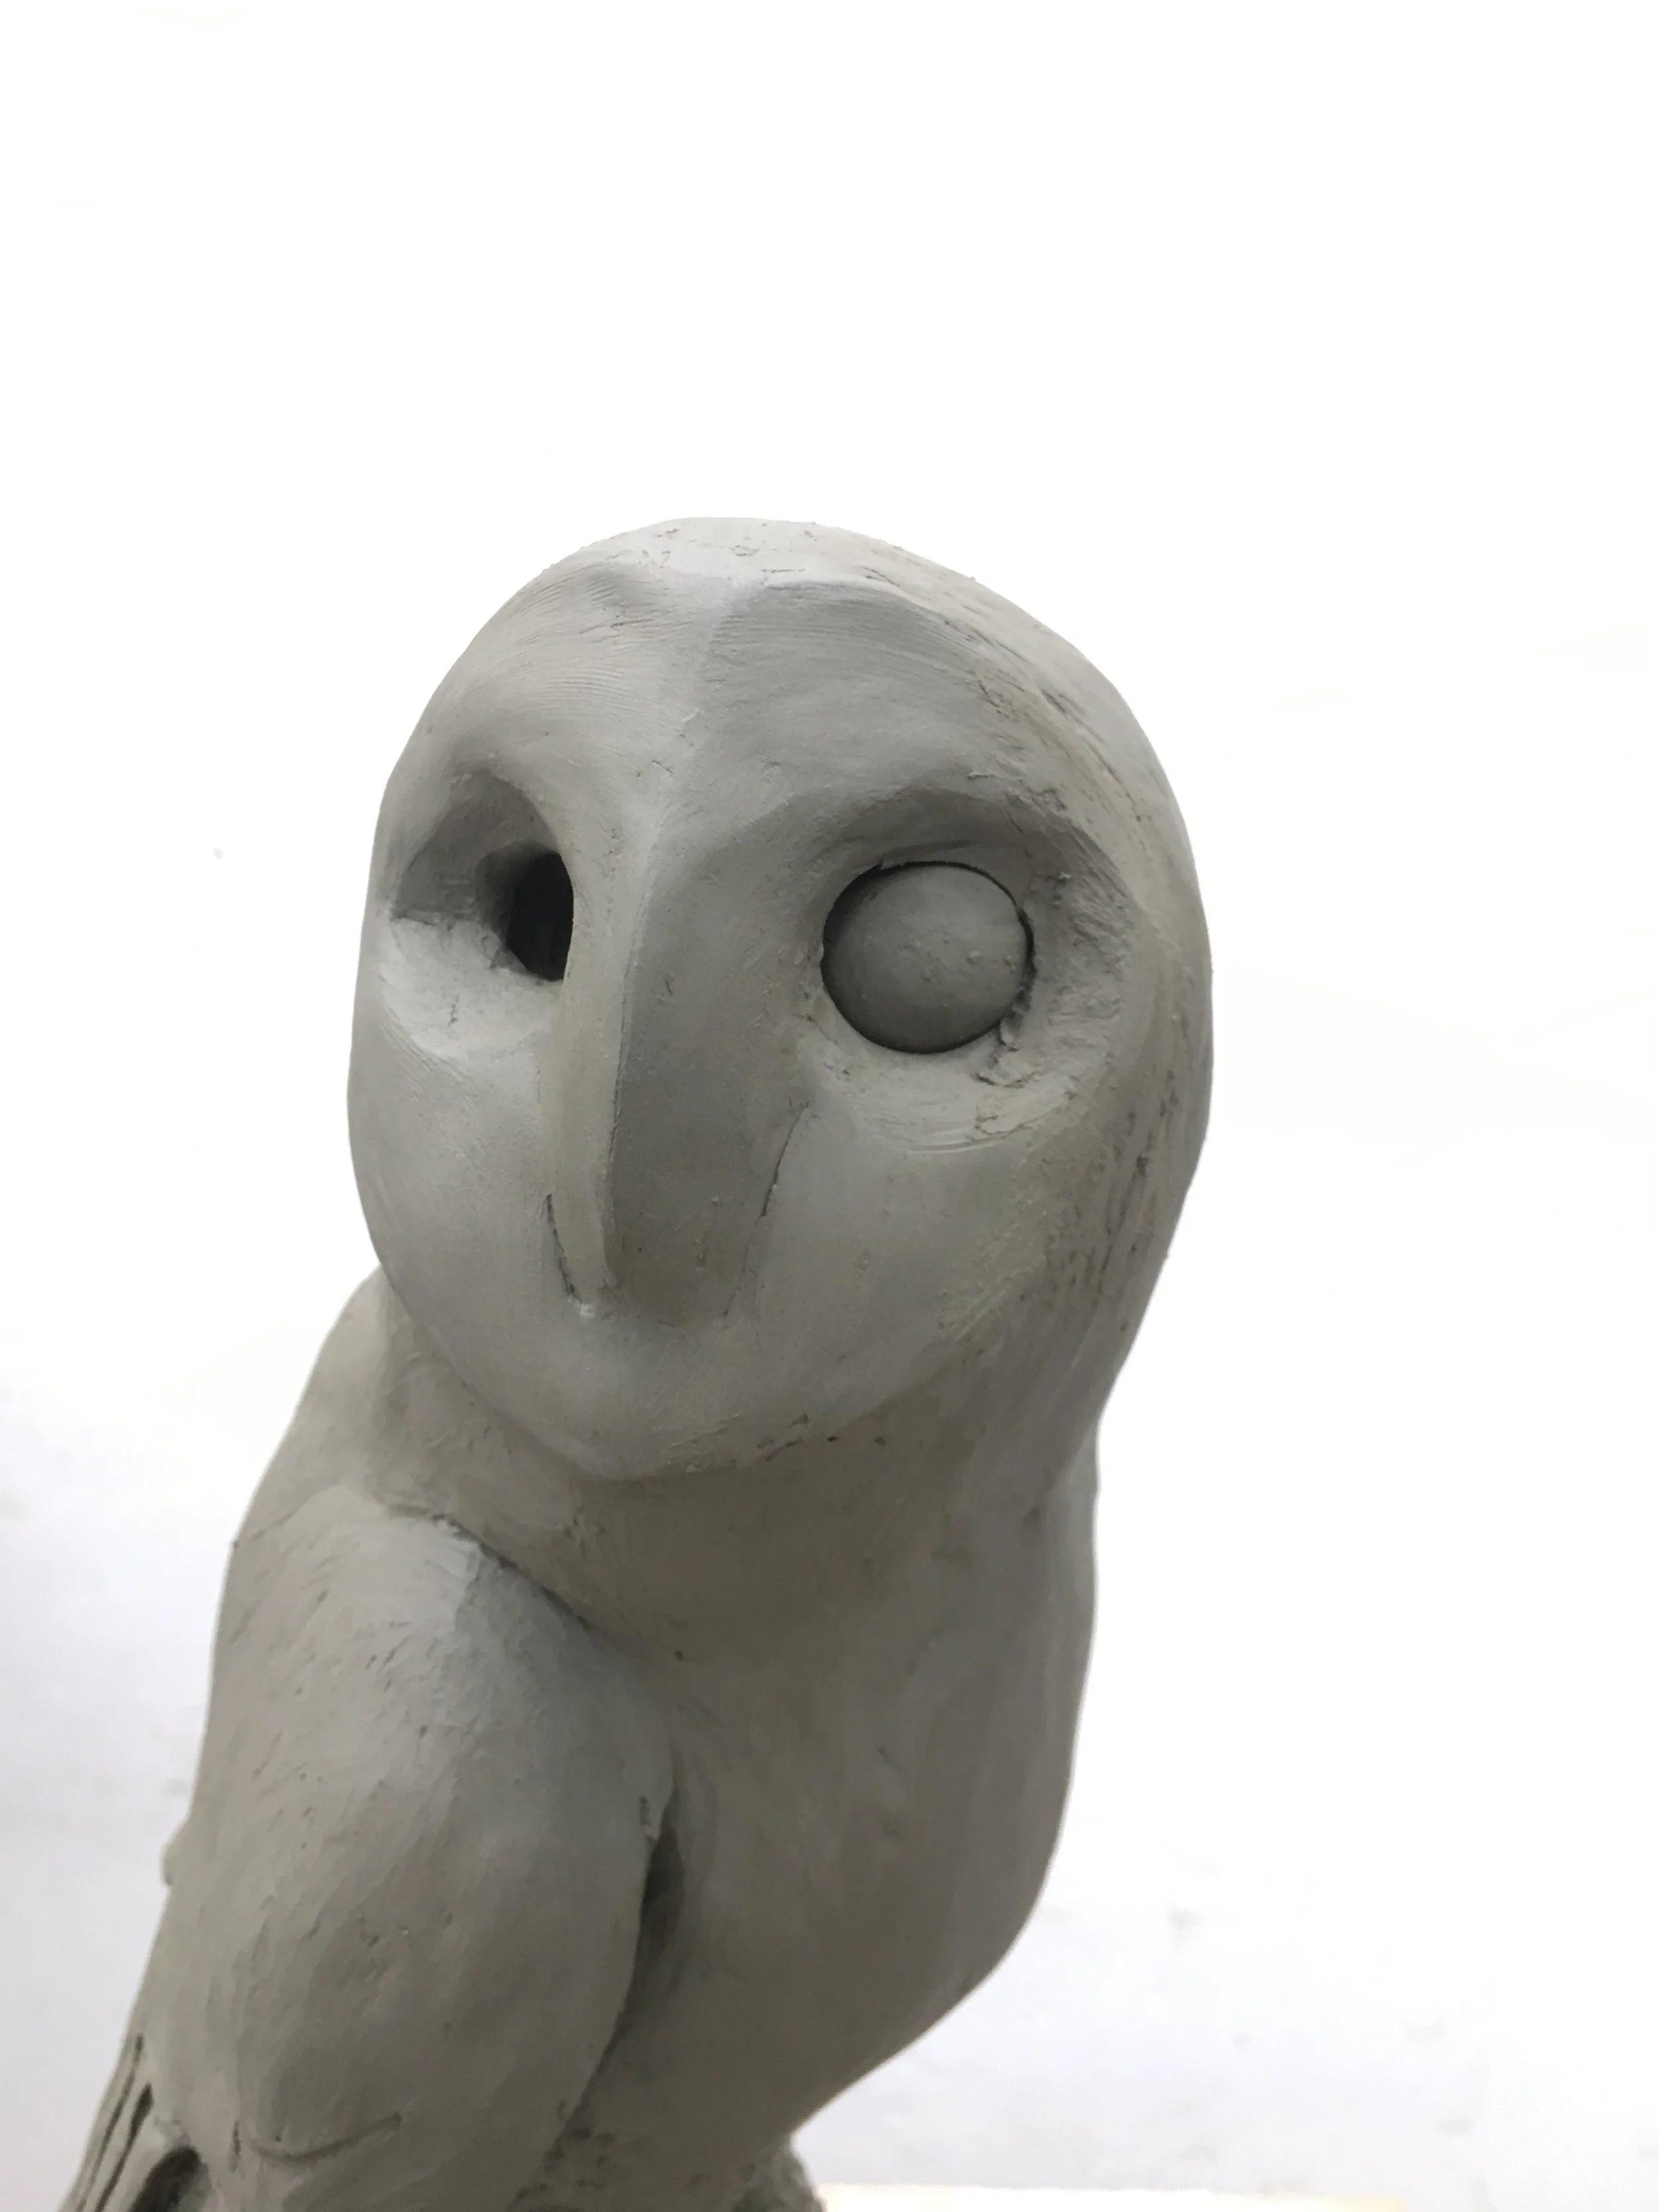
One part of the sculpture that would give me some difficulty was the shape and nature of the eyes. In the photo the owl had very dark striking eyes, so I would try making several different attempts to capture this feature. sometimes I tried leaving the space void to let shadow give the ilusion of dark eyes, and other times I tried to model the eyes so they were true to the shape.
Here I attempt modeling the eyes to correct size and shape, I also discover I needed to add more depth to the owls face as It was somewhat flat, this was caused by using 2D photos as a model instead of a 3D plaster model. I would need to visualize what the 2D face looked like in 3 dimensions.
After adding mass to the face I removed the eyes as I was not happy with the look. In this version I experimented with an art deco style for the back feathers always having in mind what I wanted it to appear like in the final bronze version of the sculpture.
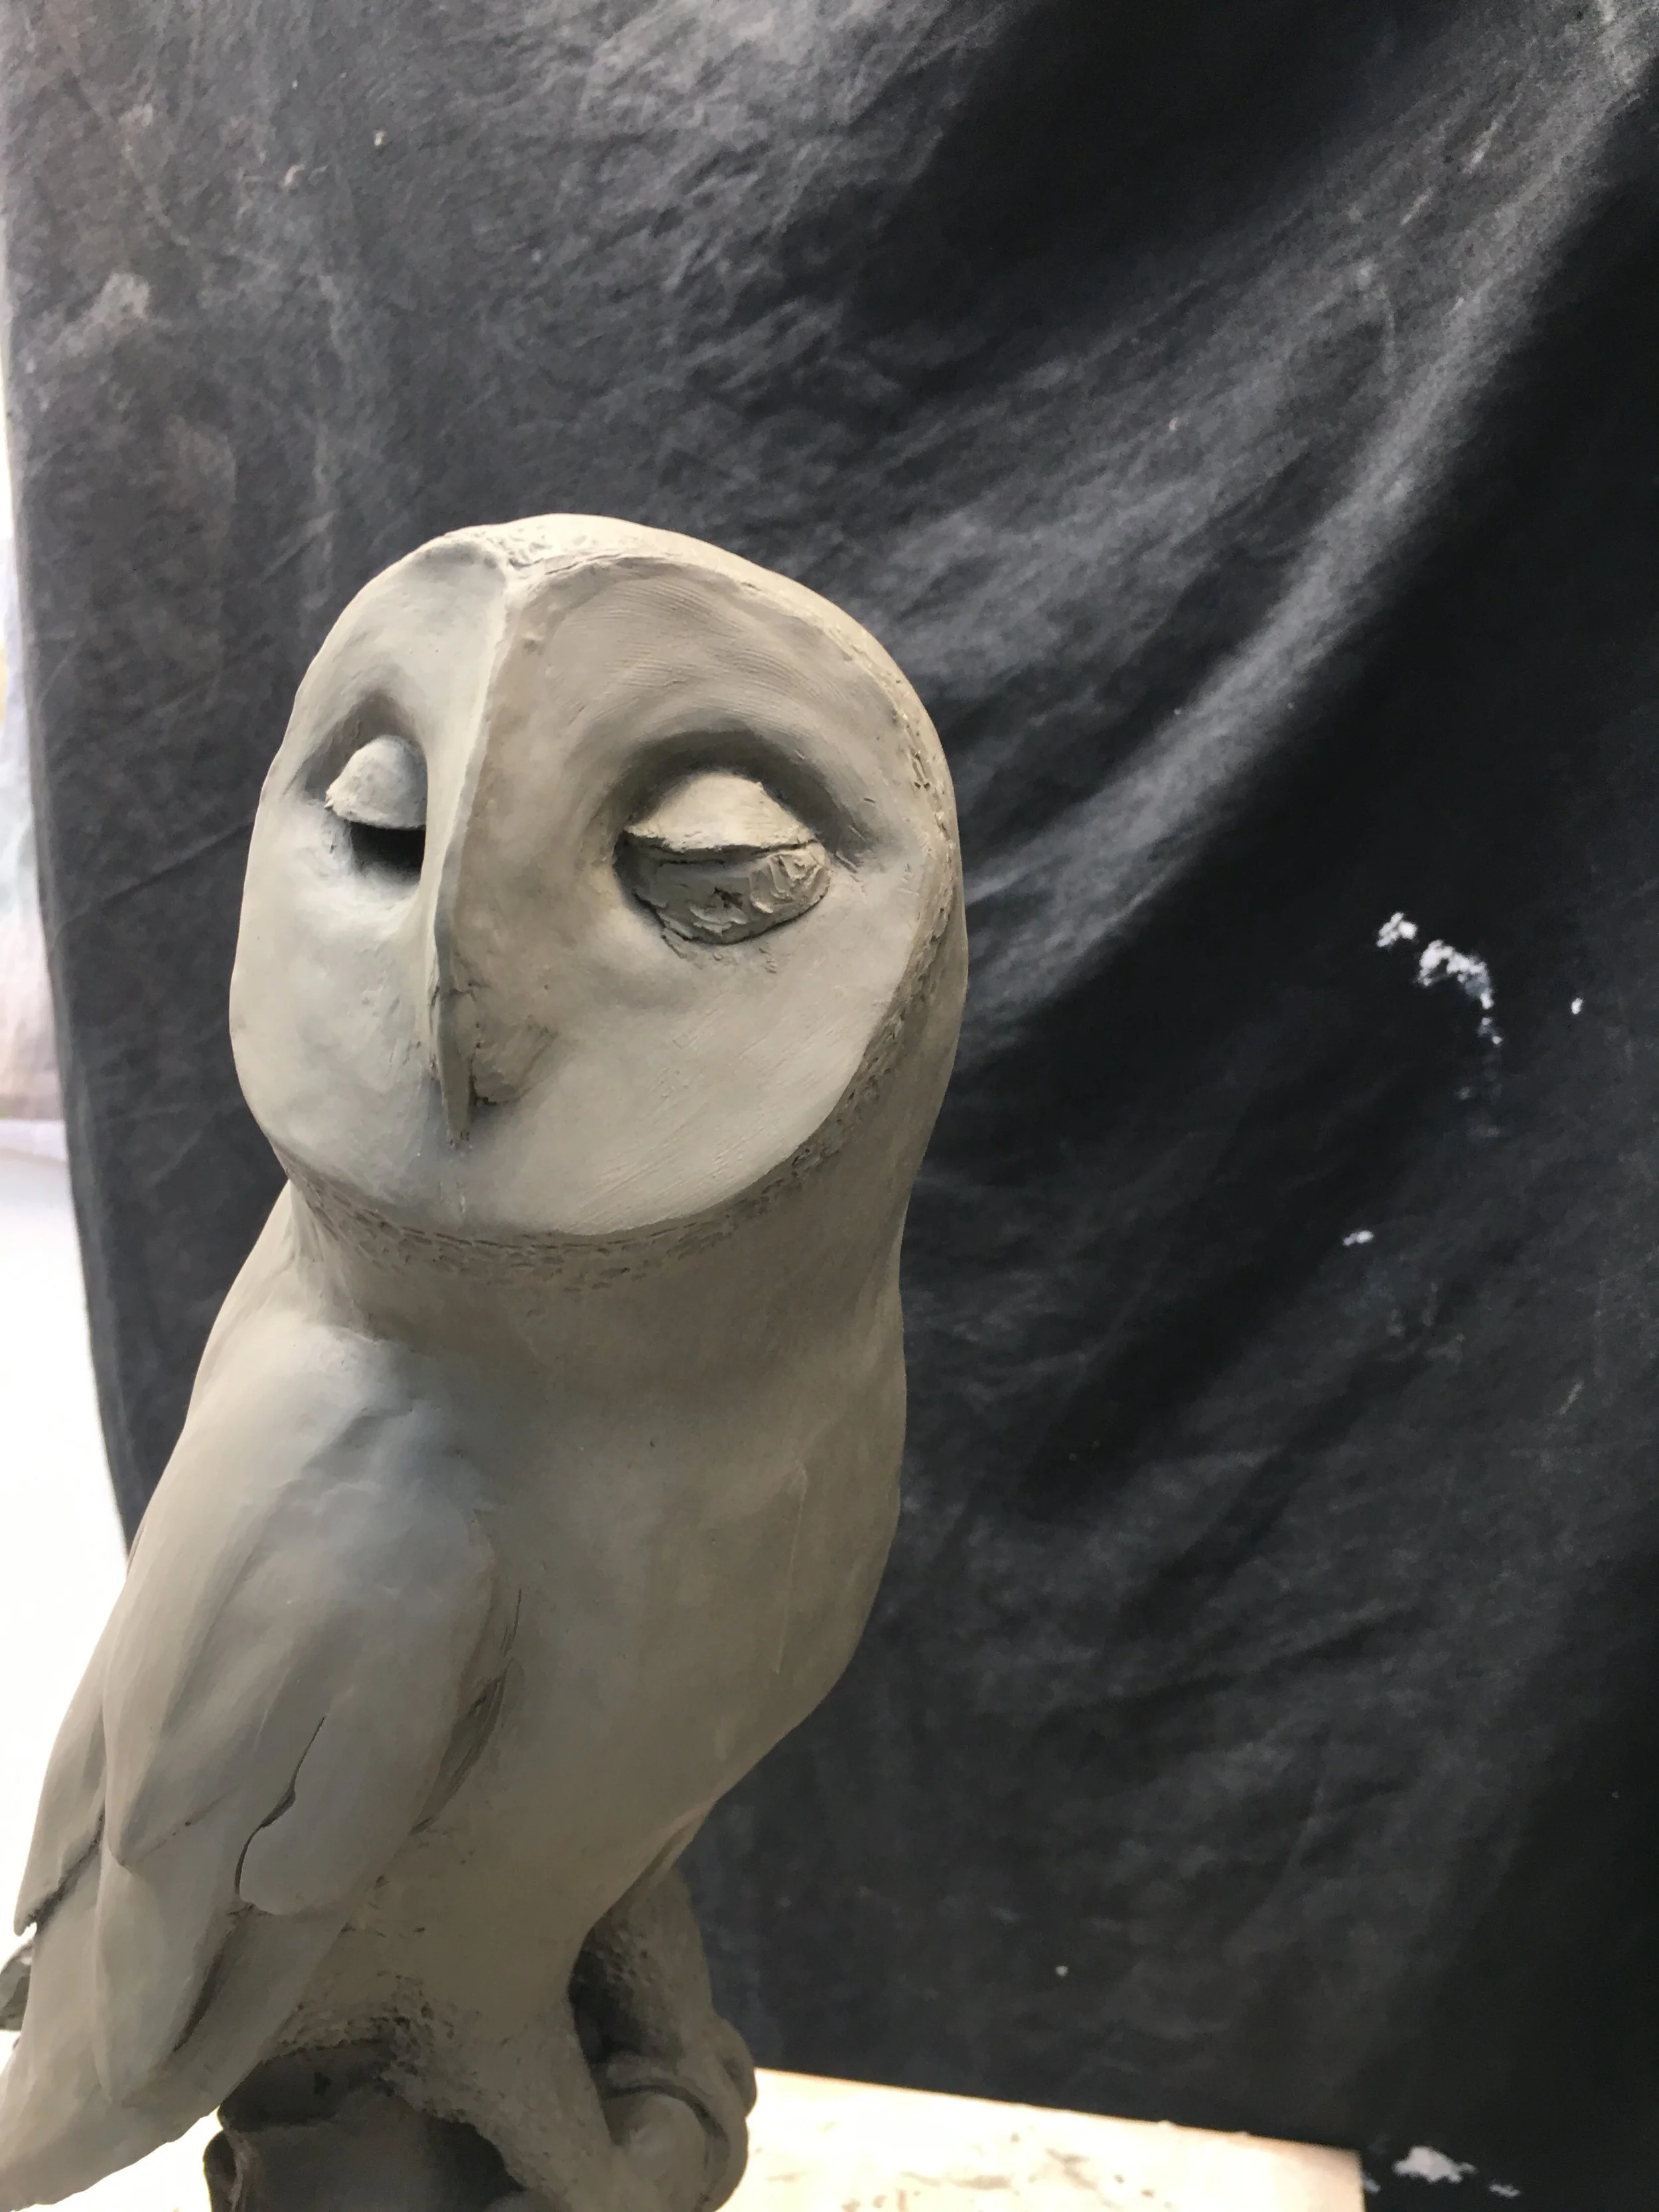
Experimenting with various eye shapes.
Here while trying to find the right shape of the eyes, I accidentally shaved a piece of clay too deep, and it fell over like an eye lid. I really liked this look style wise and decided I would revist it, If I was not happy with the modeled eyes version I was working on.
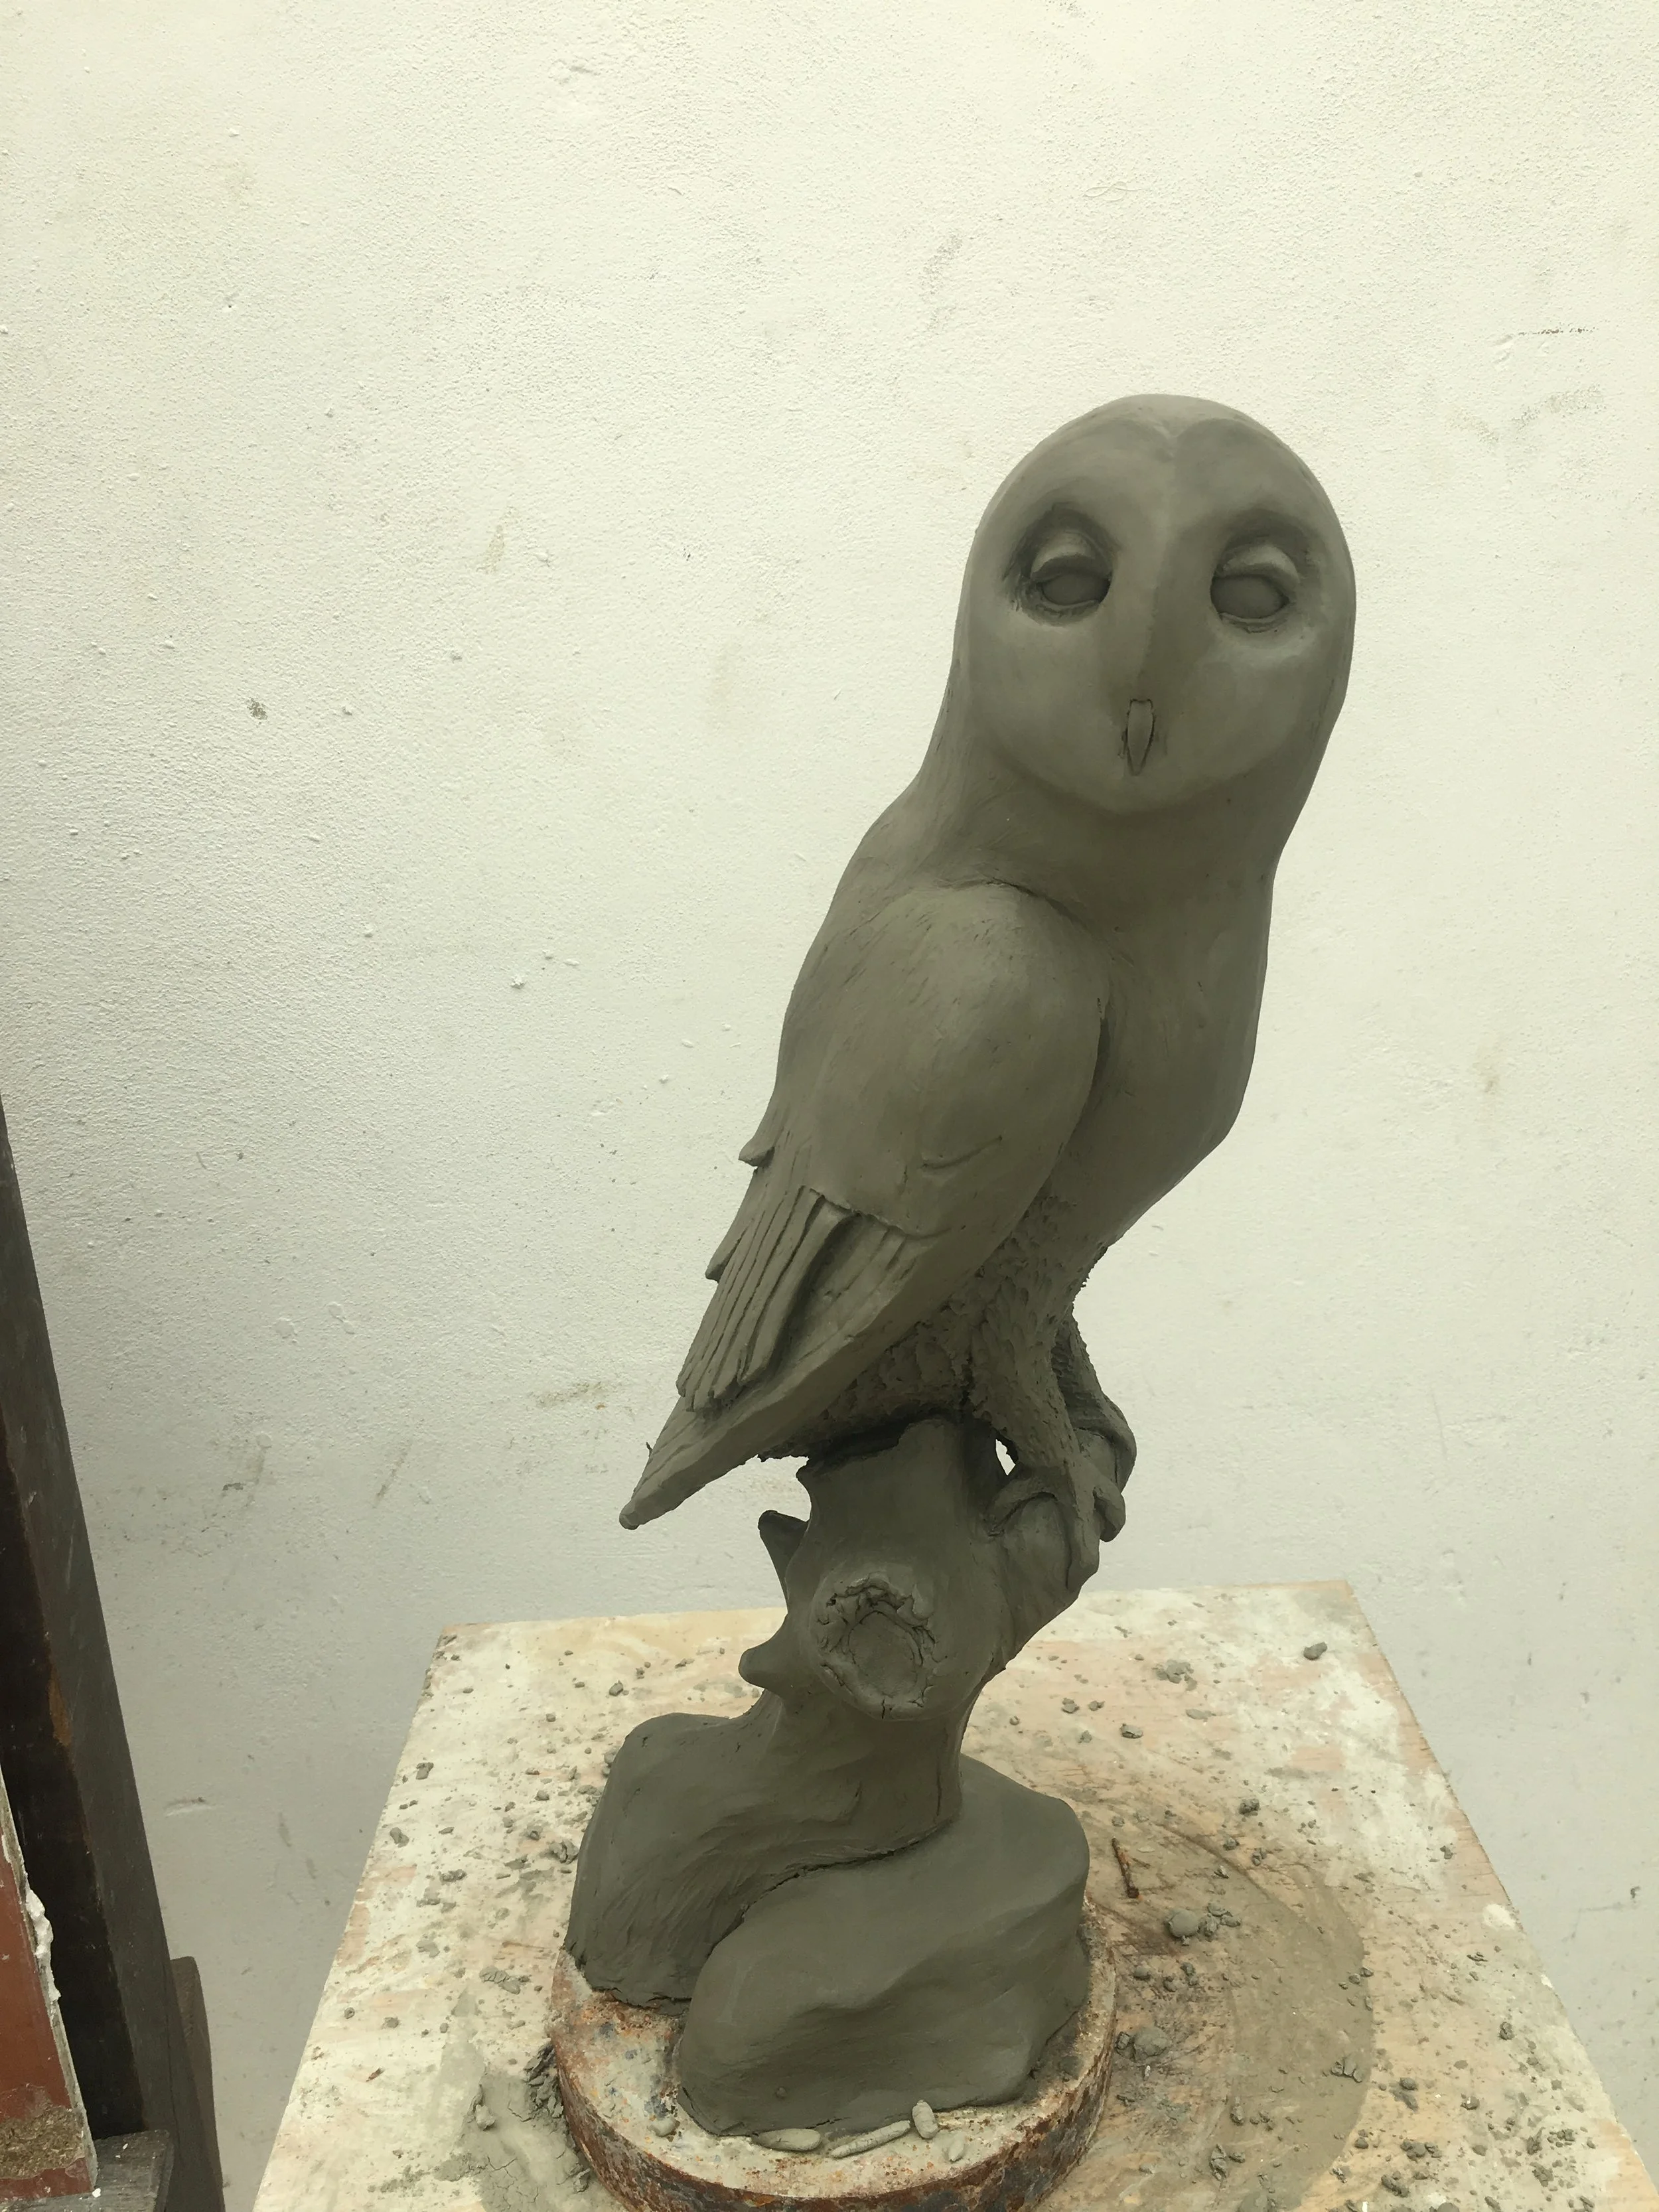
Another attempt at the eyes. Eyes are a prominent feature of owls so it was important to try and get them correct, or at least stylistically accurate. This version while interesting, was not good enough, so I went back to giving the illusion of color by leaving the eyes hollow.
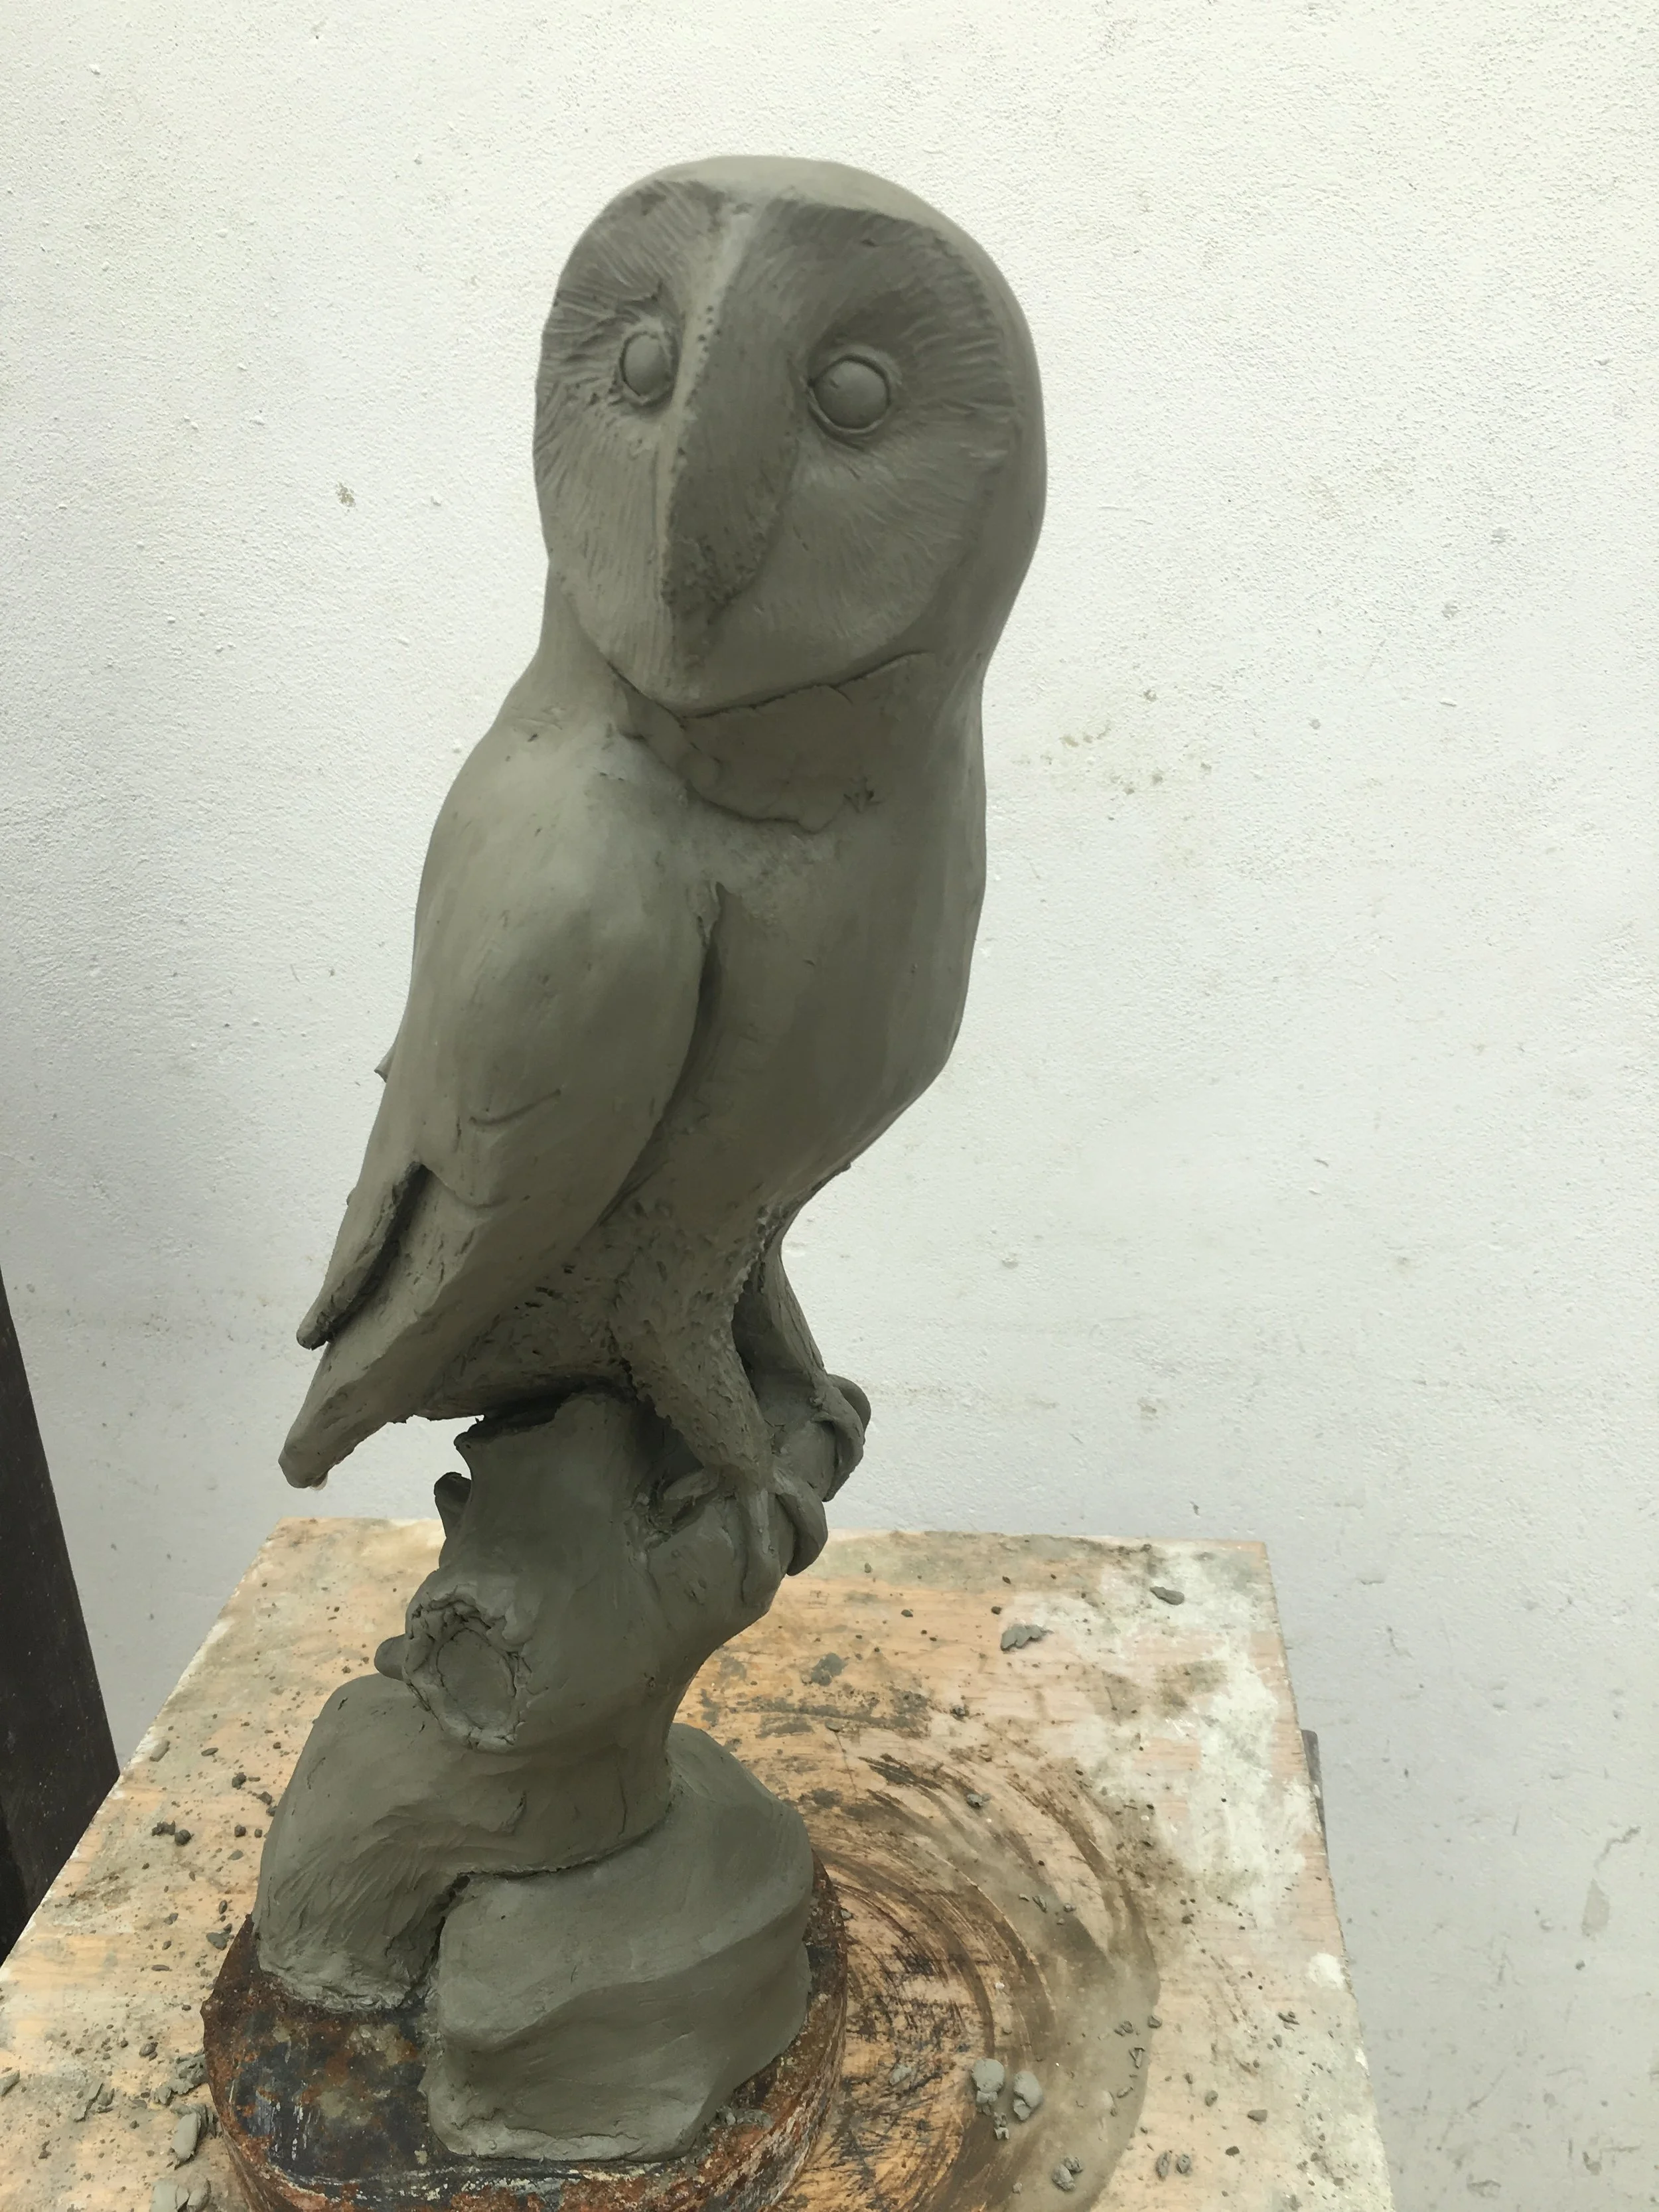
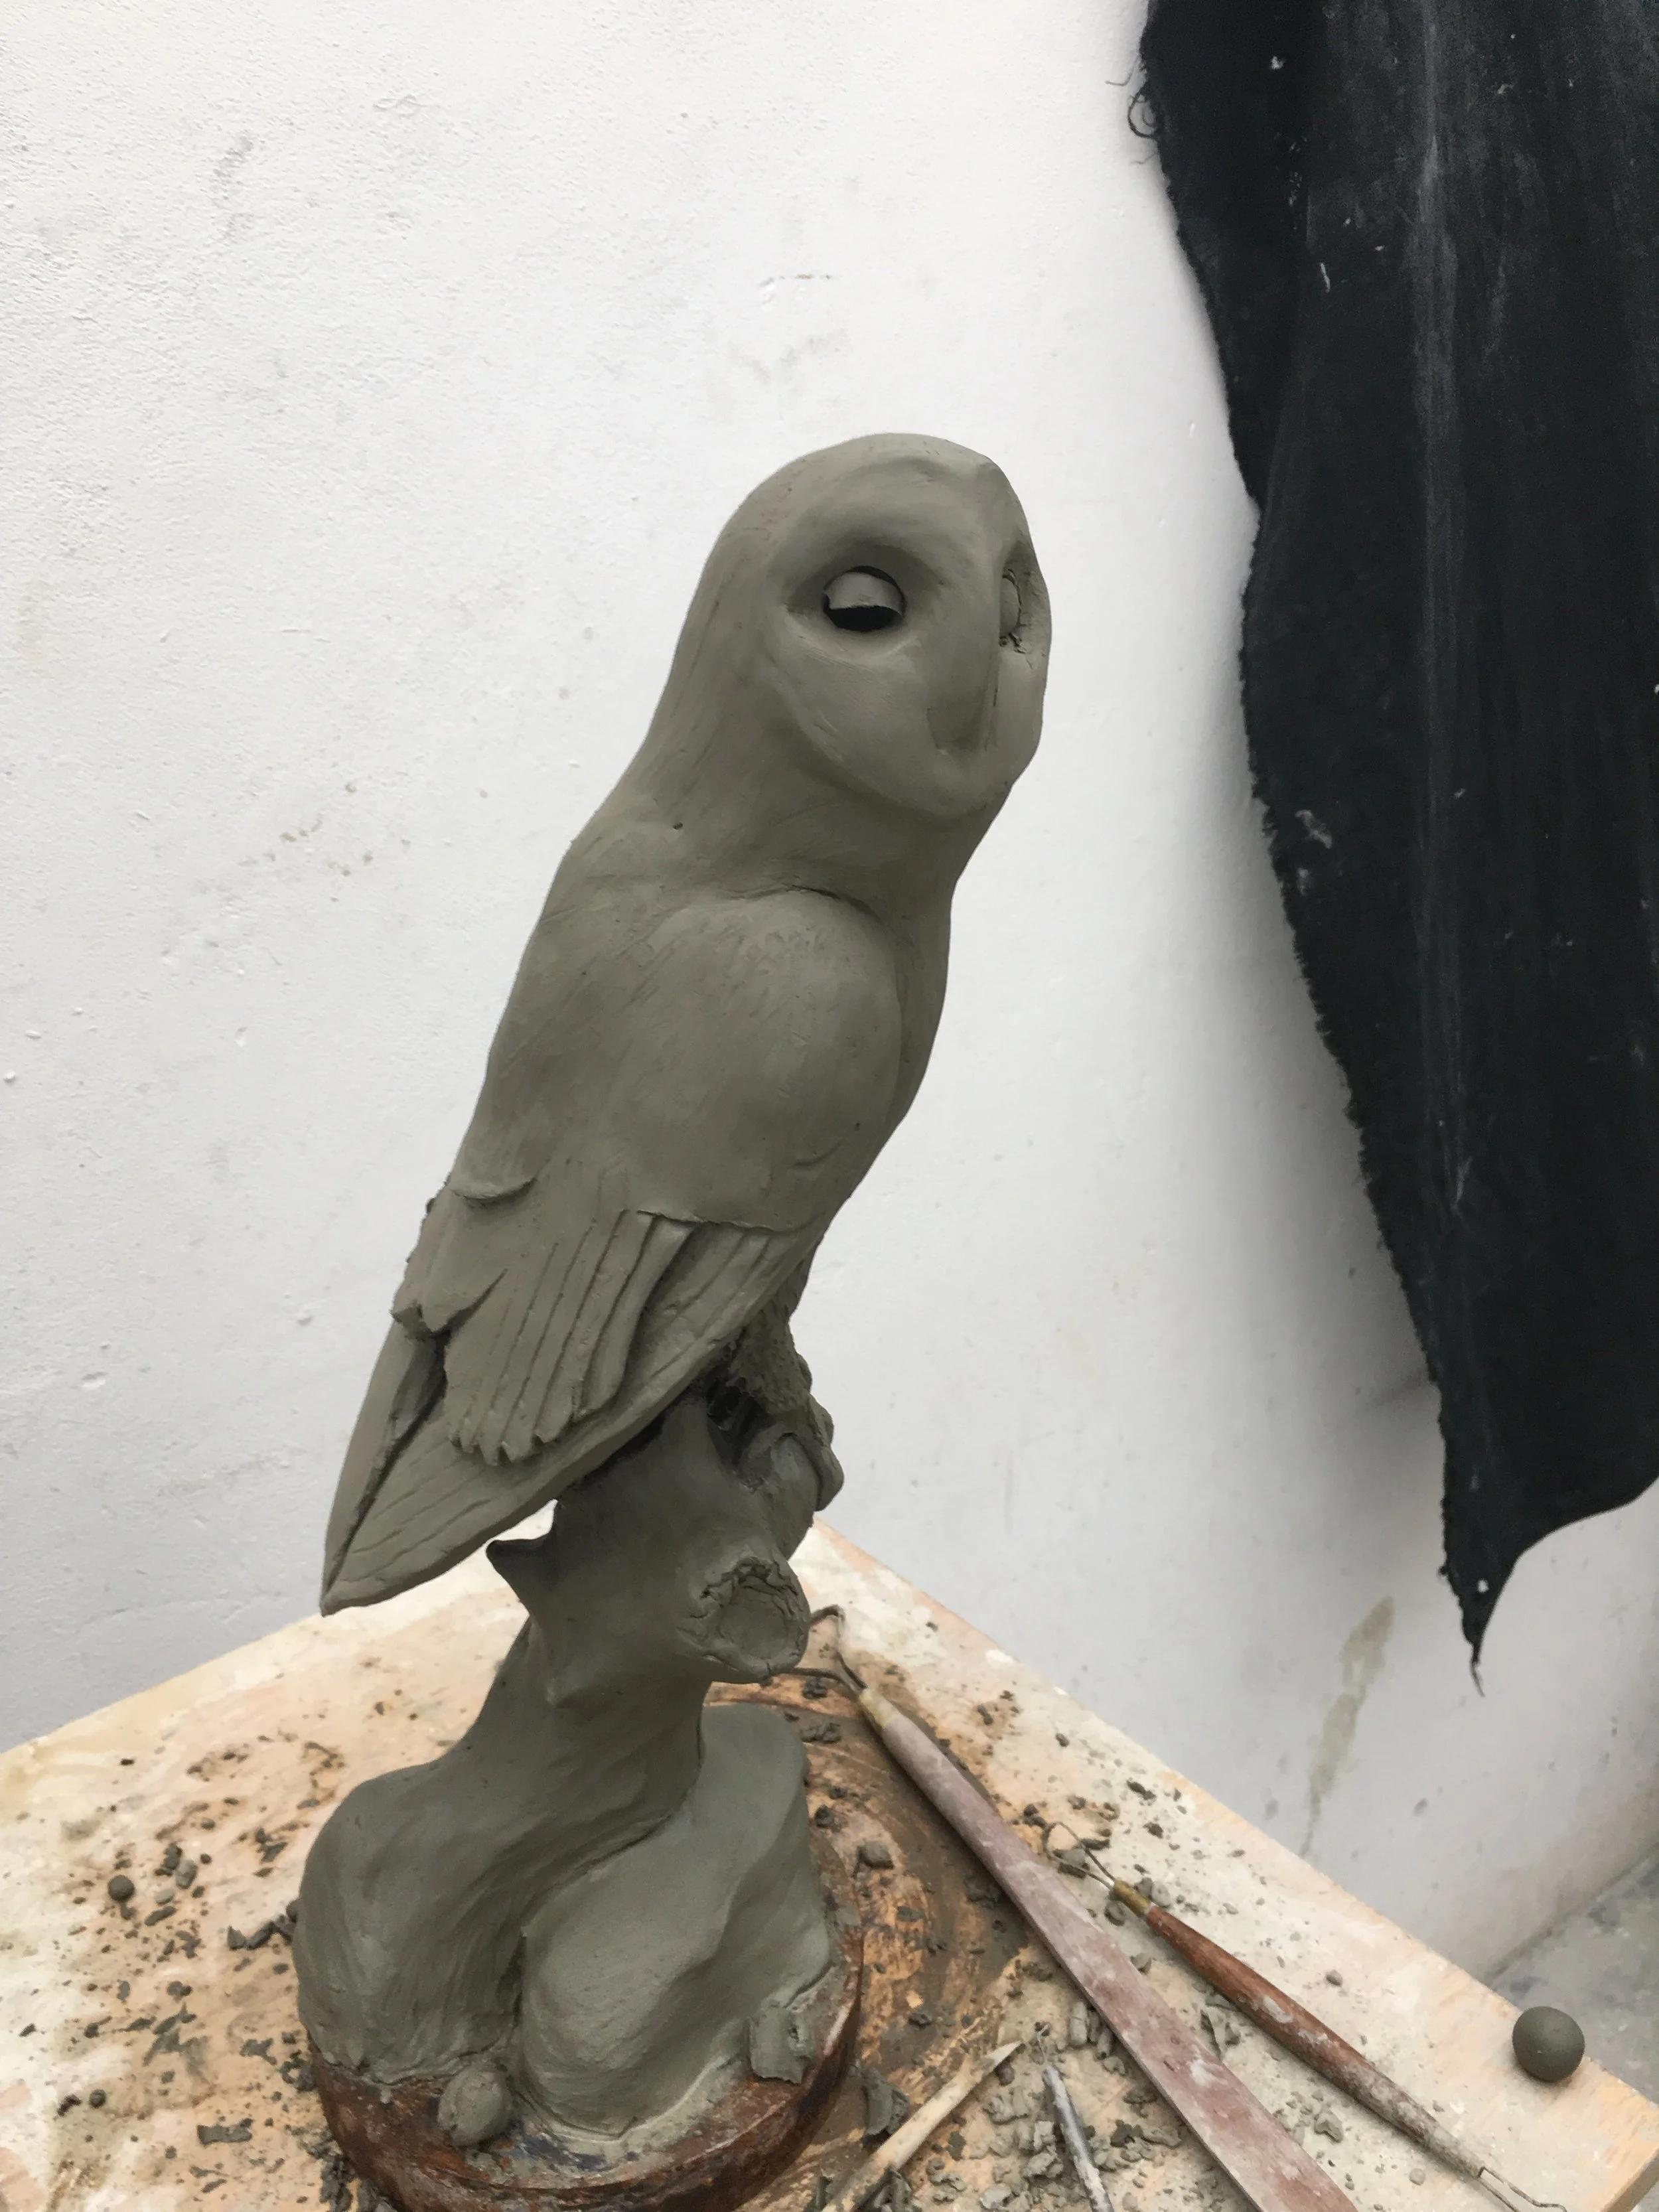
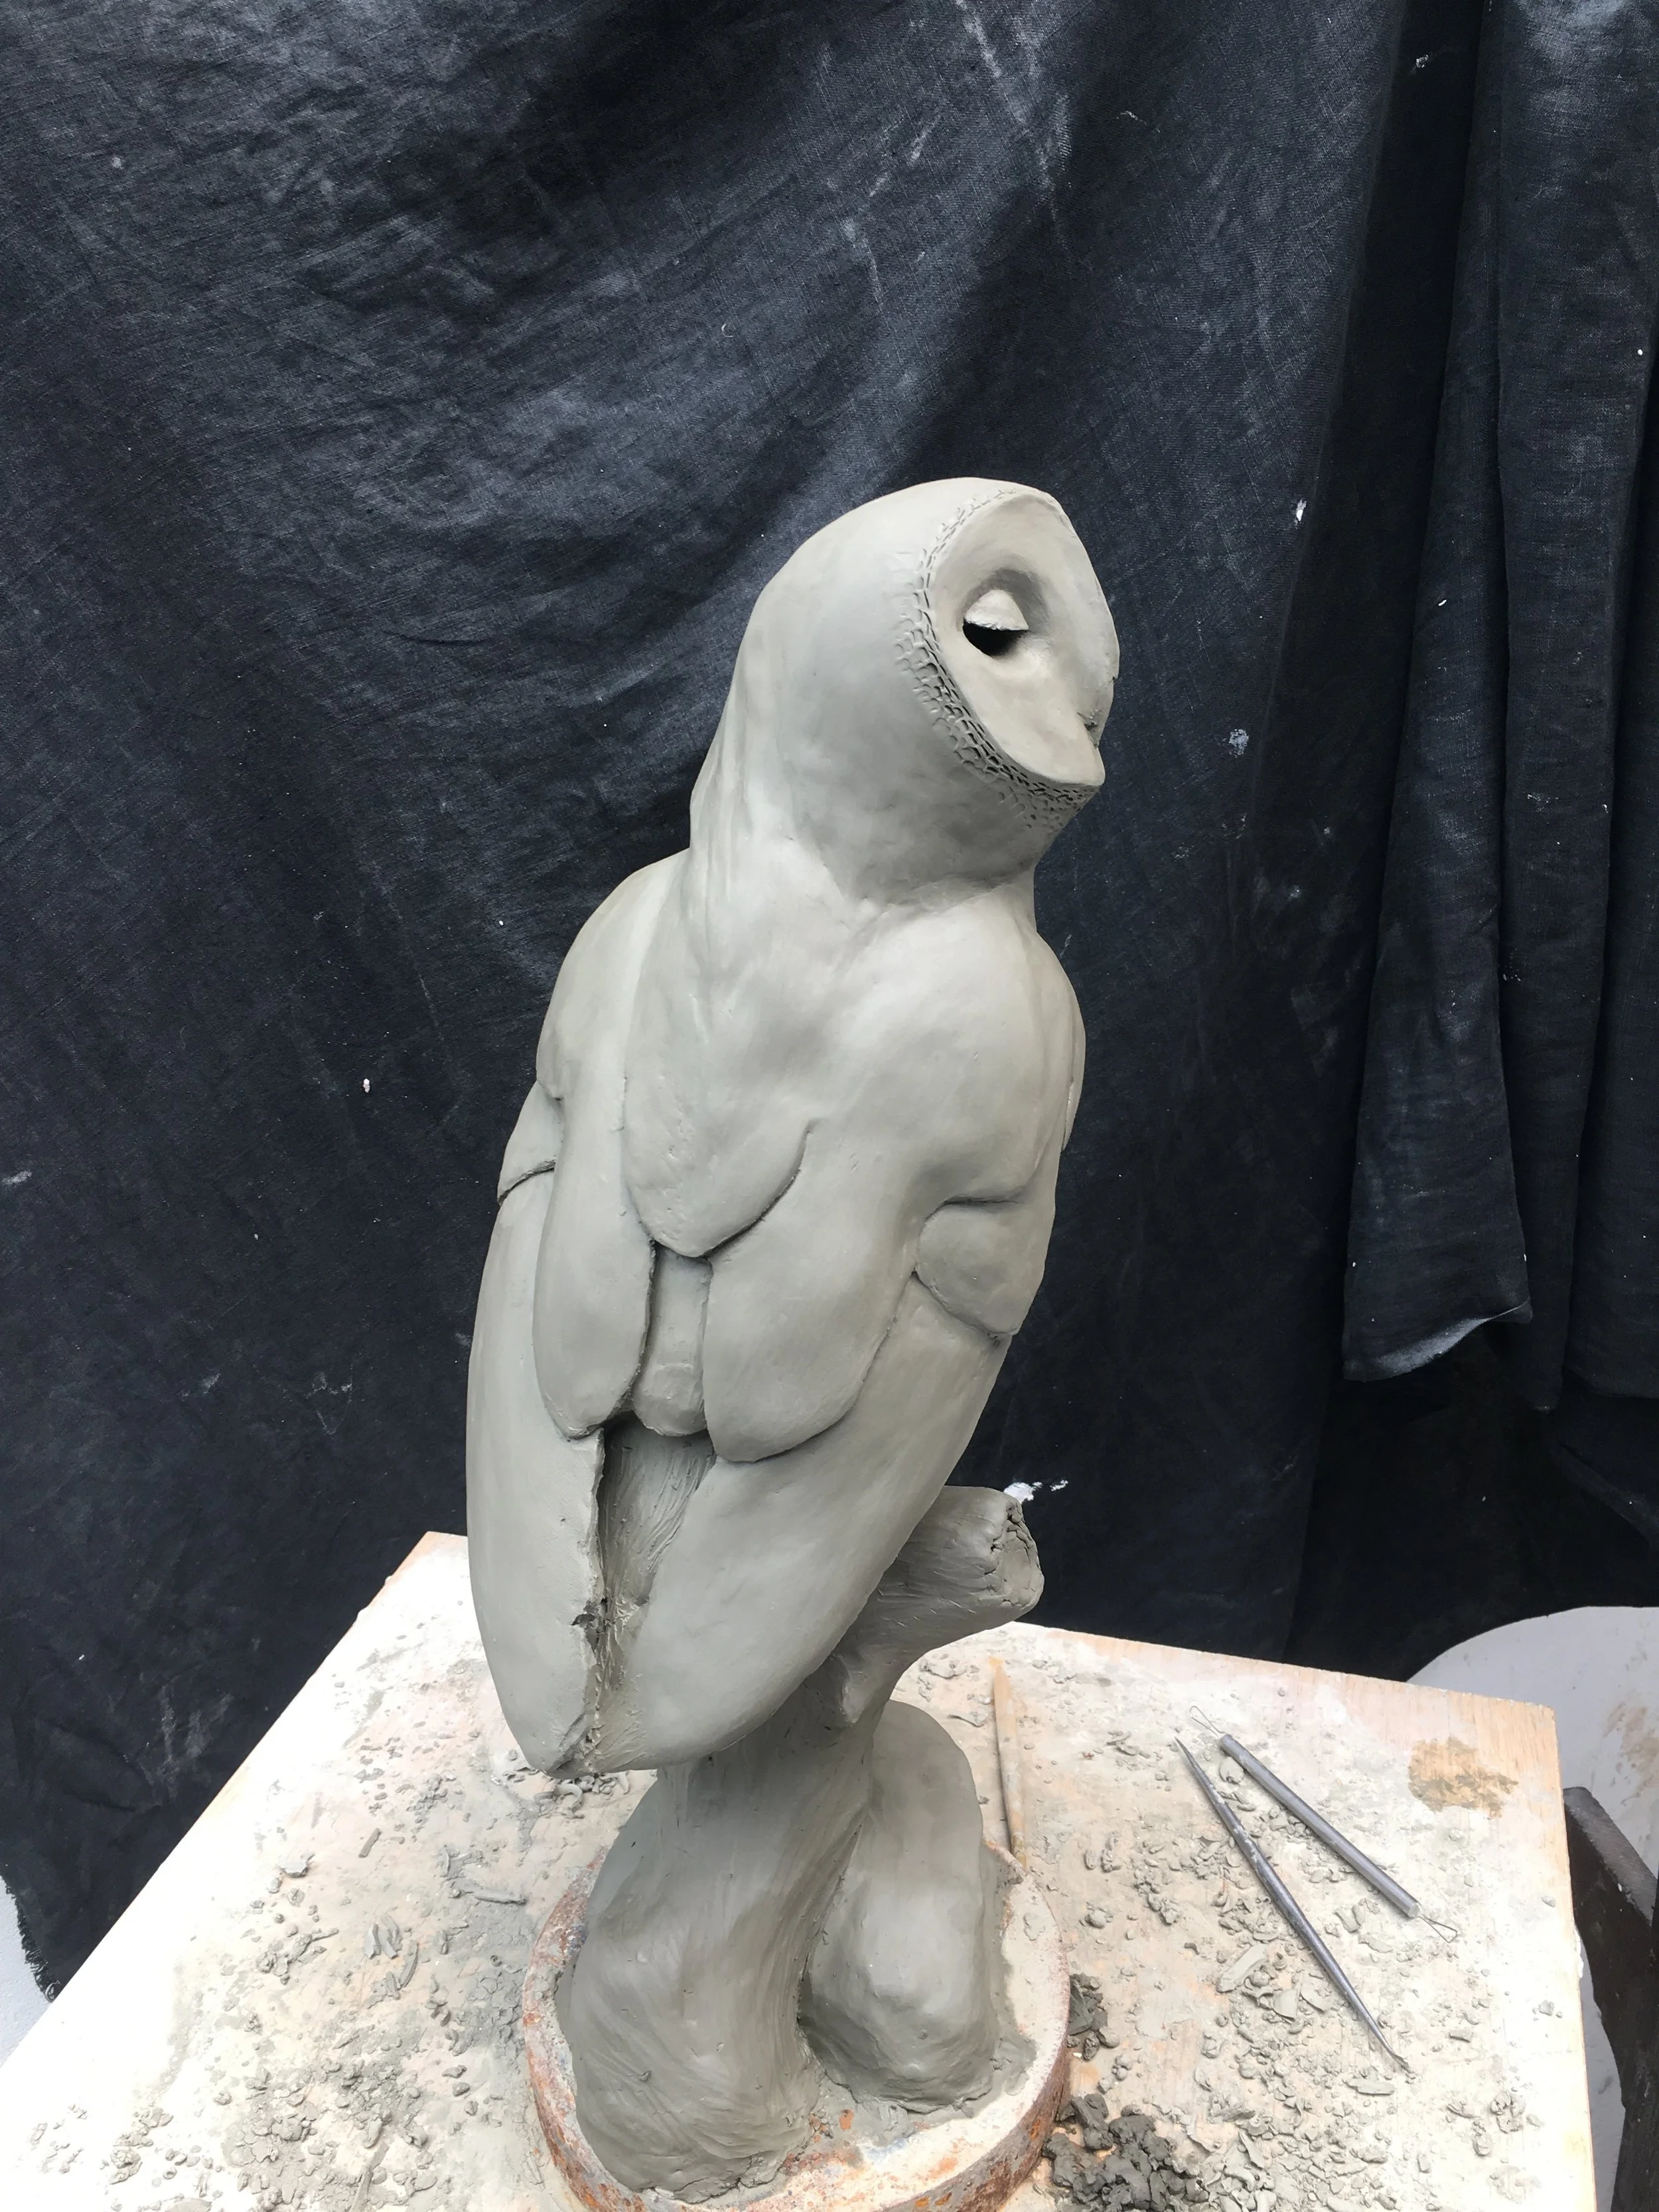
Here the back feathers are smoothed and the eyes complete. i also would add mass where needed to the owl in various places to remove the flatness.
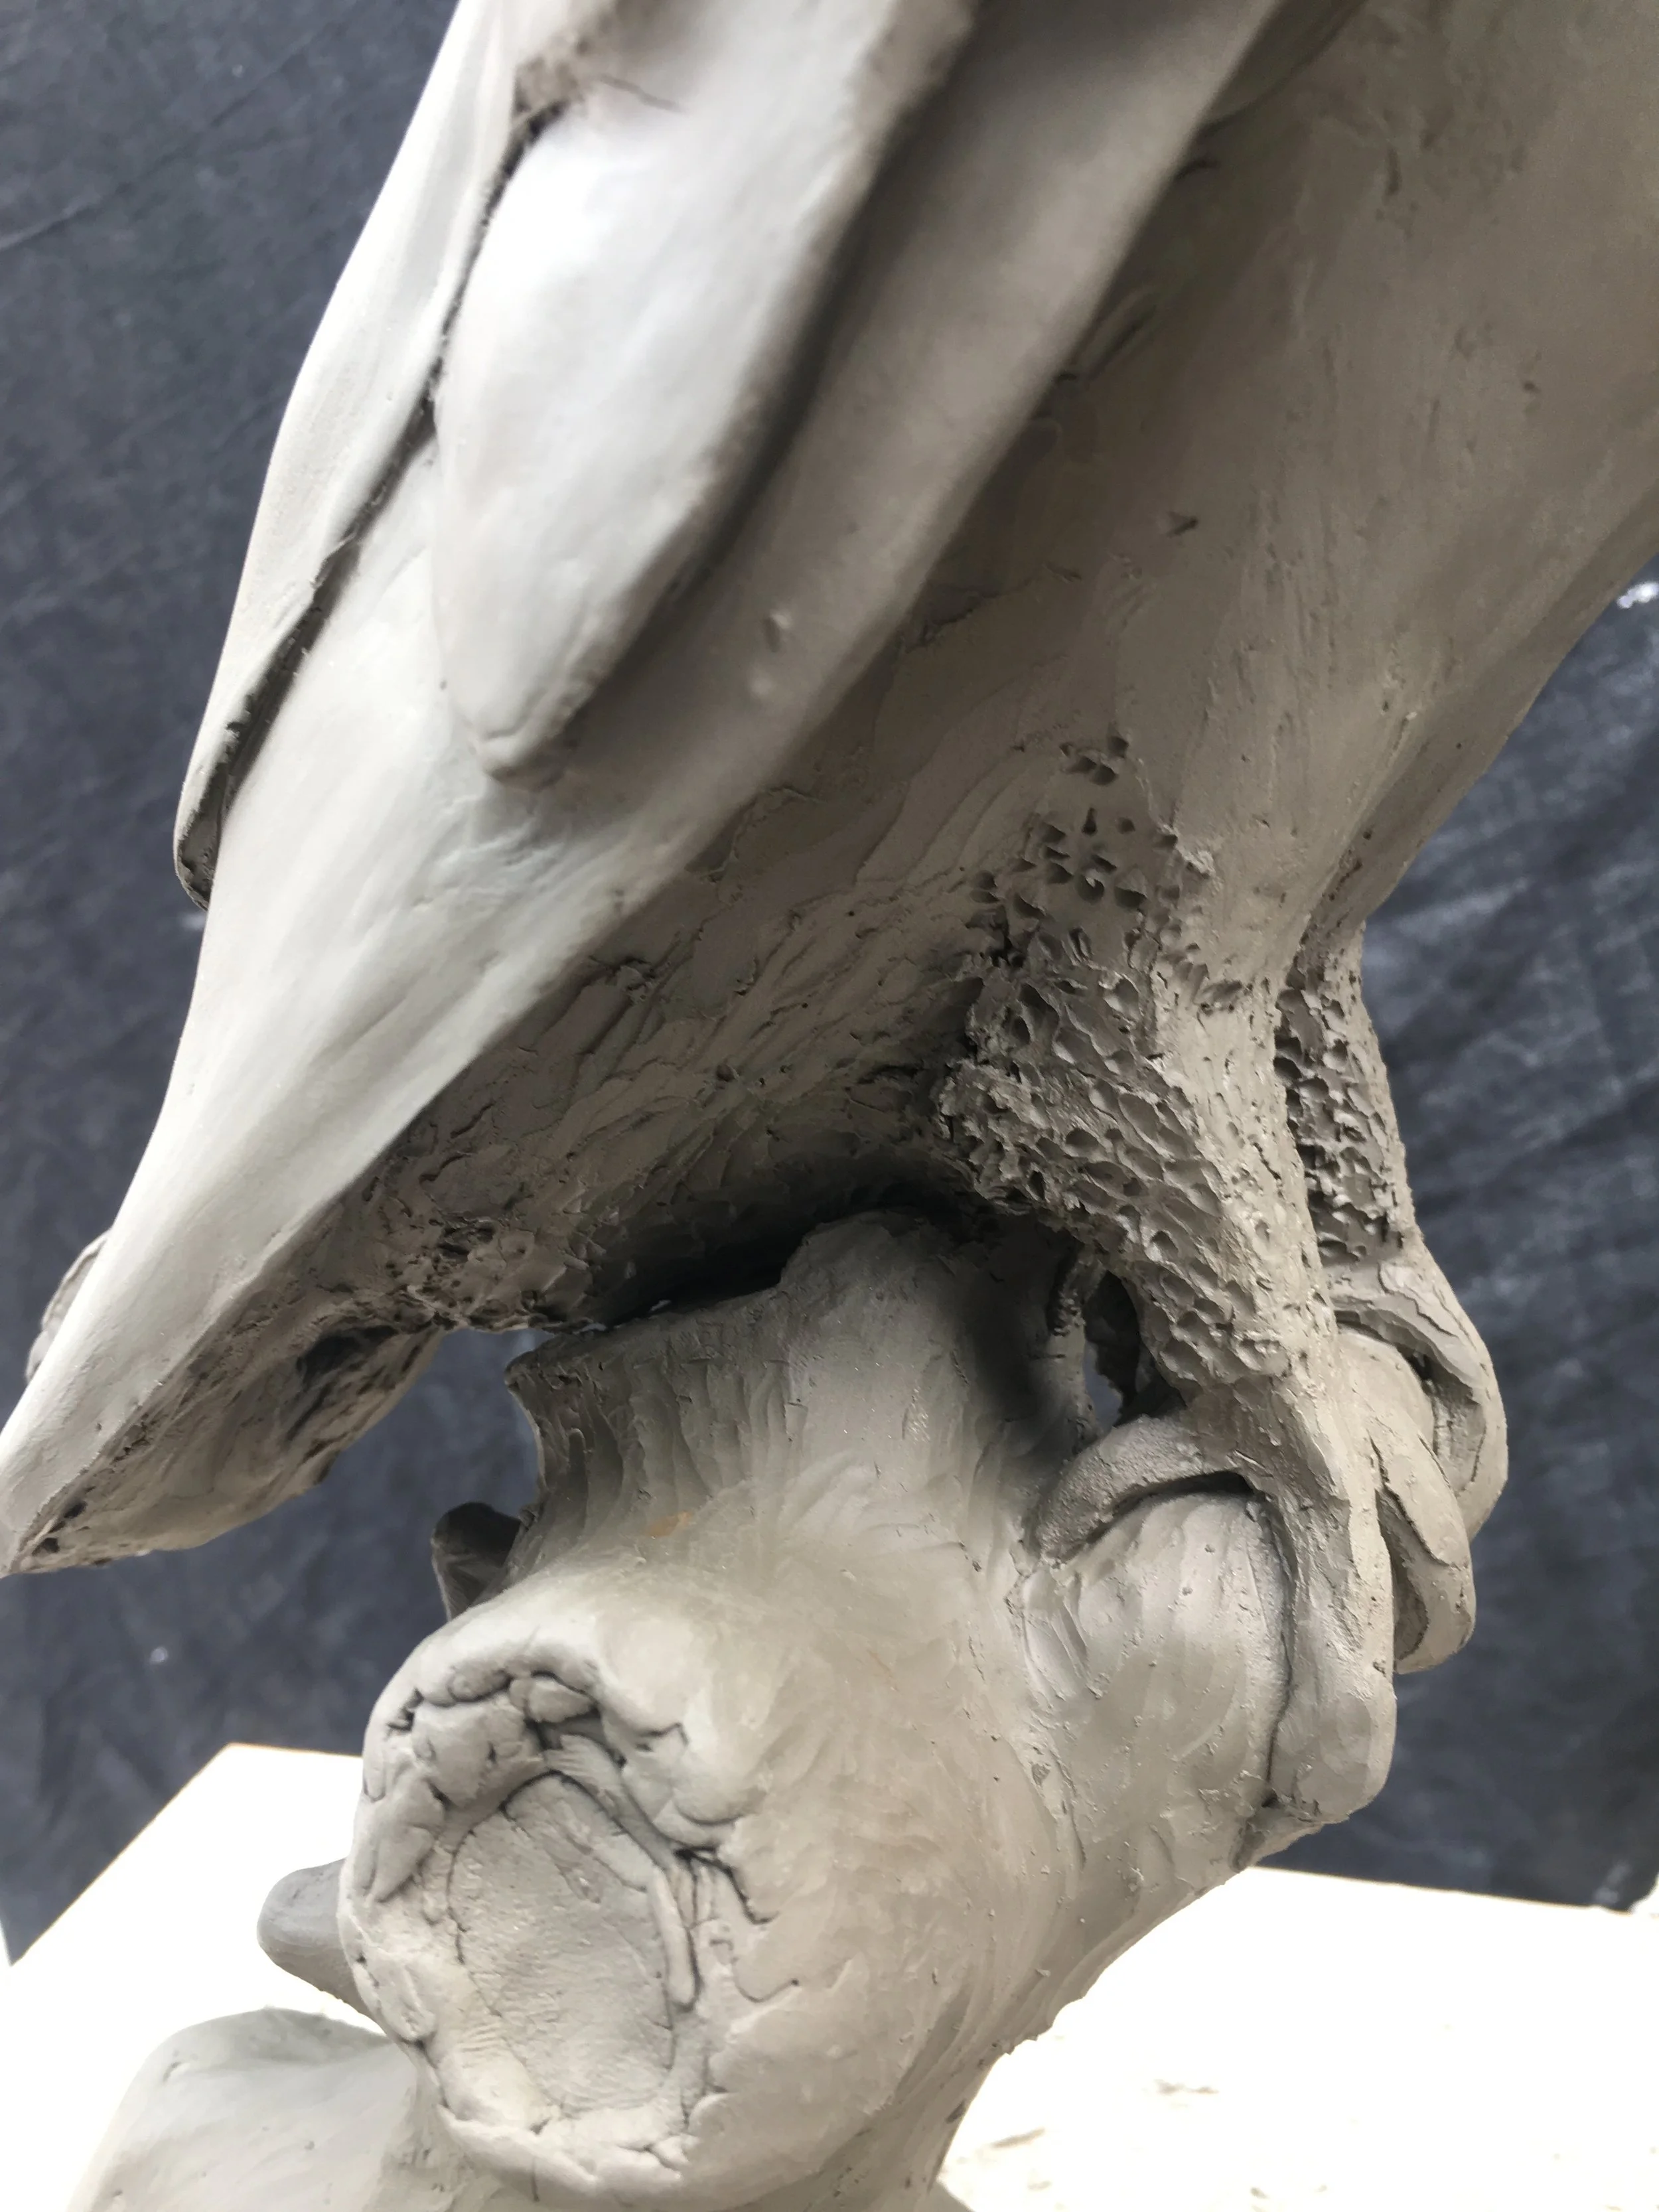
Sometimes it is neccessary to emphasize certain part of a sculpture to give it more interest to the viewer, here I add details to the legs and talons to try and show the power of those features.
One part that would give me trouble was the overlapping of the wing tips. This area would become water logged due to its shape and crack because of how thin it was. If I was to do this sculpture again I would leave this area rough, and then make a mold and copy in plaster, then refine the wing tips and make another mold before getting it bronzed. it is important to know the limitations of the medium you are working with as it will help you make the best models possible. Because I only made one mold, I would have to more finishing with the wax copy at the foundry.
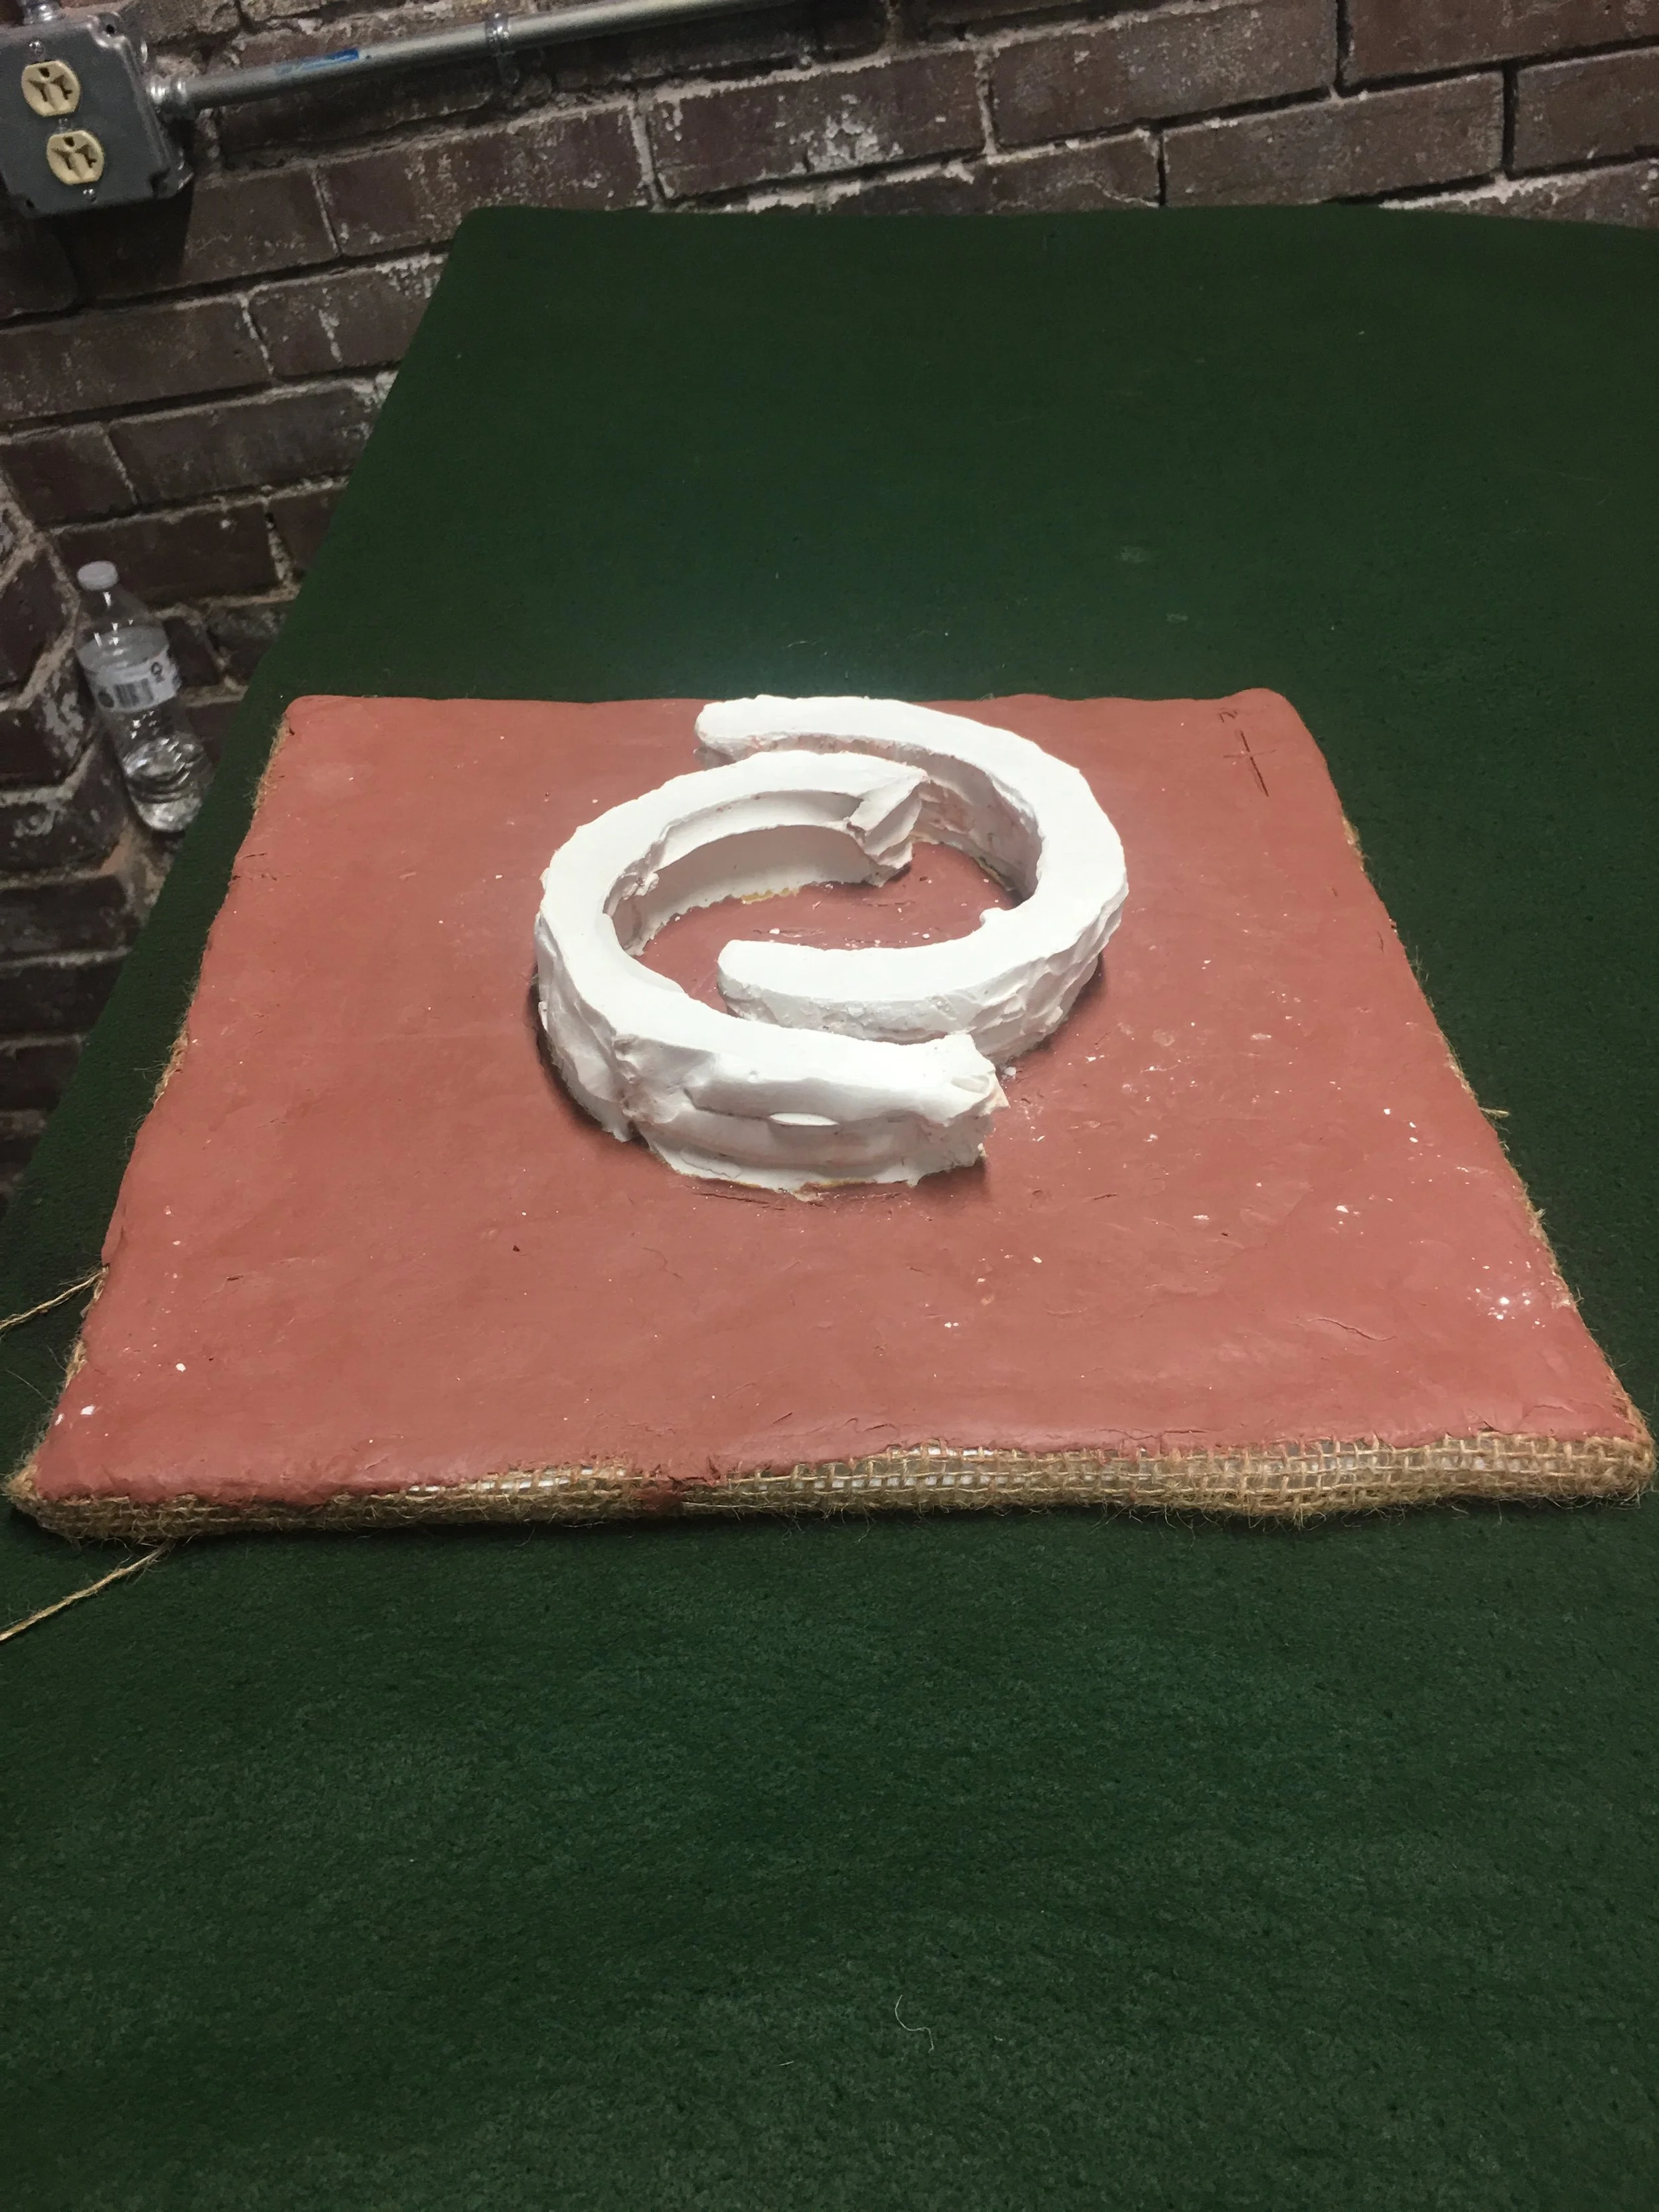
Becuase of the nature of the mold making process, I would have to fill in certain voids to make the model easier to mold. It is important to keep these fixes as minimal as possible, as working plaster is much harder then working in clay.
Ready for mold making, all gaps have been sealed up with clay.