Three Coat Plaster
For this project, we would coat one of the brick walls in the Masonry shop using the Three Coat Plaster method. The first step is laying up a steel lathe. Once the lathe is anchored to the walls with retaining bolts a "Rough coat" is applied to the lathe. The scratch coat has keys put in it to help the next coat adhere to the wall. Once the Rough coat or scratch coat is established a second "brown coat" is applied. The brown coat is more uniform than the rough coat. The final coat is then applied with a much finer plaster and should be as smooth as possible.
The steel lathe is attached to the wall, to give the plaster a surface to adhere to.
Here on a second section of wall you can see the scratch coat visable
Here a screed is applied to help level the final surface, to help level the brown coat.
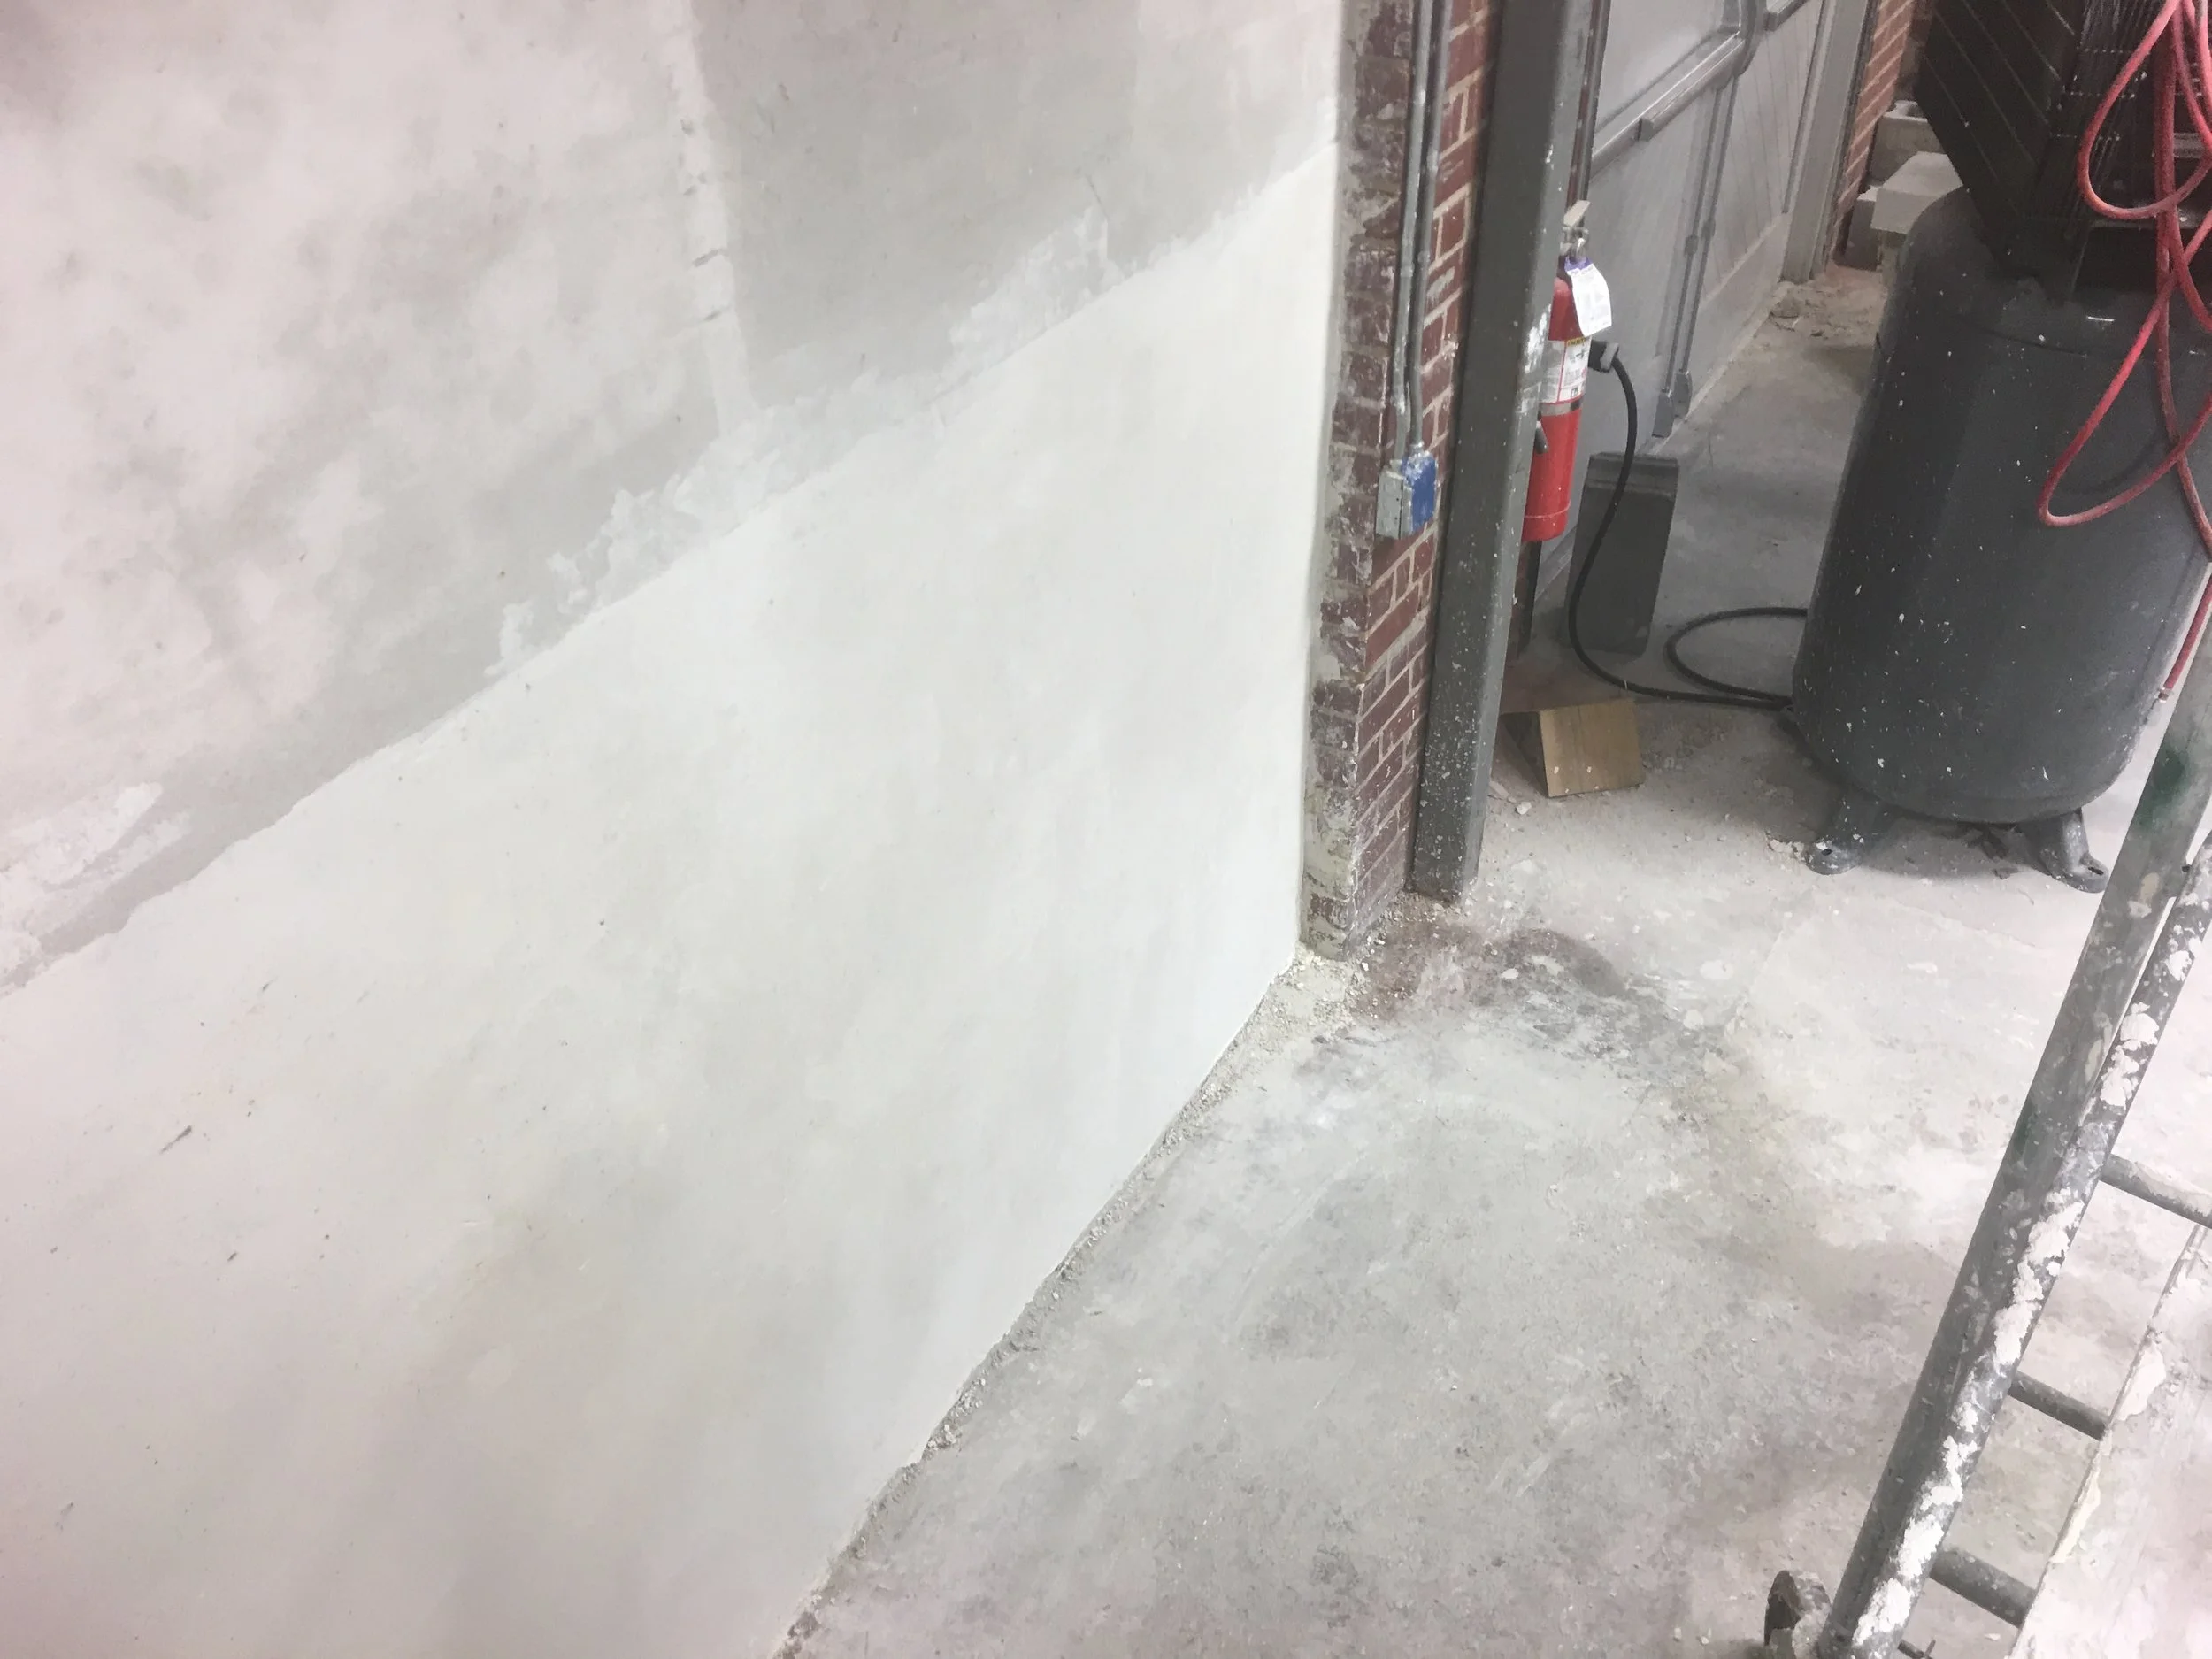
Here you can see the bright white final coat laid over the darker but smooth brown coat. The final coat we used here was oyster shell lime. up close small fragments of the shell could be seen that gave it a very interesting apperance.


