I'on Project
This month, we have finished the I'on project. After I worked on the columns last week, I learned how to use our new mortar mixer. Before we had the mixer we were mixing everything by hand in the wheelbarrow. While this works, it takes a long time to make up mortar or concrete for a large project like the I'on project. Unfortunately I did not get any pictures of this as mixing the mortar is time sensitive and very dirty, but I made up several loads of mortar and portland cement for the other students that were laying the bricks on the columns. I also helped finish laying out the cinder block in the main wall, and was able to lay out the curved section of the cinder block. I have not worked with doing curved work before so it felt a bit strange when you are used to laying everything in straight lines.
After the cinder block was laid, a header course of reclaimed bricks were laid over the top of the cinder block wall. I was then instructed to use the grout bag to fill in the joints. After the joints are given time to set up, you then come back and scrape of the excess and point up the work. It is very important that no holes be left, as water can seep in and do damage over time. I found that using runnier mortar was easiest to fill in the joints completely, though it would have a tendency to spill out at the edges. When I used thicker mortar in the grout bag it would not spill out at the edges, but was harder to completely fill the joints. I finally decided using thinner was better, and afterwards would fill the edges when I would point up with thicker mortar
Cinder block courses laid over rebar
My colomn
Here you can see the mortar straight from the grout bag. You will notice the edges of the header joints the mortar tends to run through where there is an overhang over the cinder blocks. I would return later with drier waste mortar from pointing and fill these gaps.
Here you can see the transition between the grout bag mortar, and the pointed up finished work.
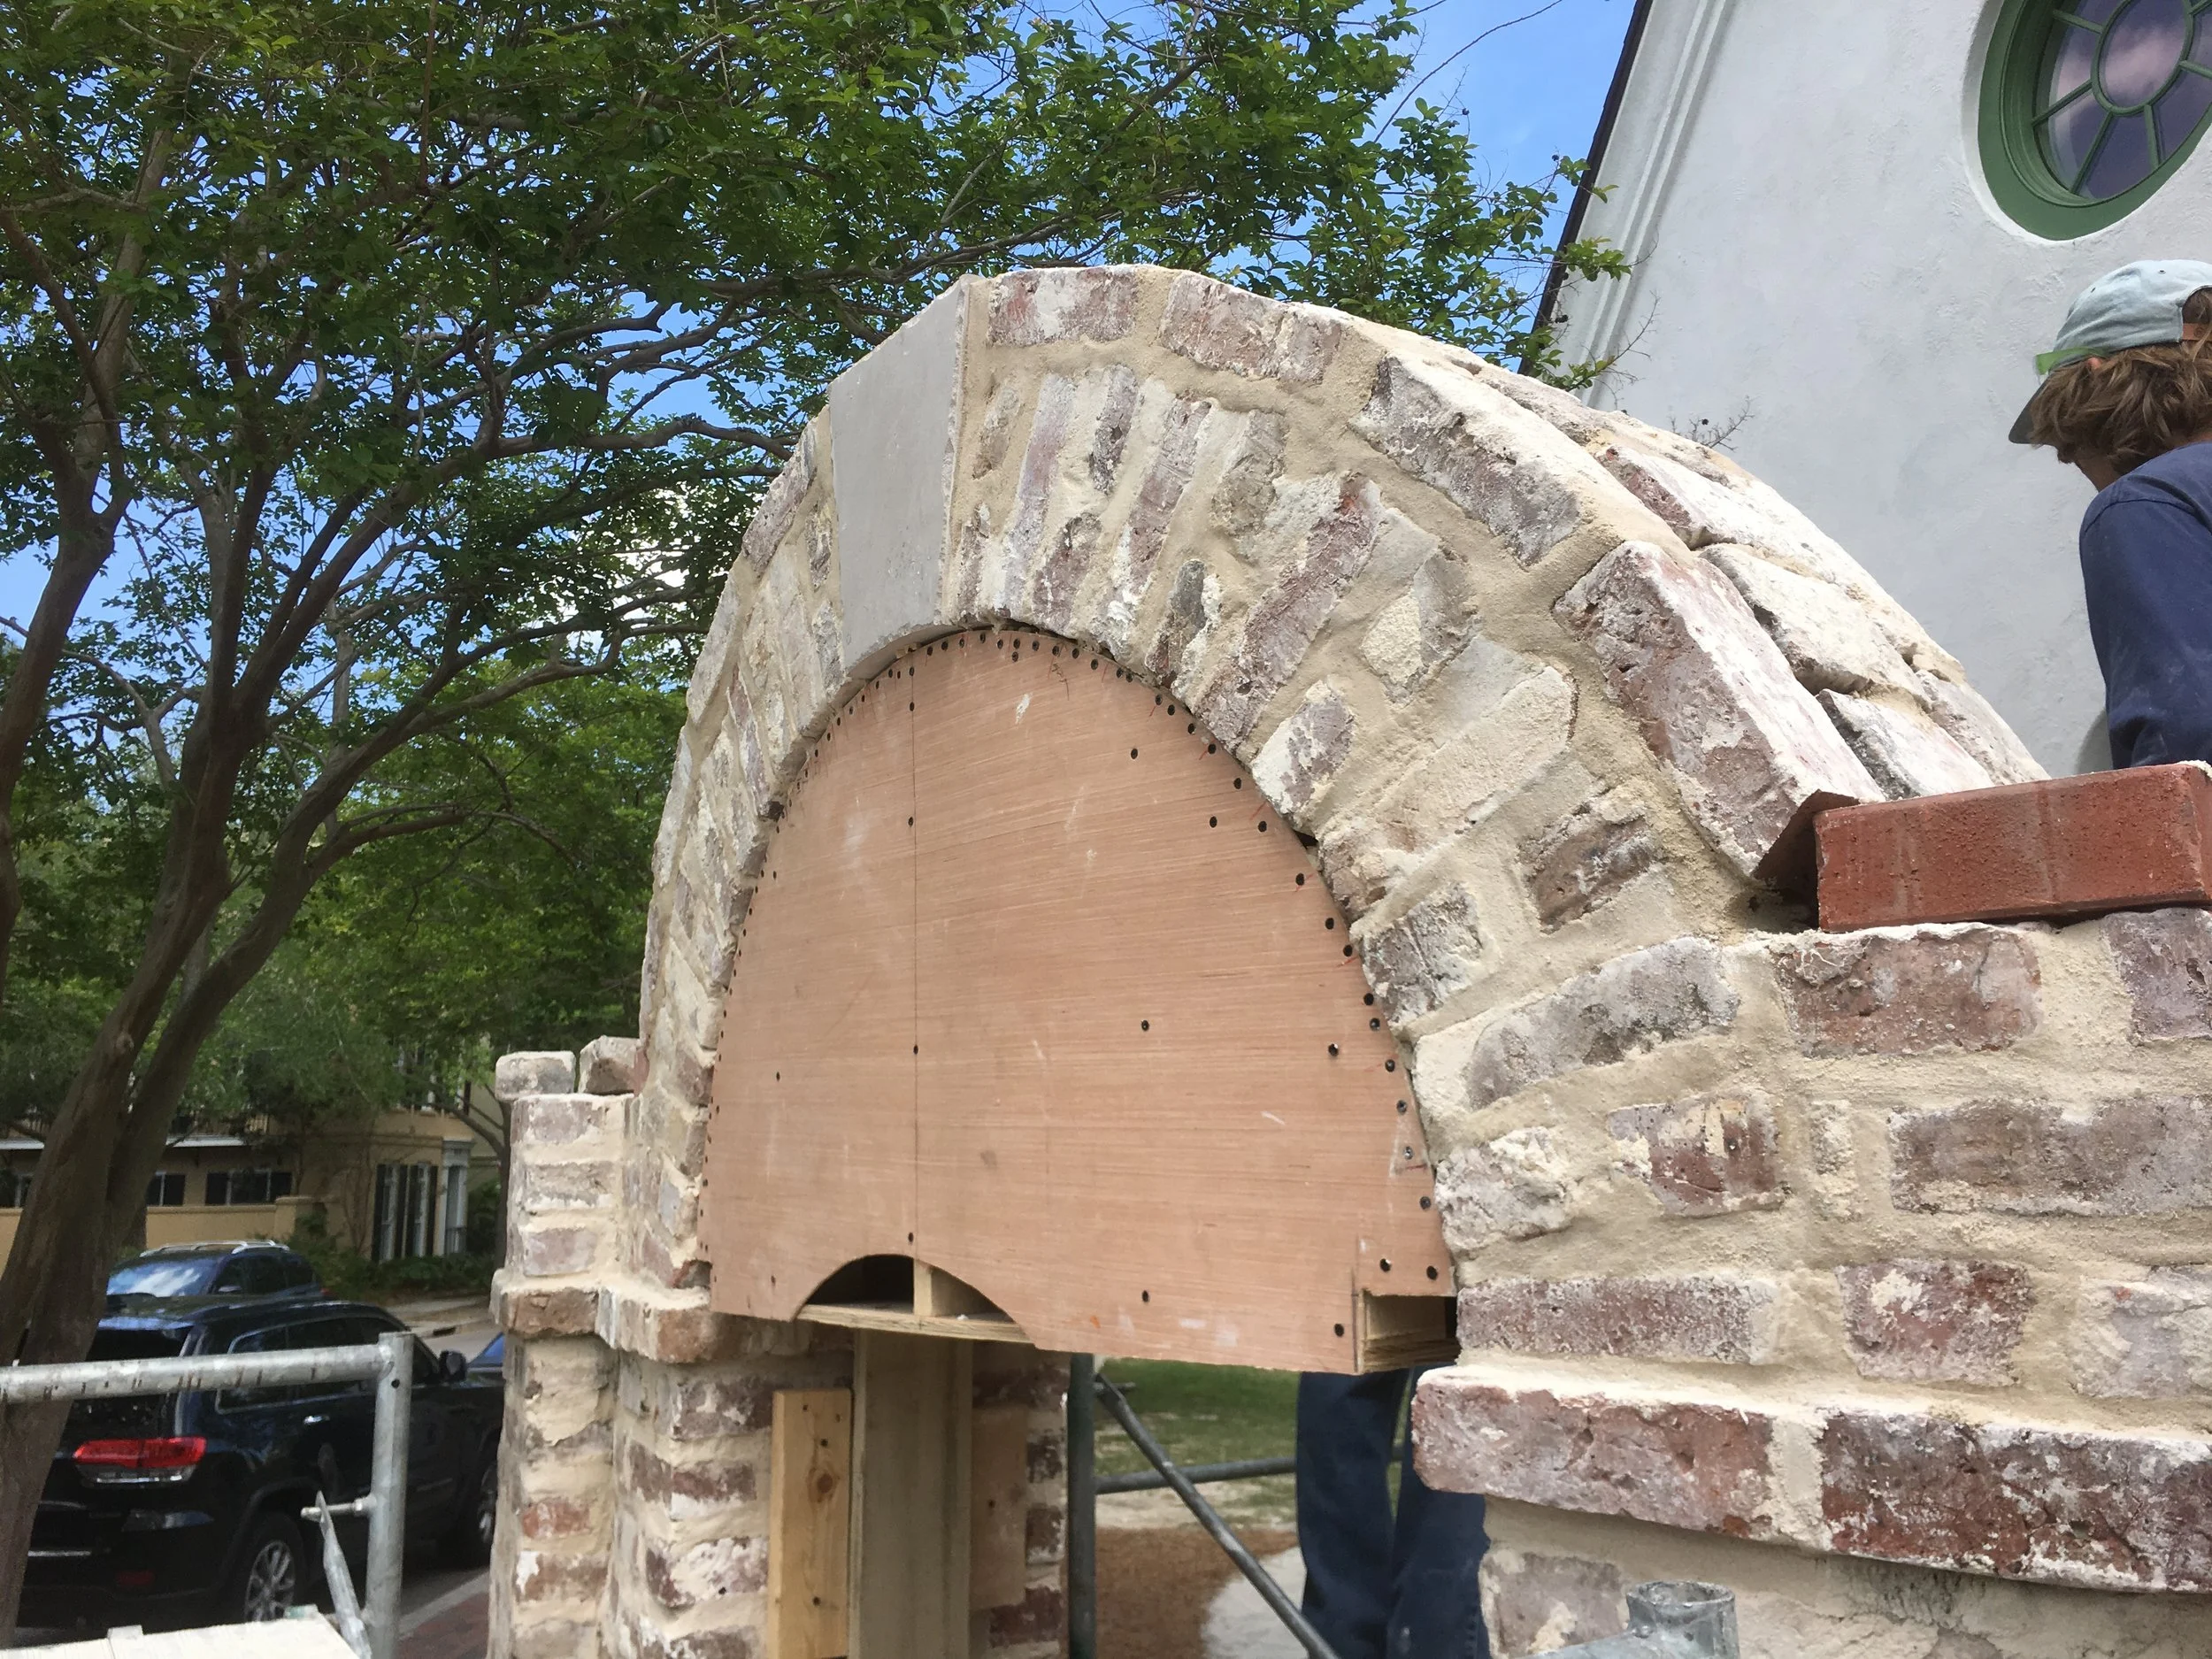
My last part of the project involved pointing up a curved section of the wall. This was a more challenging part, but it was a great experience. For the curved section I used thicker mortar due to the angles and gravity. sometimes I had to pack the mortar in by hand and then reapply to make sure there was a good seal but in the end it turned out nicely.
Finished project


