London City and Guilds: Carving stone by triangulation method
Project Title: BAHC1.4 Developing Practice
Brief: Scrolling Acanthus Relief
Project Length: 10 Days
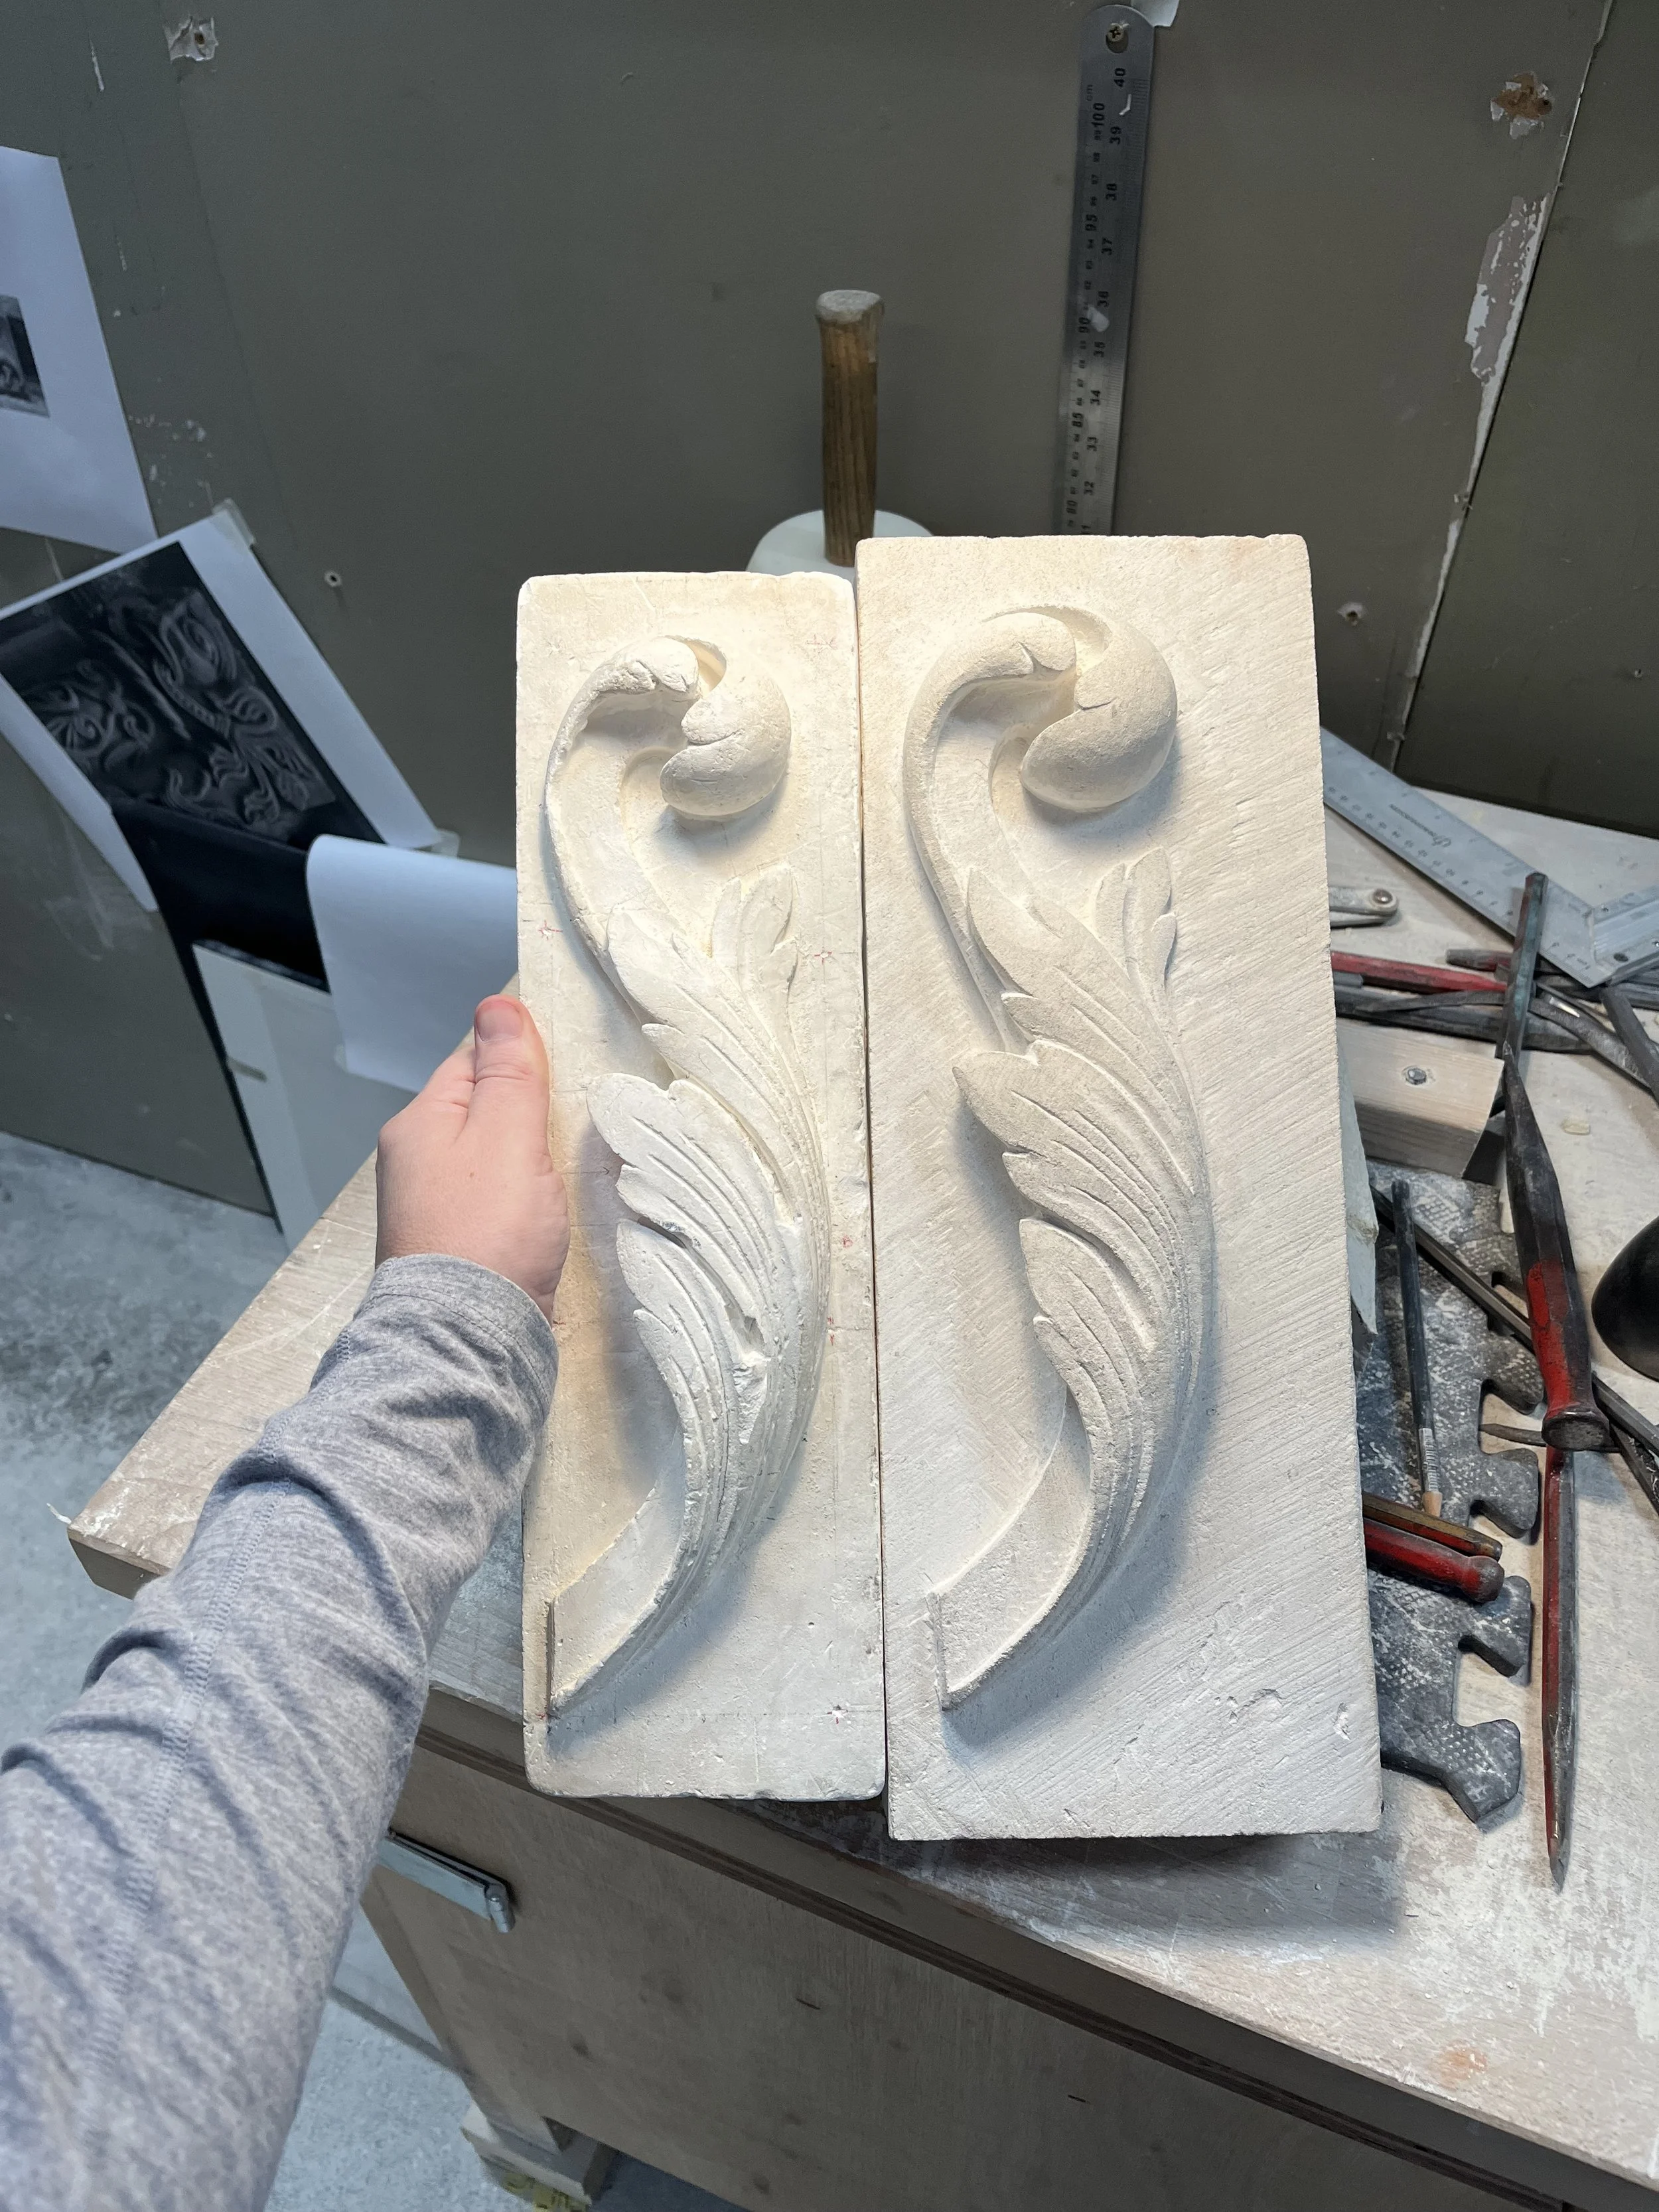
Overview: The objective of this project was to gain experience on carving an acanthus leaf, and to become familiar with the process of finding points in space with the triangulation method. The project was to be completed within 10 days and should accurately portray the acanthus as shown on the plaster model we were given. The acanthus is a very common historical motif and is frequently encountered in carving and modeling.
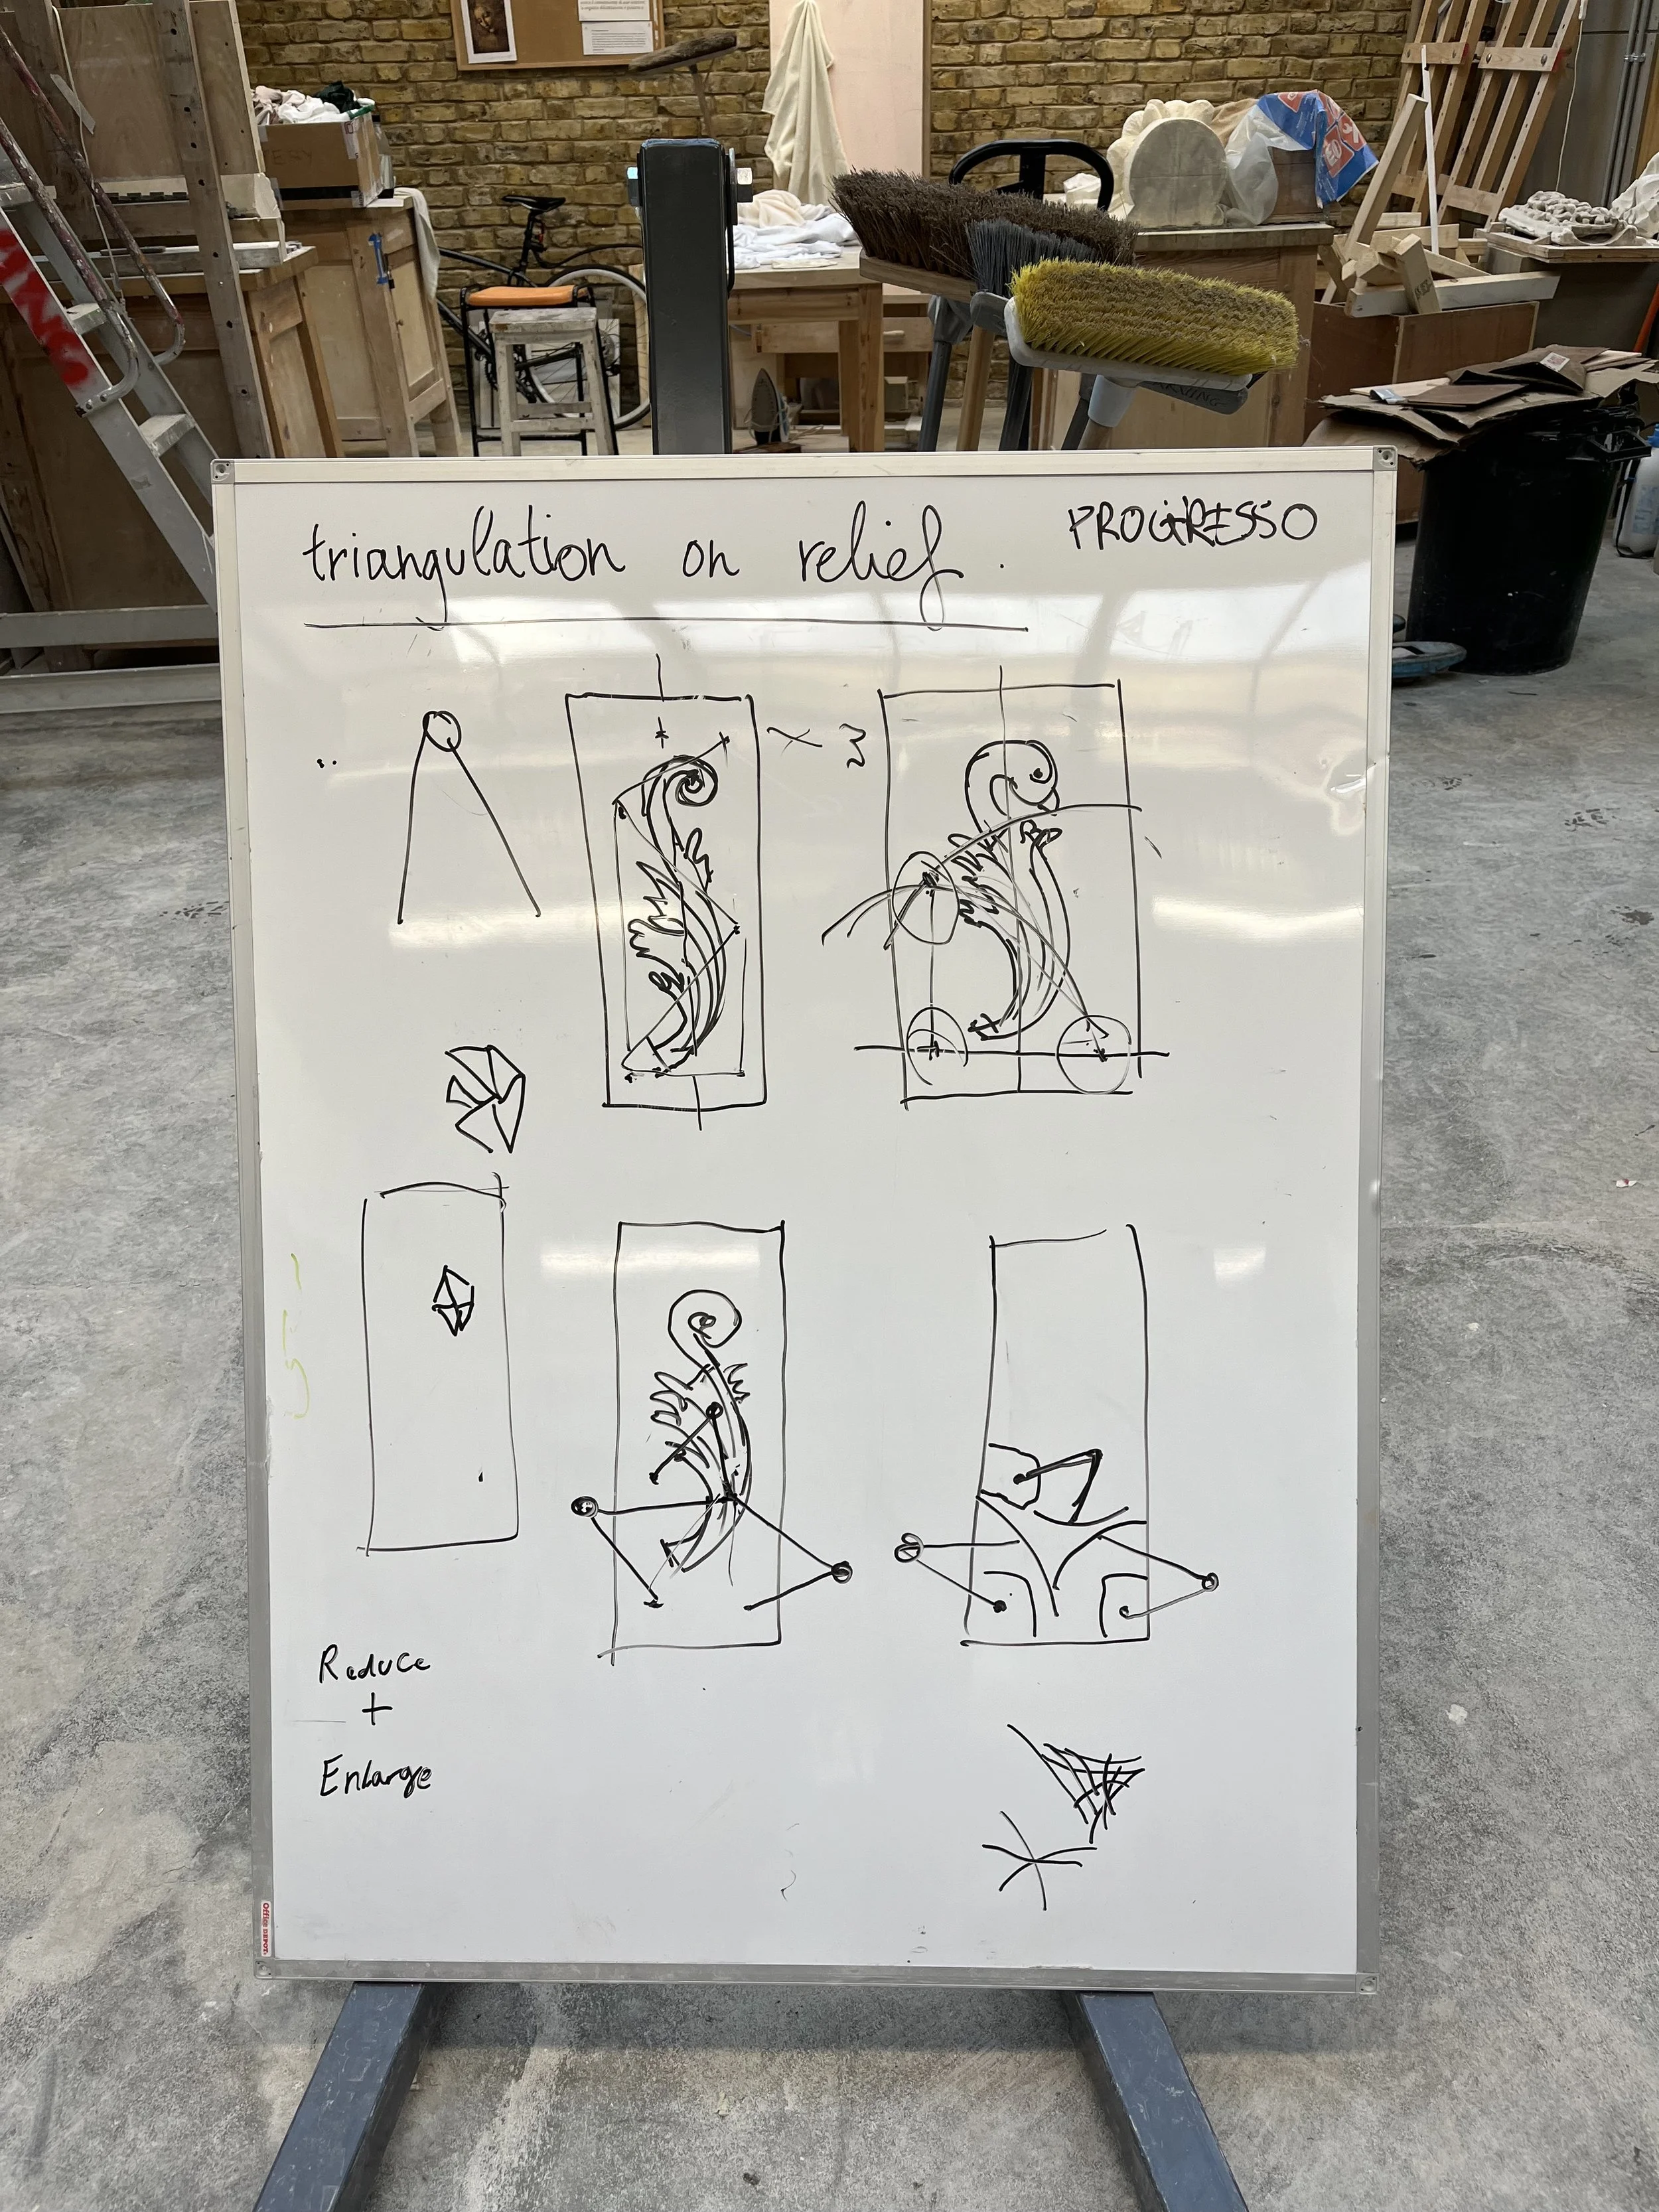
Triangulation:
Triangulation was shown to us with the use of three compasses. If 2 compasses are used it can help you find an exact location on a flat plane, but by adding a third compass you can now find the same point in 3D space. If two compasses are correct and the third falls short you will know you still have more to carve to hit the correct depth. If the 3rd compass overshoots the other two you have carved too deep.
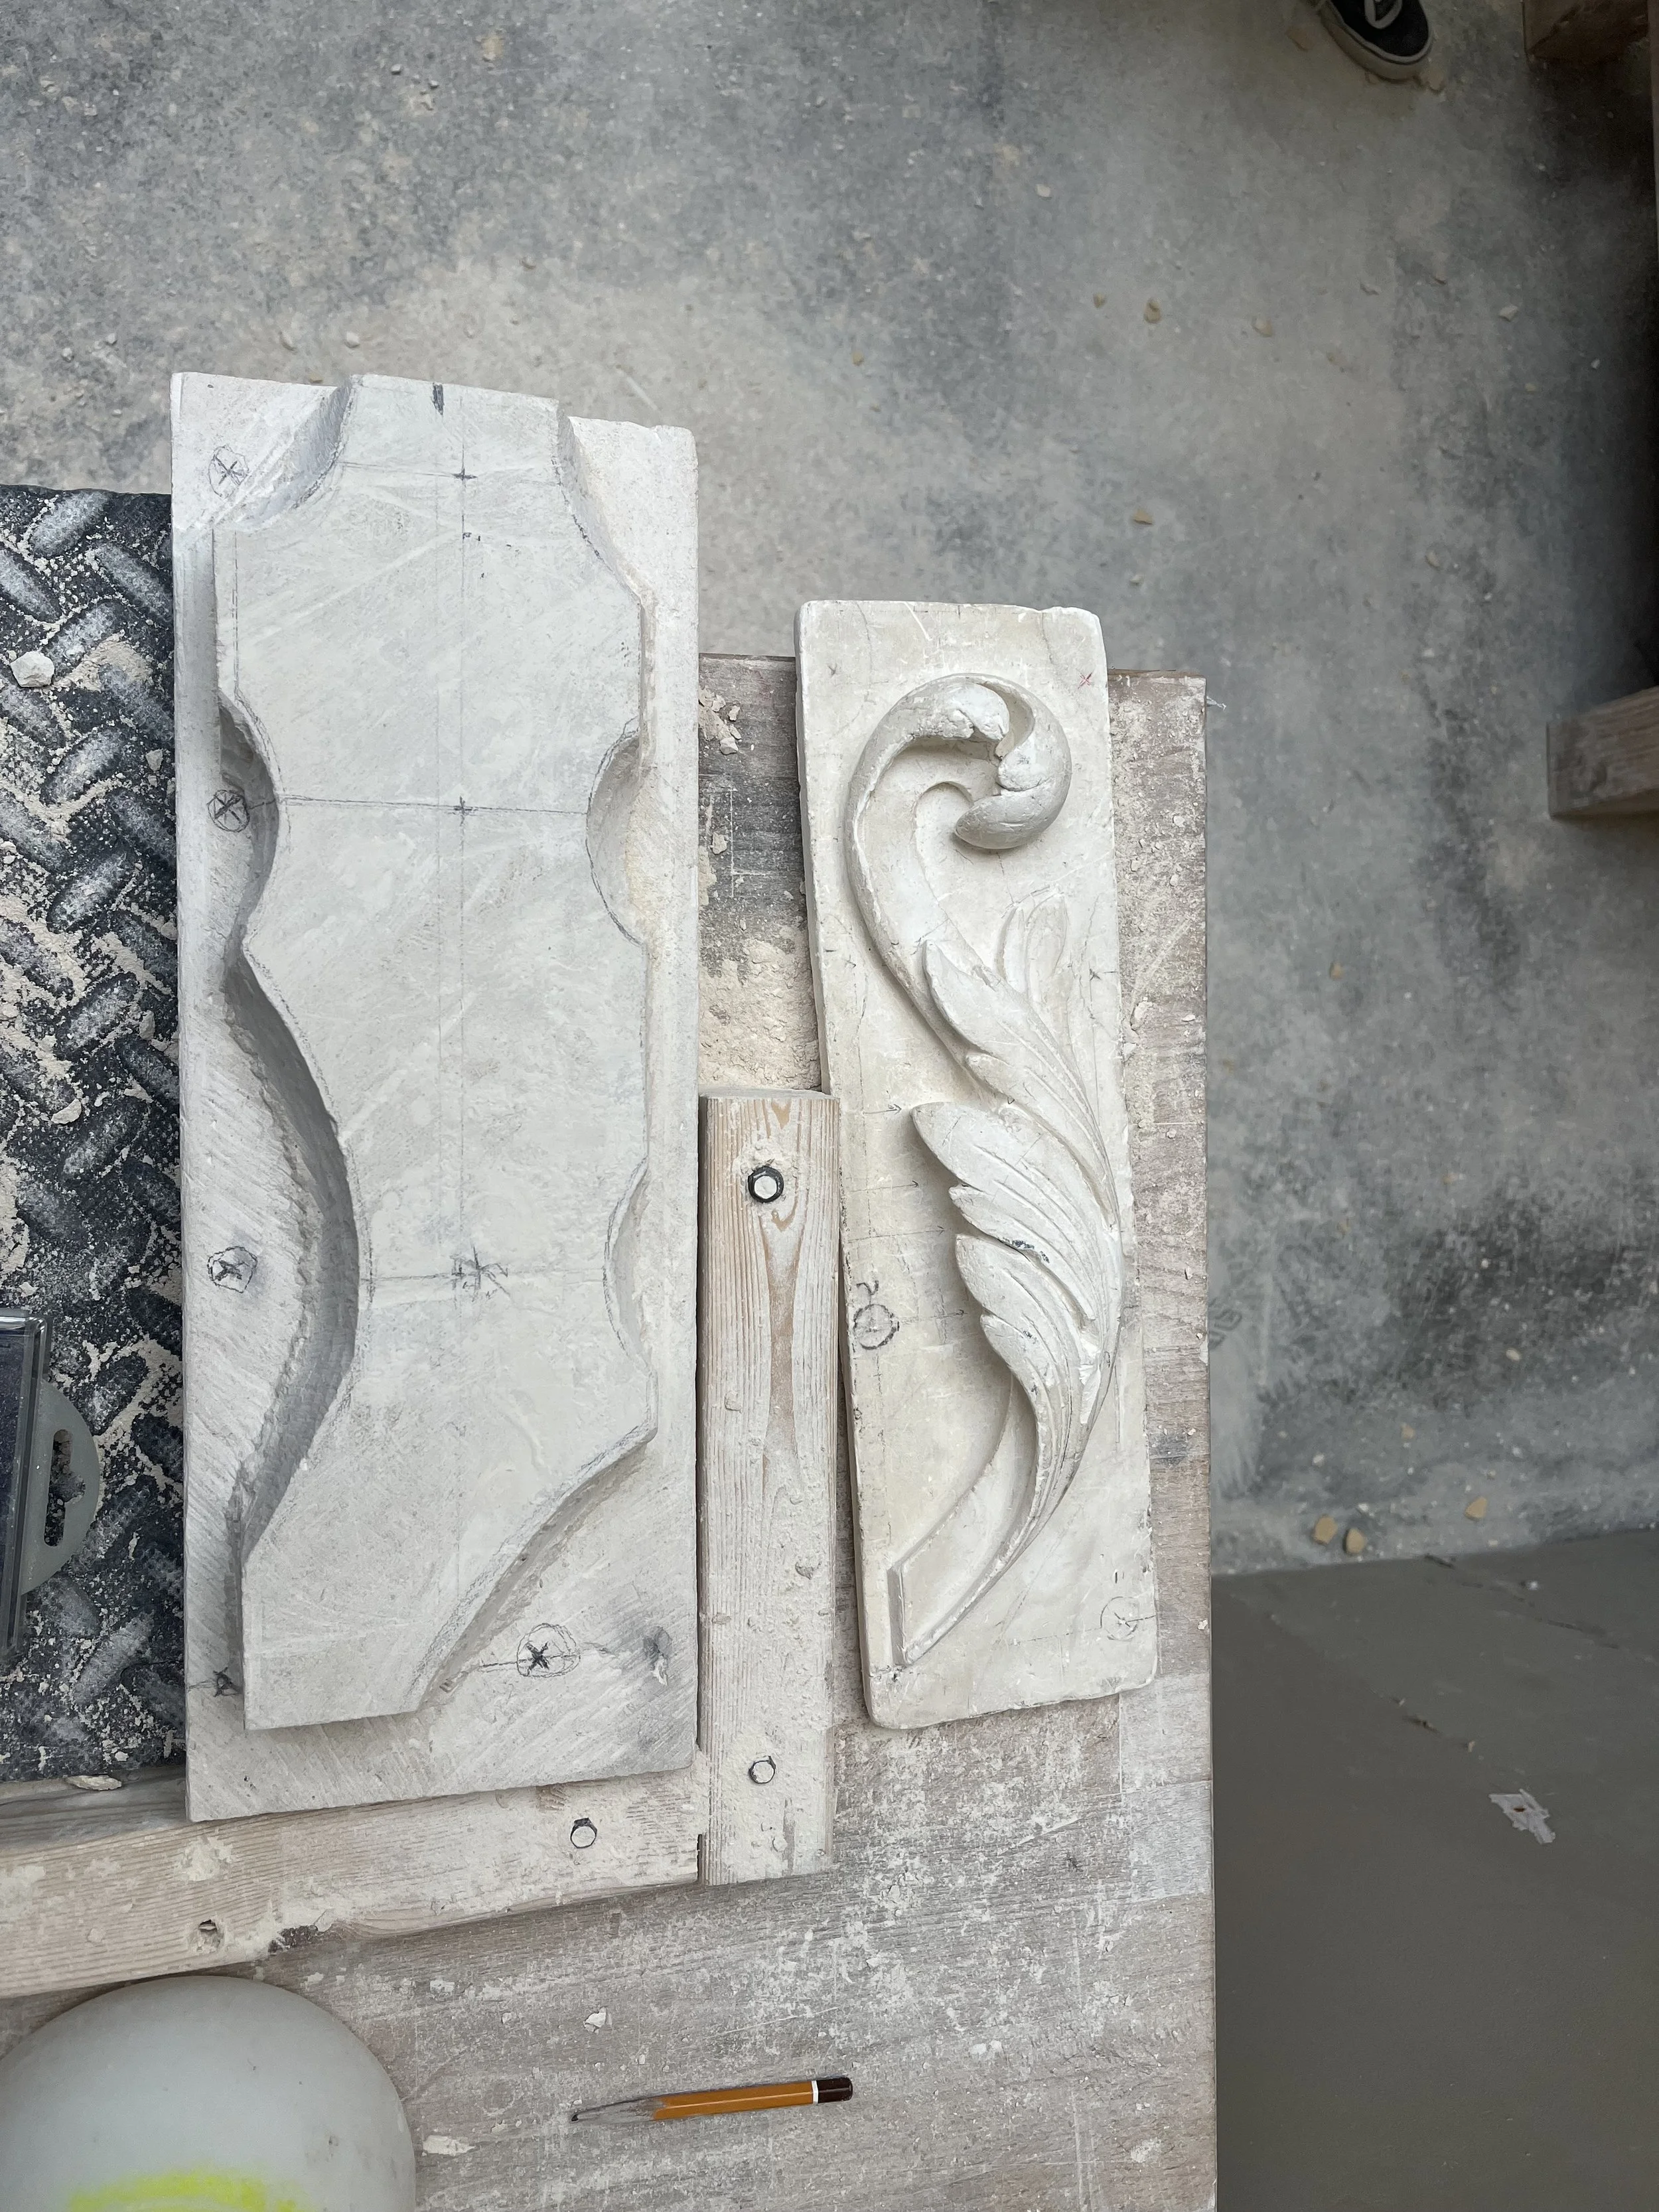
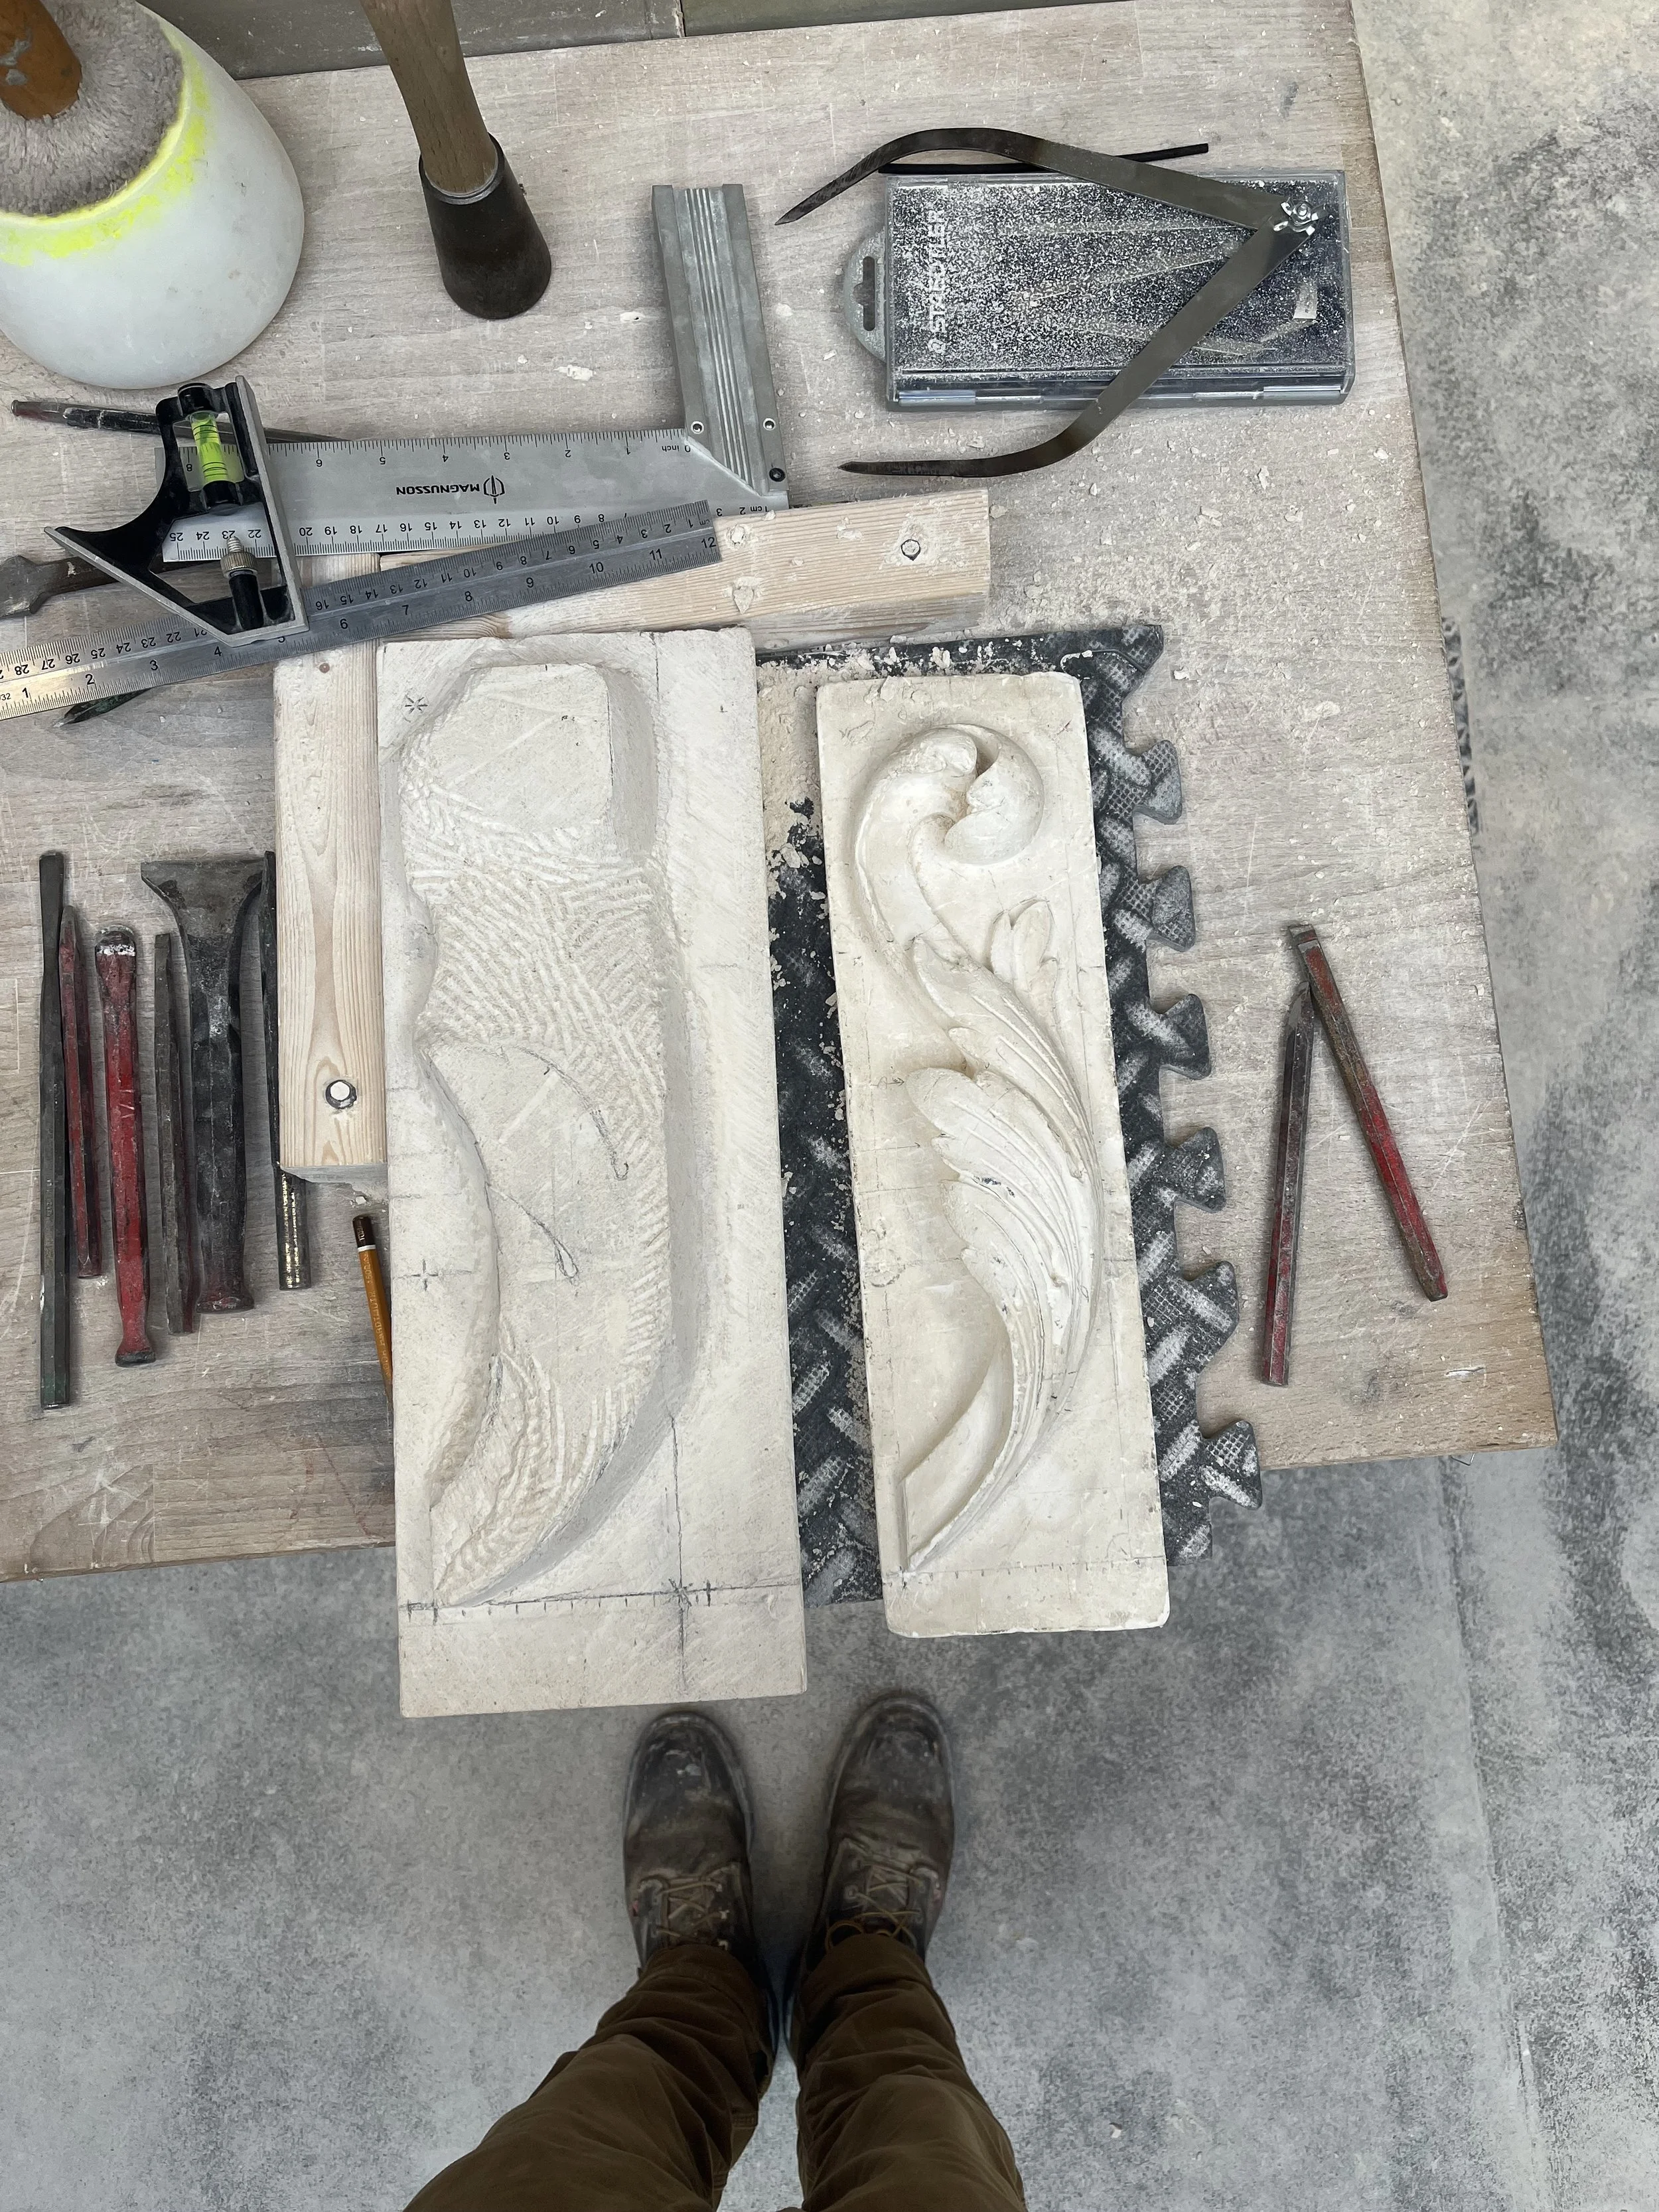
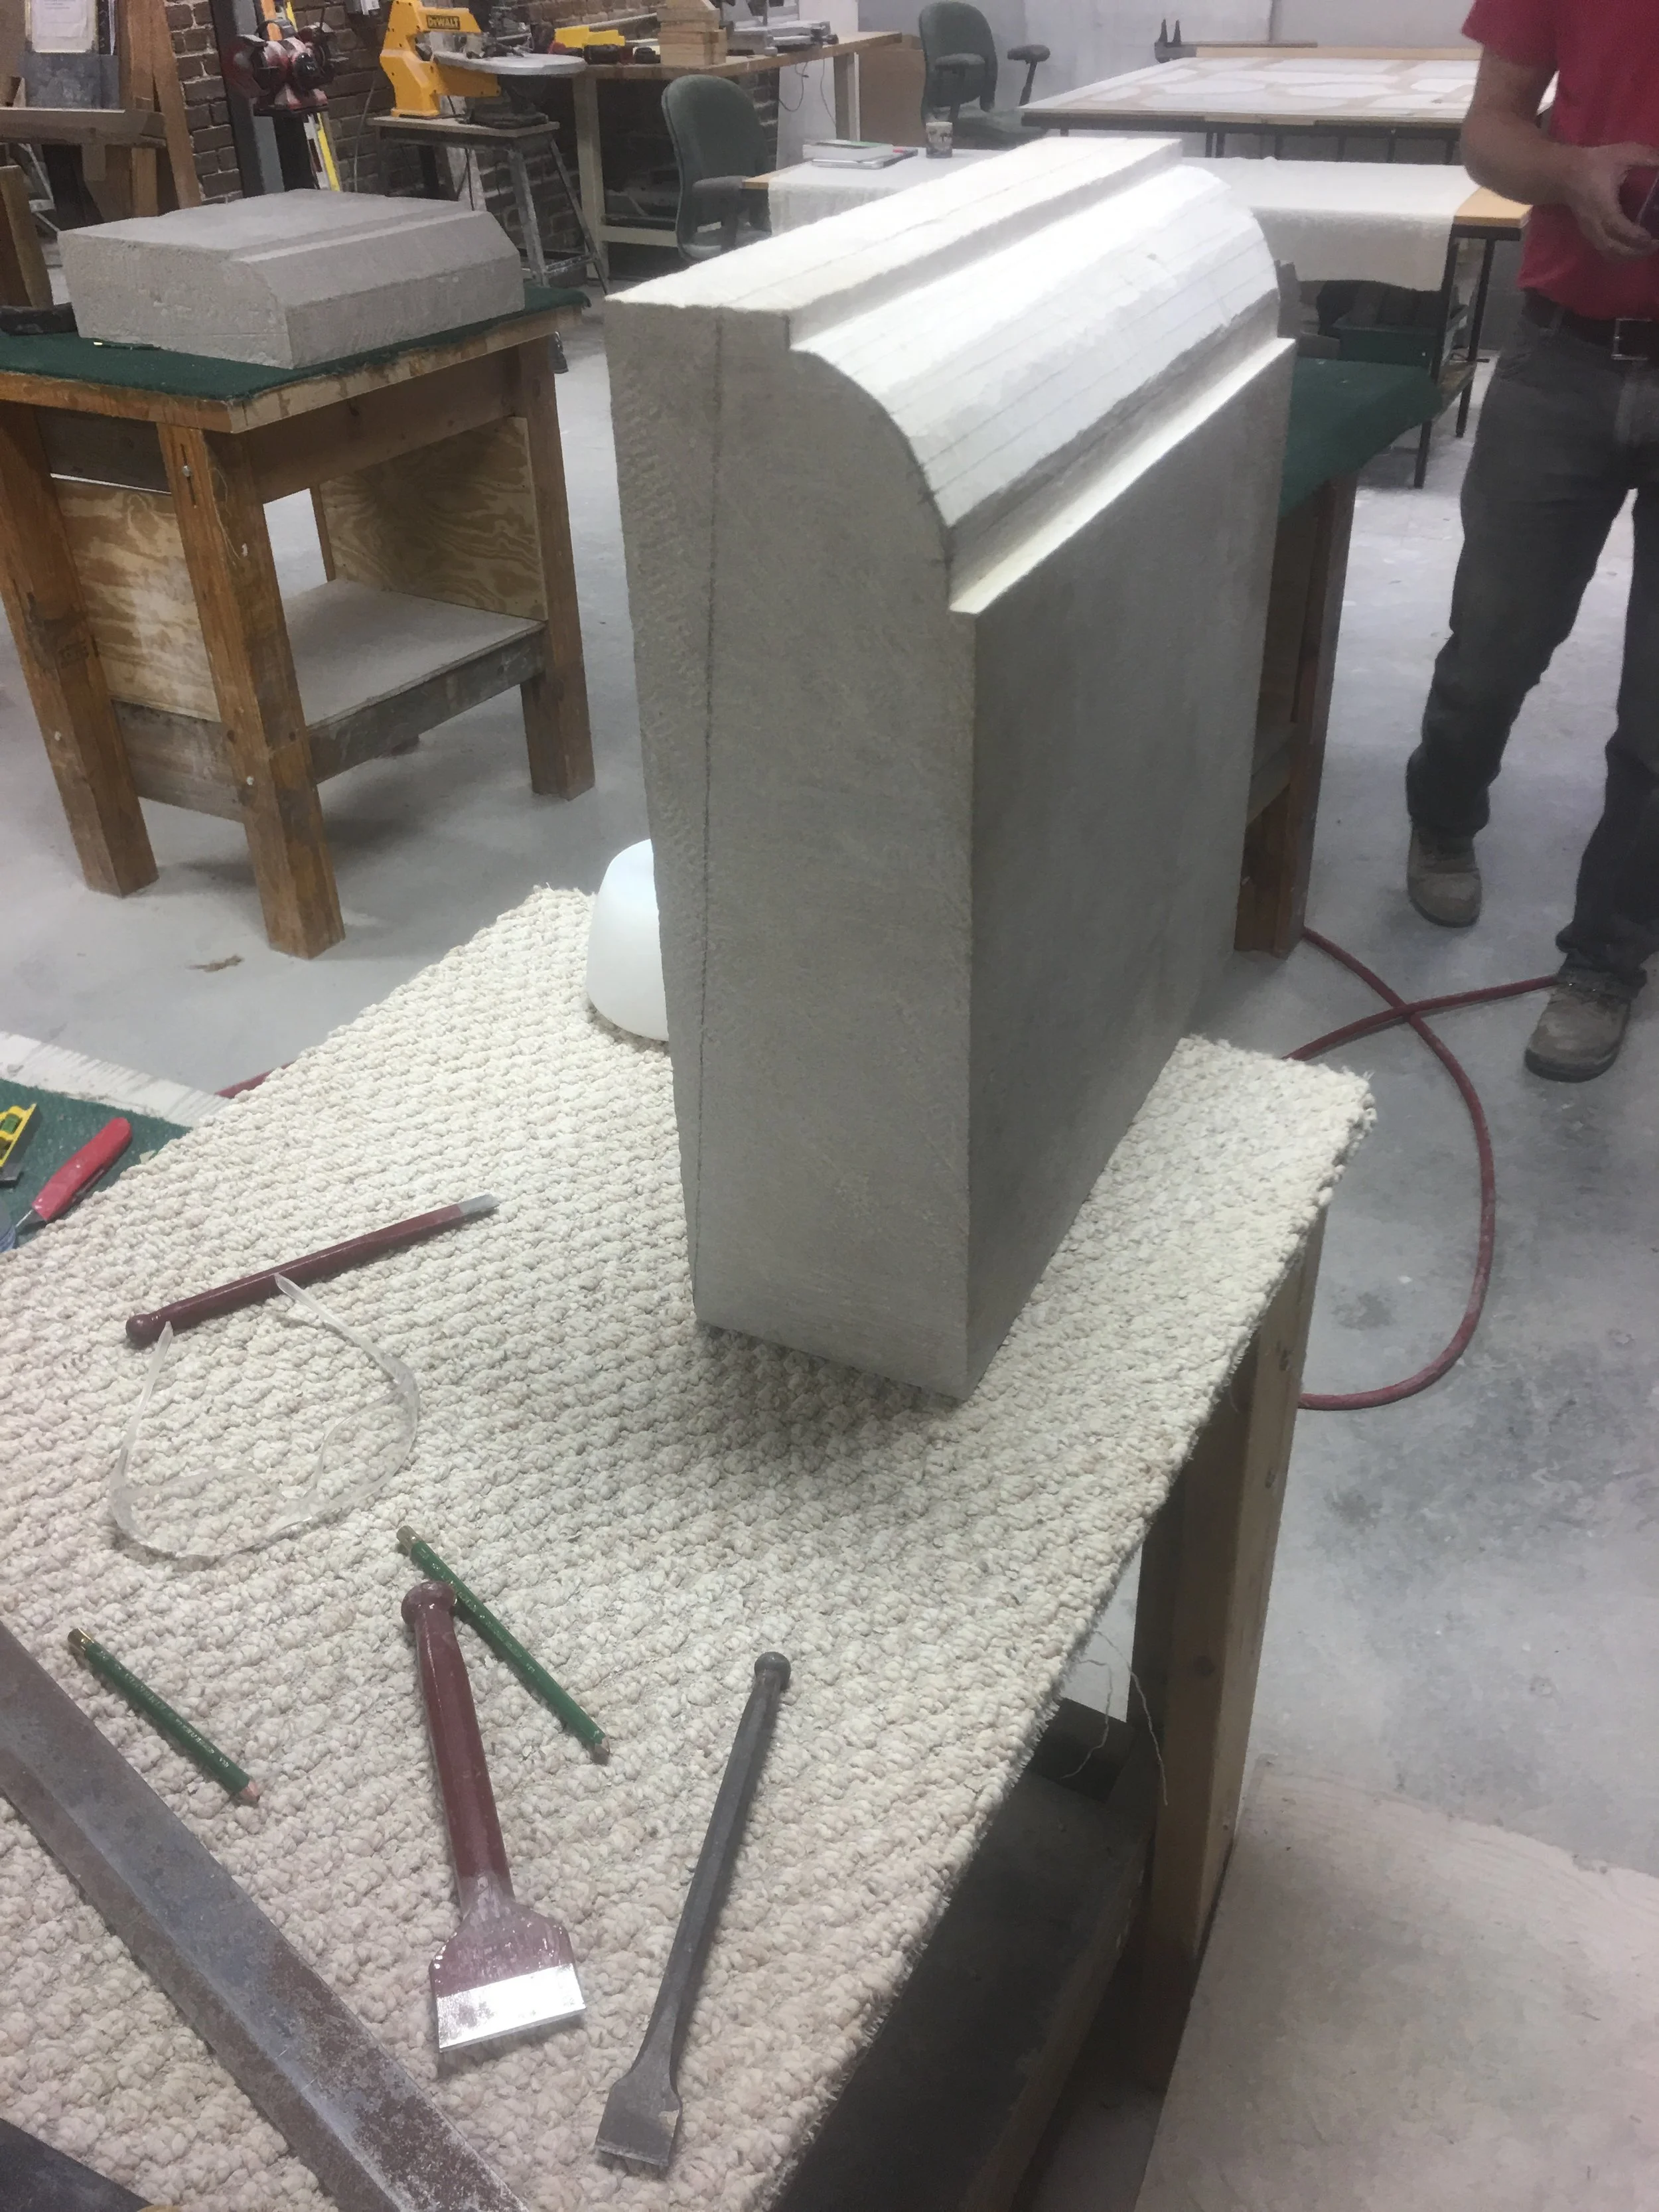
Starting Process: Once the block was cut the first objective was to draw out areas that are obviously wide of the acanthus. Once the areas are identified they are blocked out and removed leaving a rough shape of the final carving.
After the area is blocked out, the next step is to pick defined points from the model with which you will be making your depth measurements. To start with I tried to find the highest point on each leaf. I also made marks for the compass running along the edge of the stone at regular intervals and roughly the same distance apart. Once these points are found and marked on the model you transcribe them on the stone, always making sure that each point is referenced by at least 3 other points. Once the points are found and placed on the stone the compass is used to gauge how much carving must be done on the block.
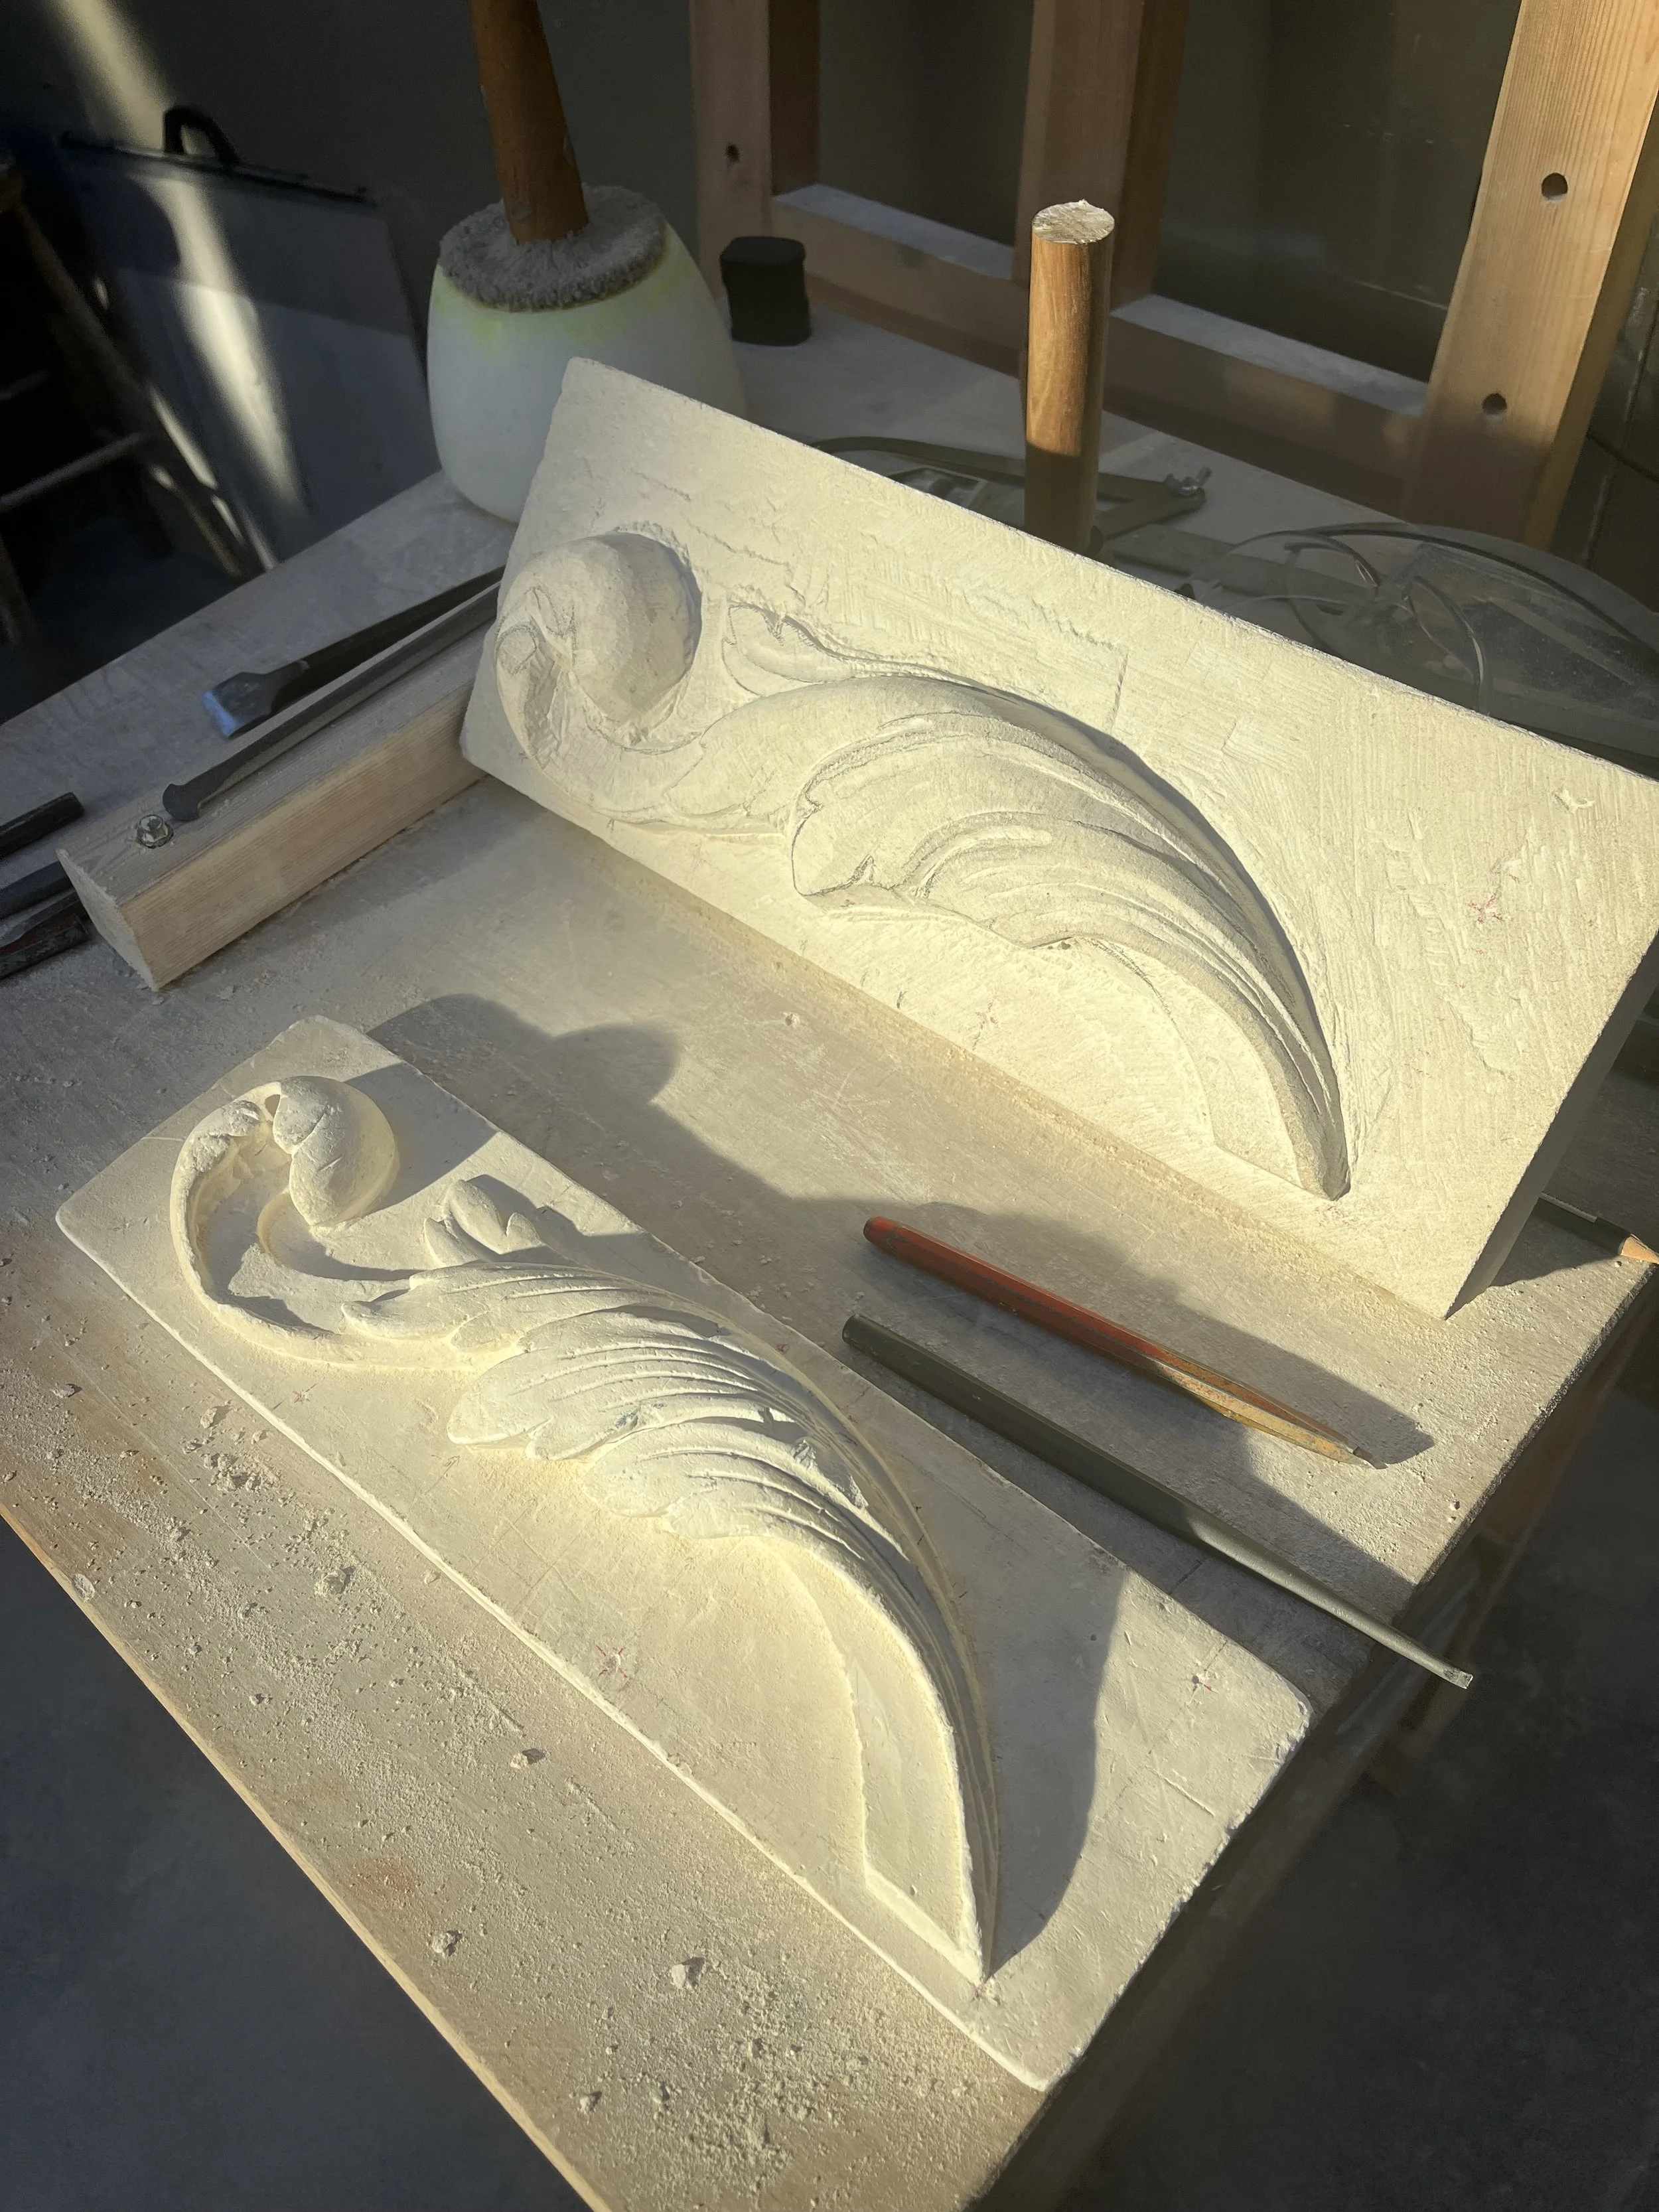
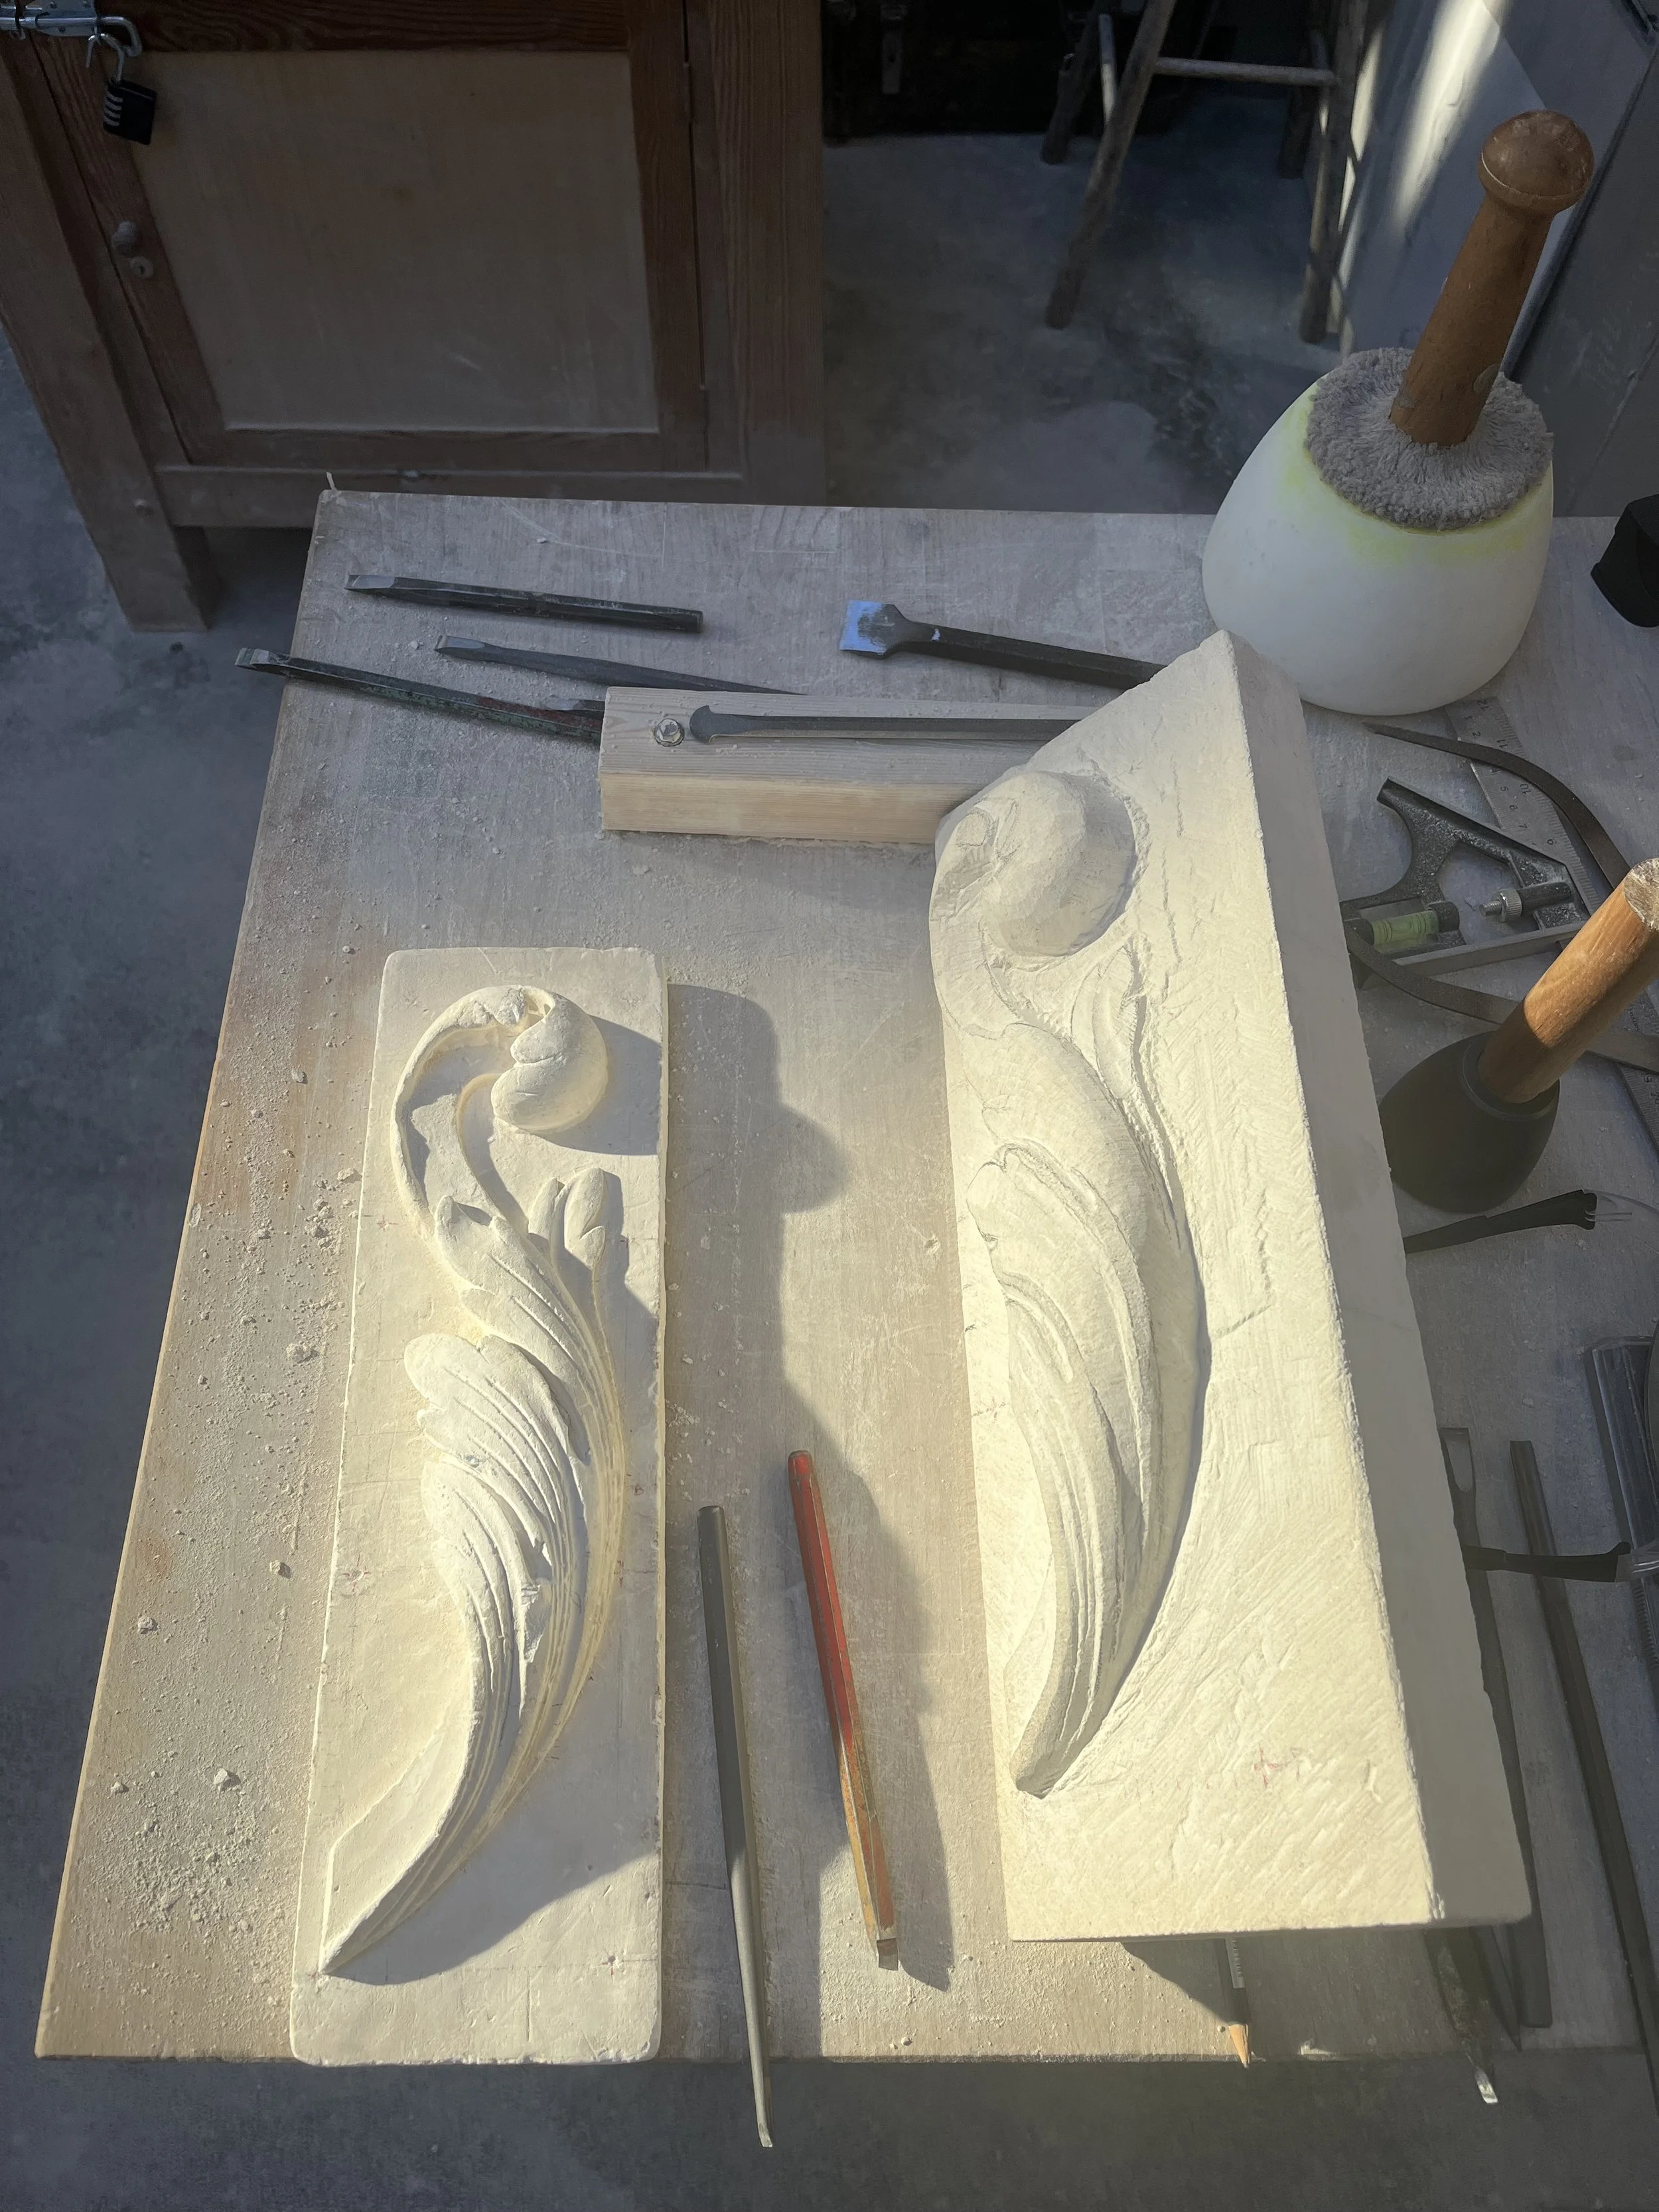
Middle Process: After spending time marking out the high points with the three compass triangulation and creating the grid along the edge, the next step was to work carefully to cut down the shape to the right height. This process took me more time then it should have, but for me as this was my first major carving project i was very conservative in removing material, I was also getting used to each type of chisel and the different effects that could be used in carving with them. There were interesting lines and flutes running along the spine of the acanthus, for these I used a small bullnose chisel, and a small lettering chisel to do a v cut running along the lines. The natural light that entered the workshop in late afternoon was very helpful so I made sure to take pictures of details at that time.
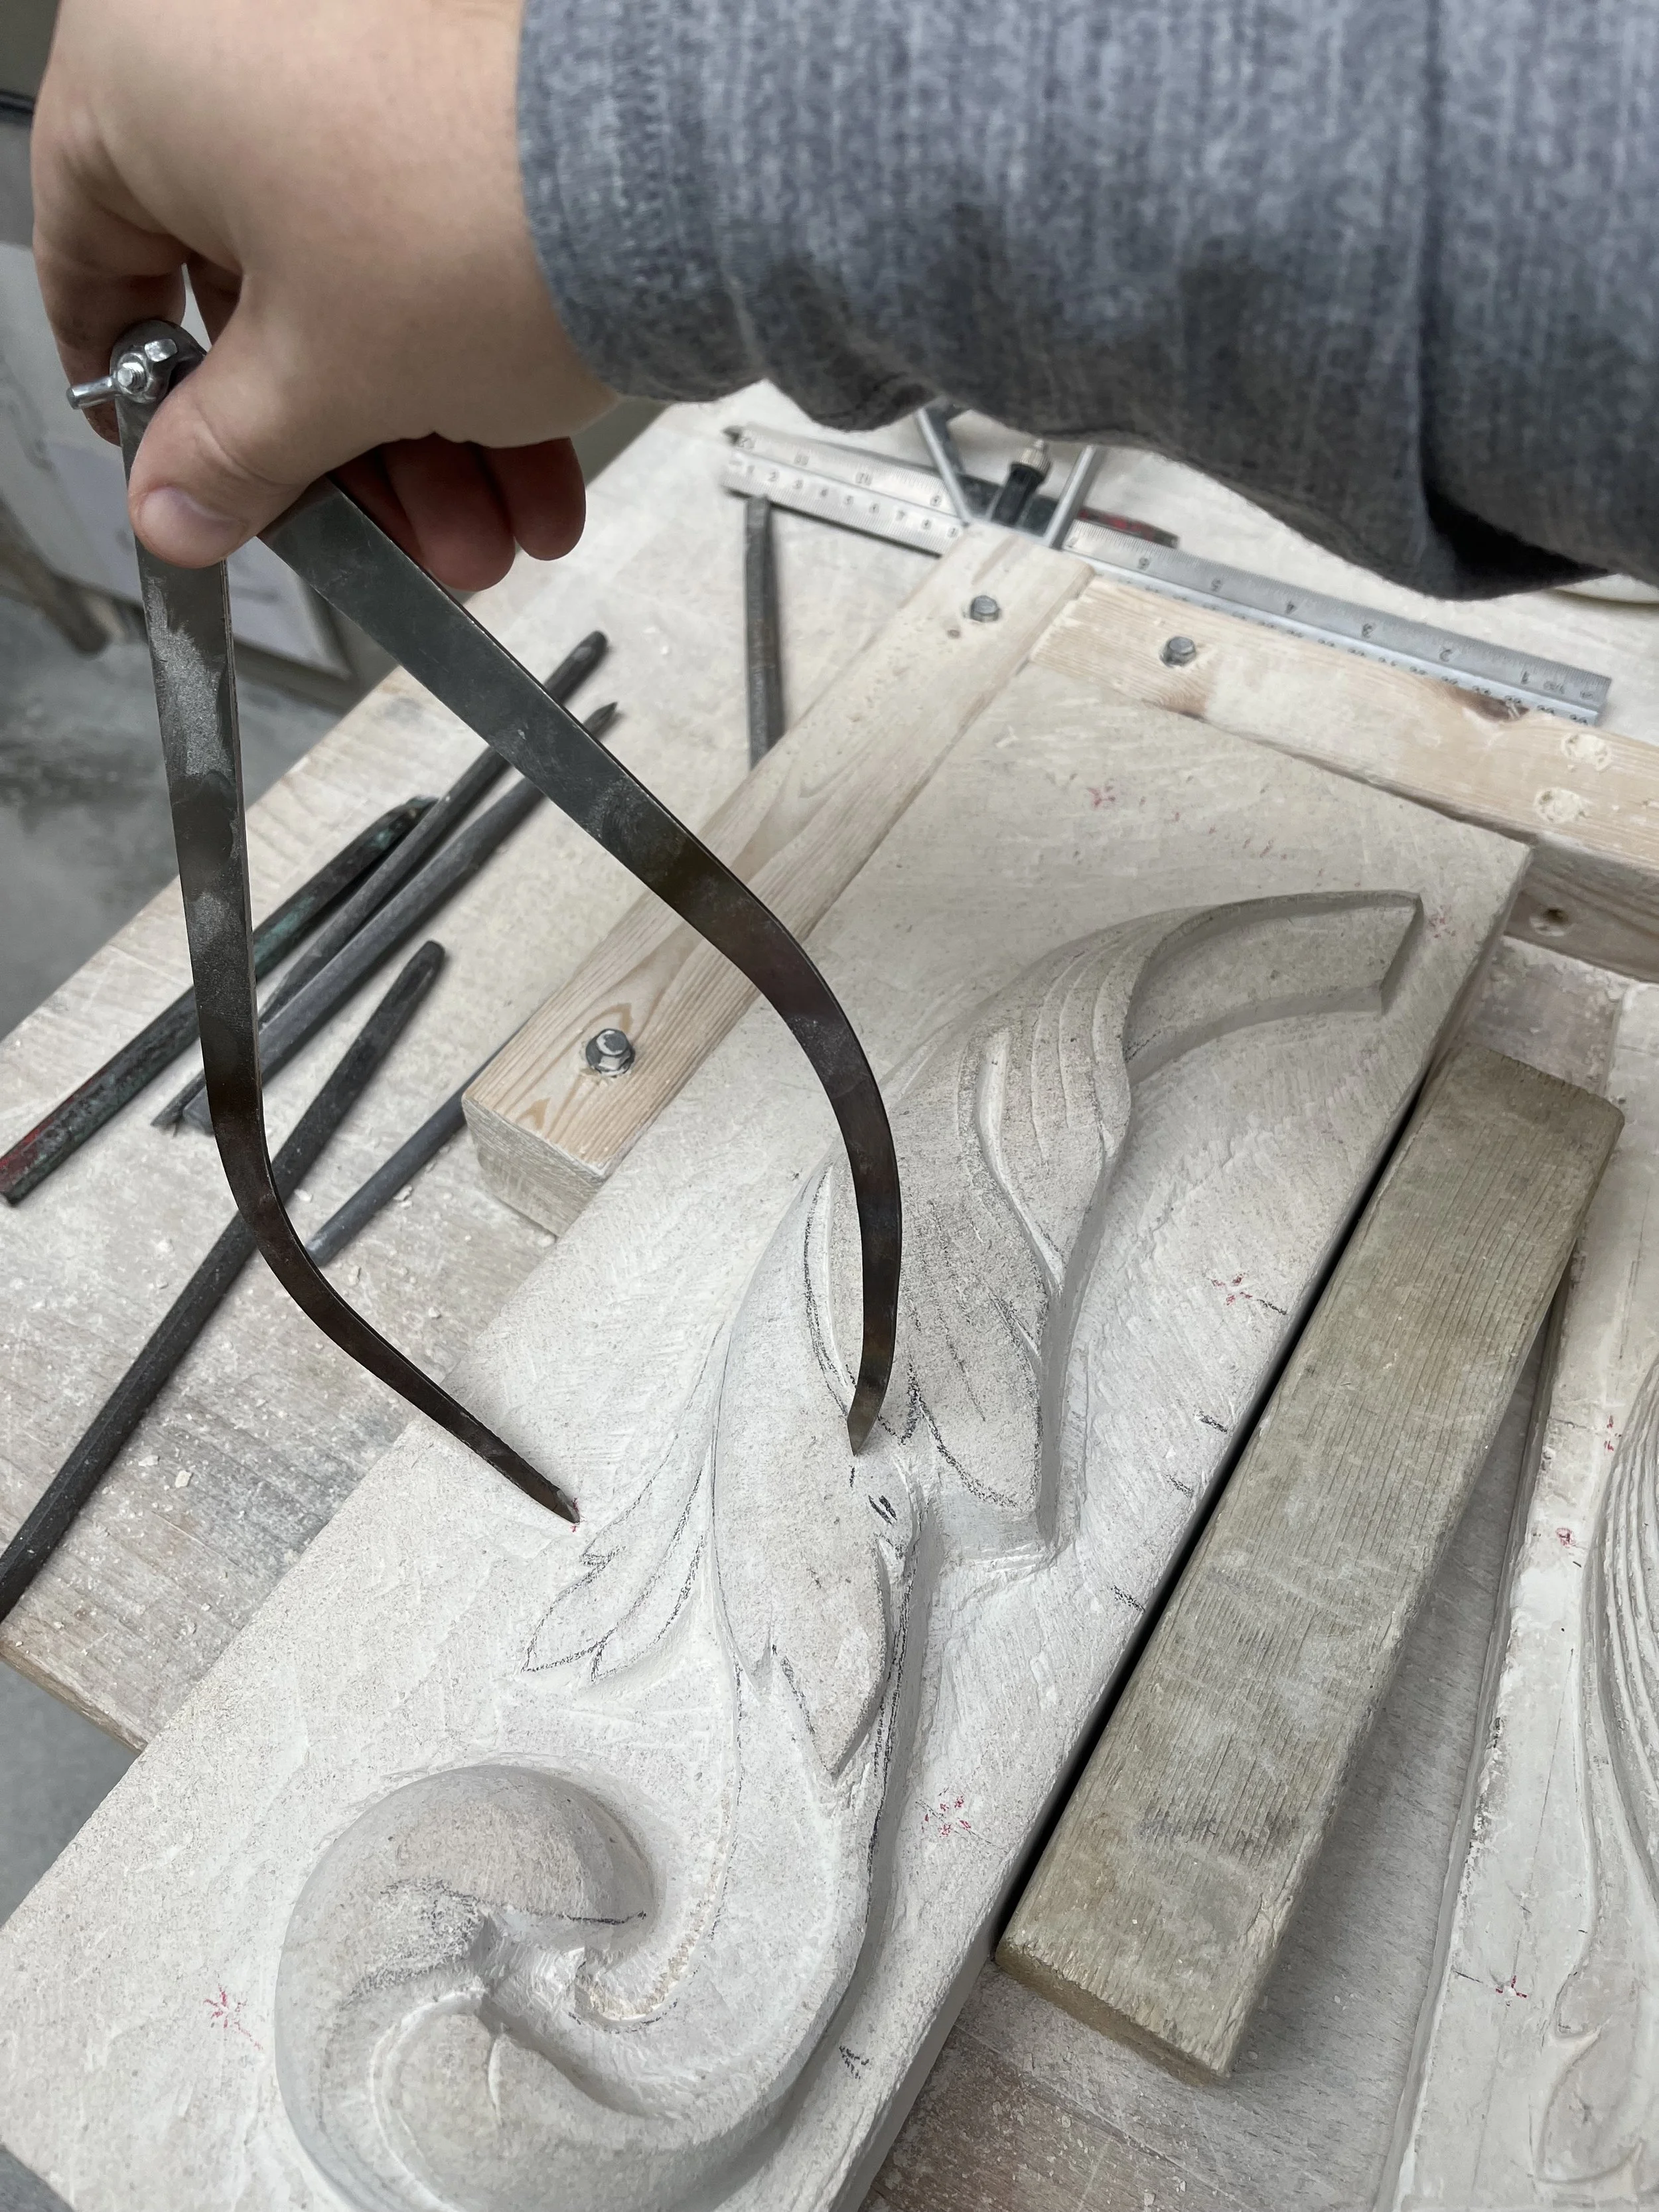
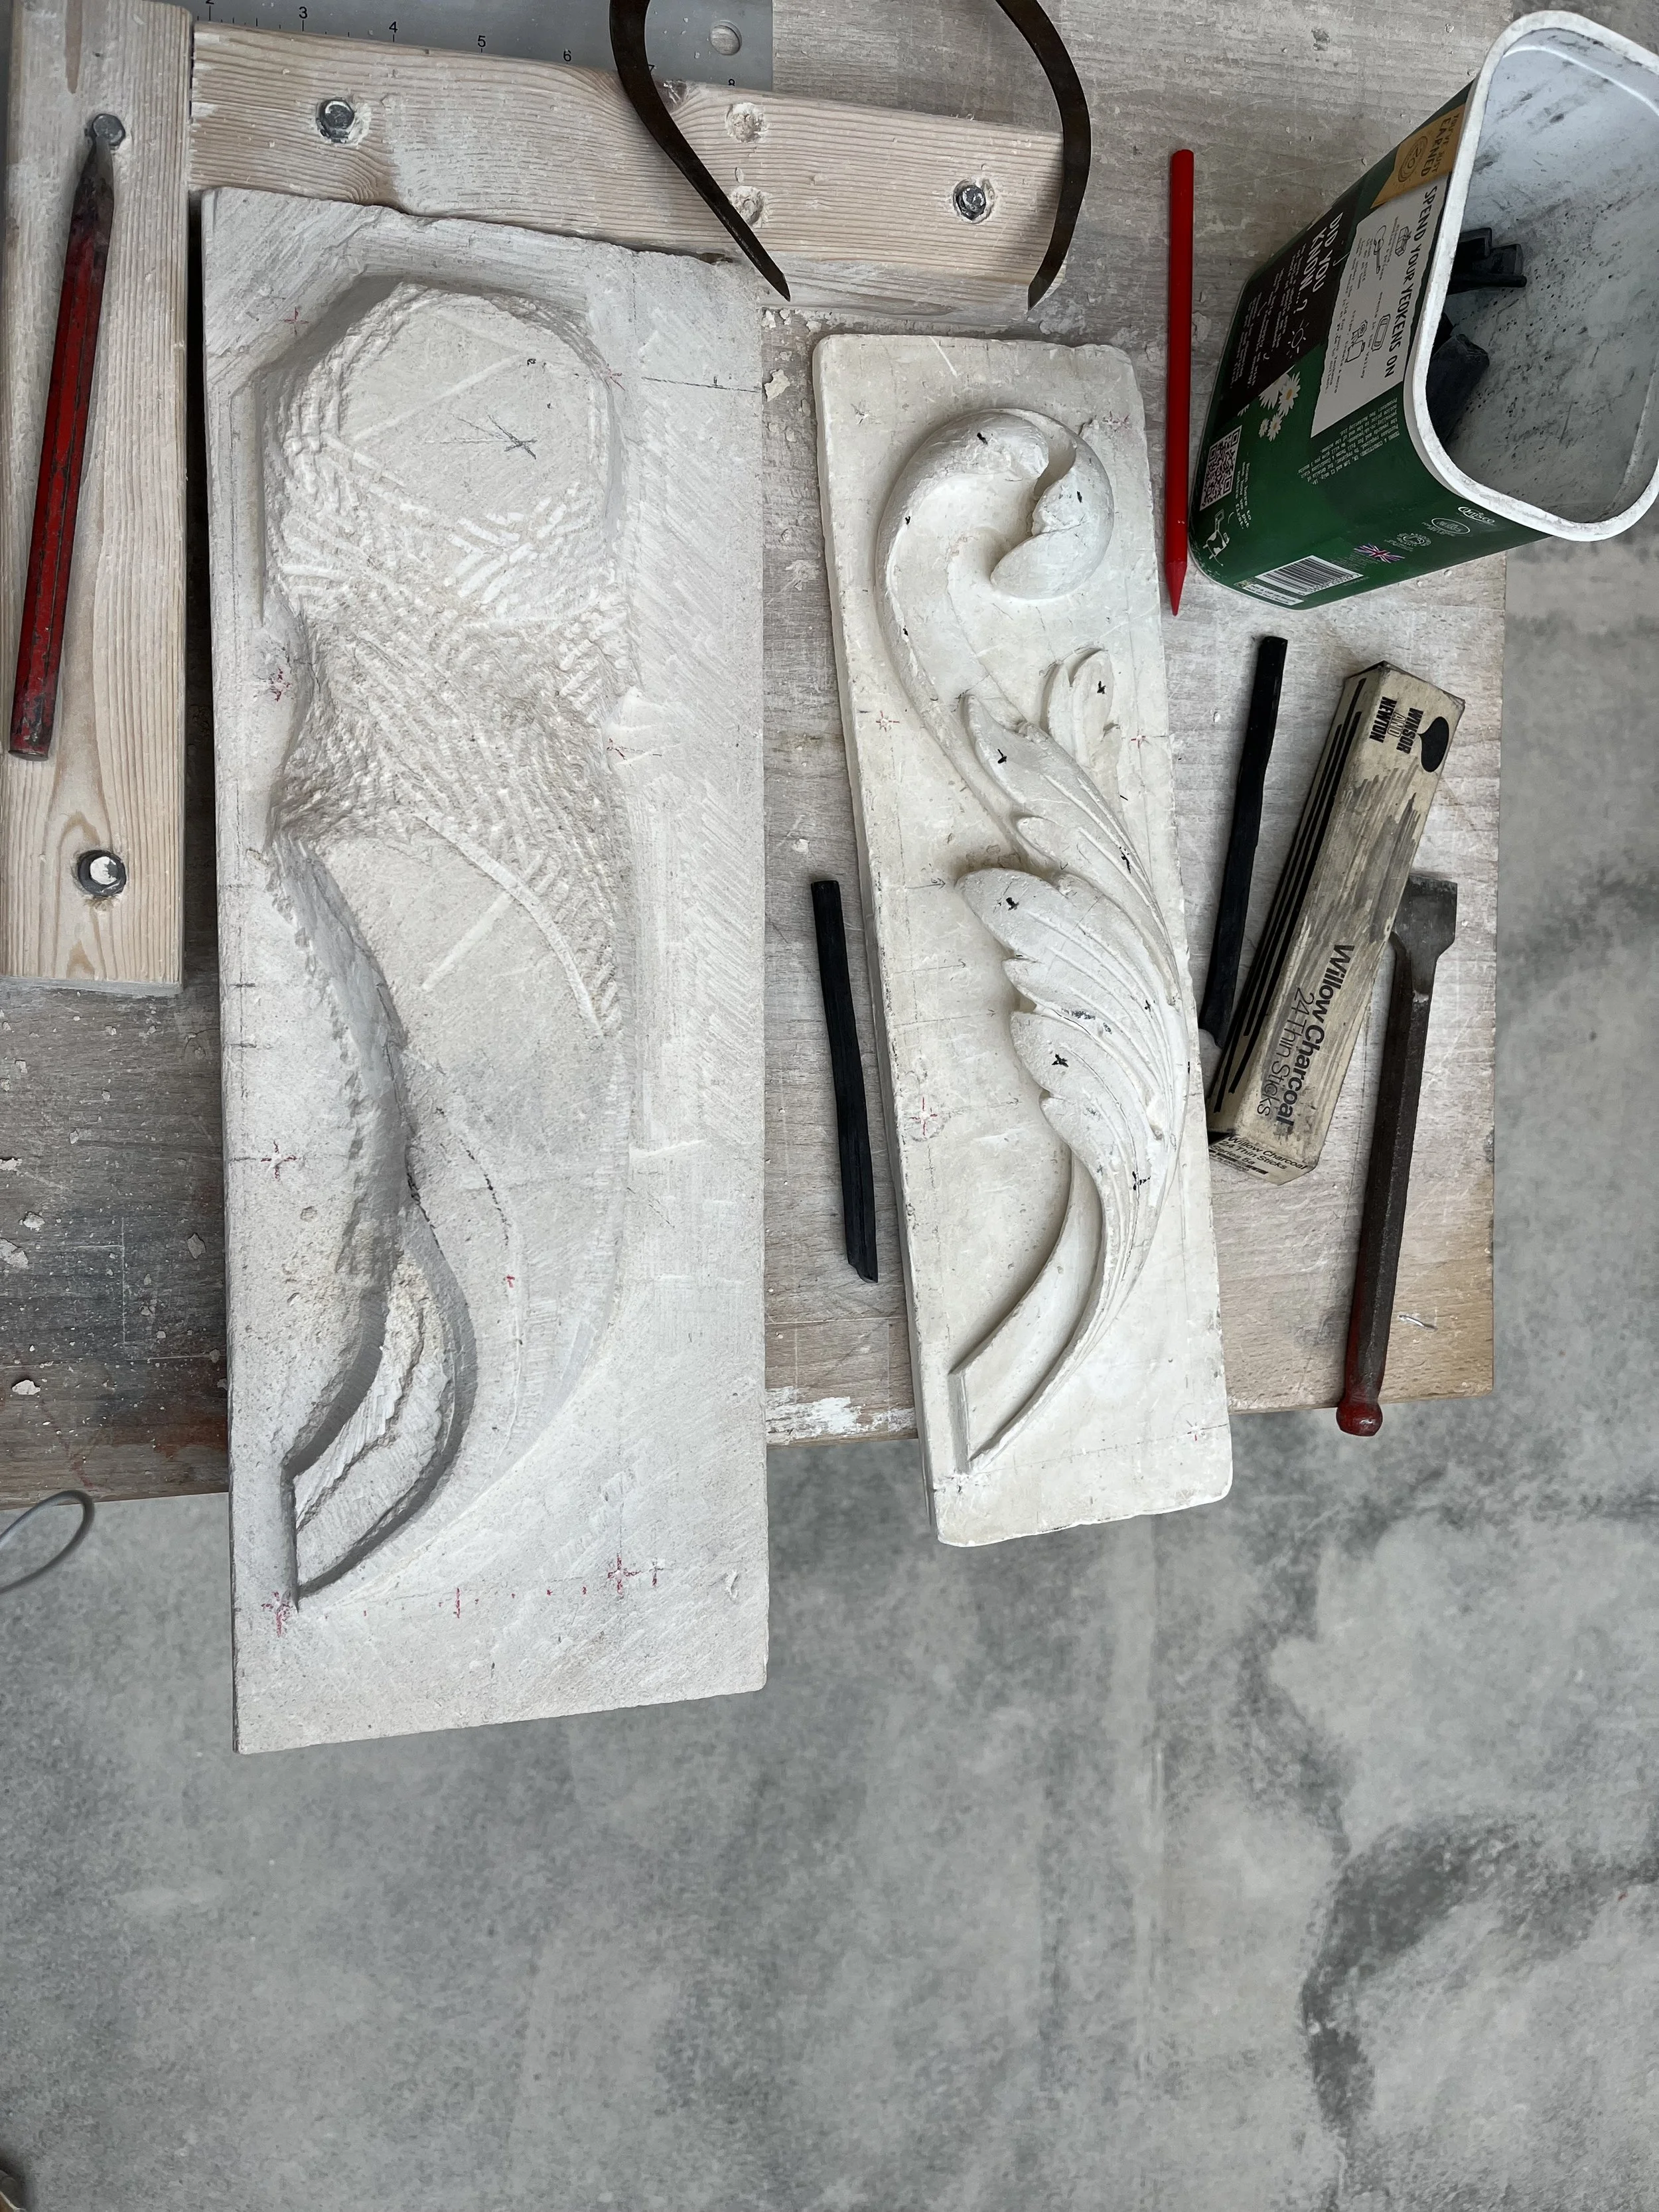
In this photo the 3 compass triangulation can clearly be seen. Here I am trying to find the correct depth of the third leaf. The two marks close by each other show it is the right location on the plane, but the third compass is blocked by the excess stone from reaching the other two points. This indicates that more stone must be removed from that area so the third compass can join the other two.
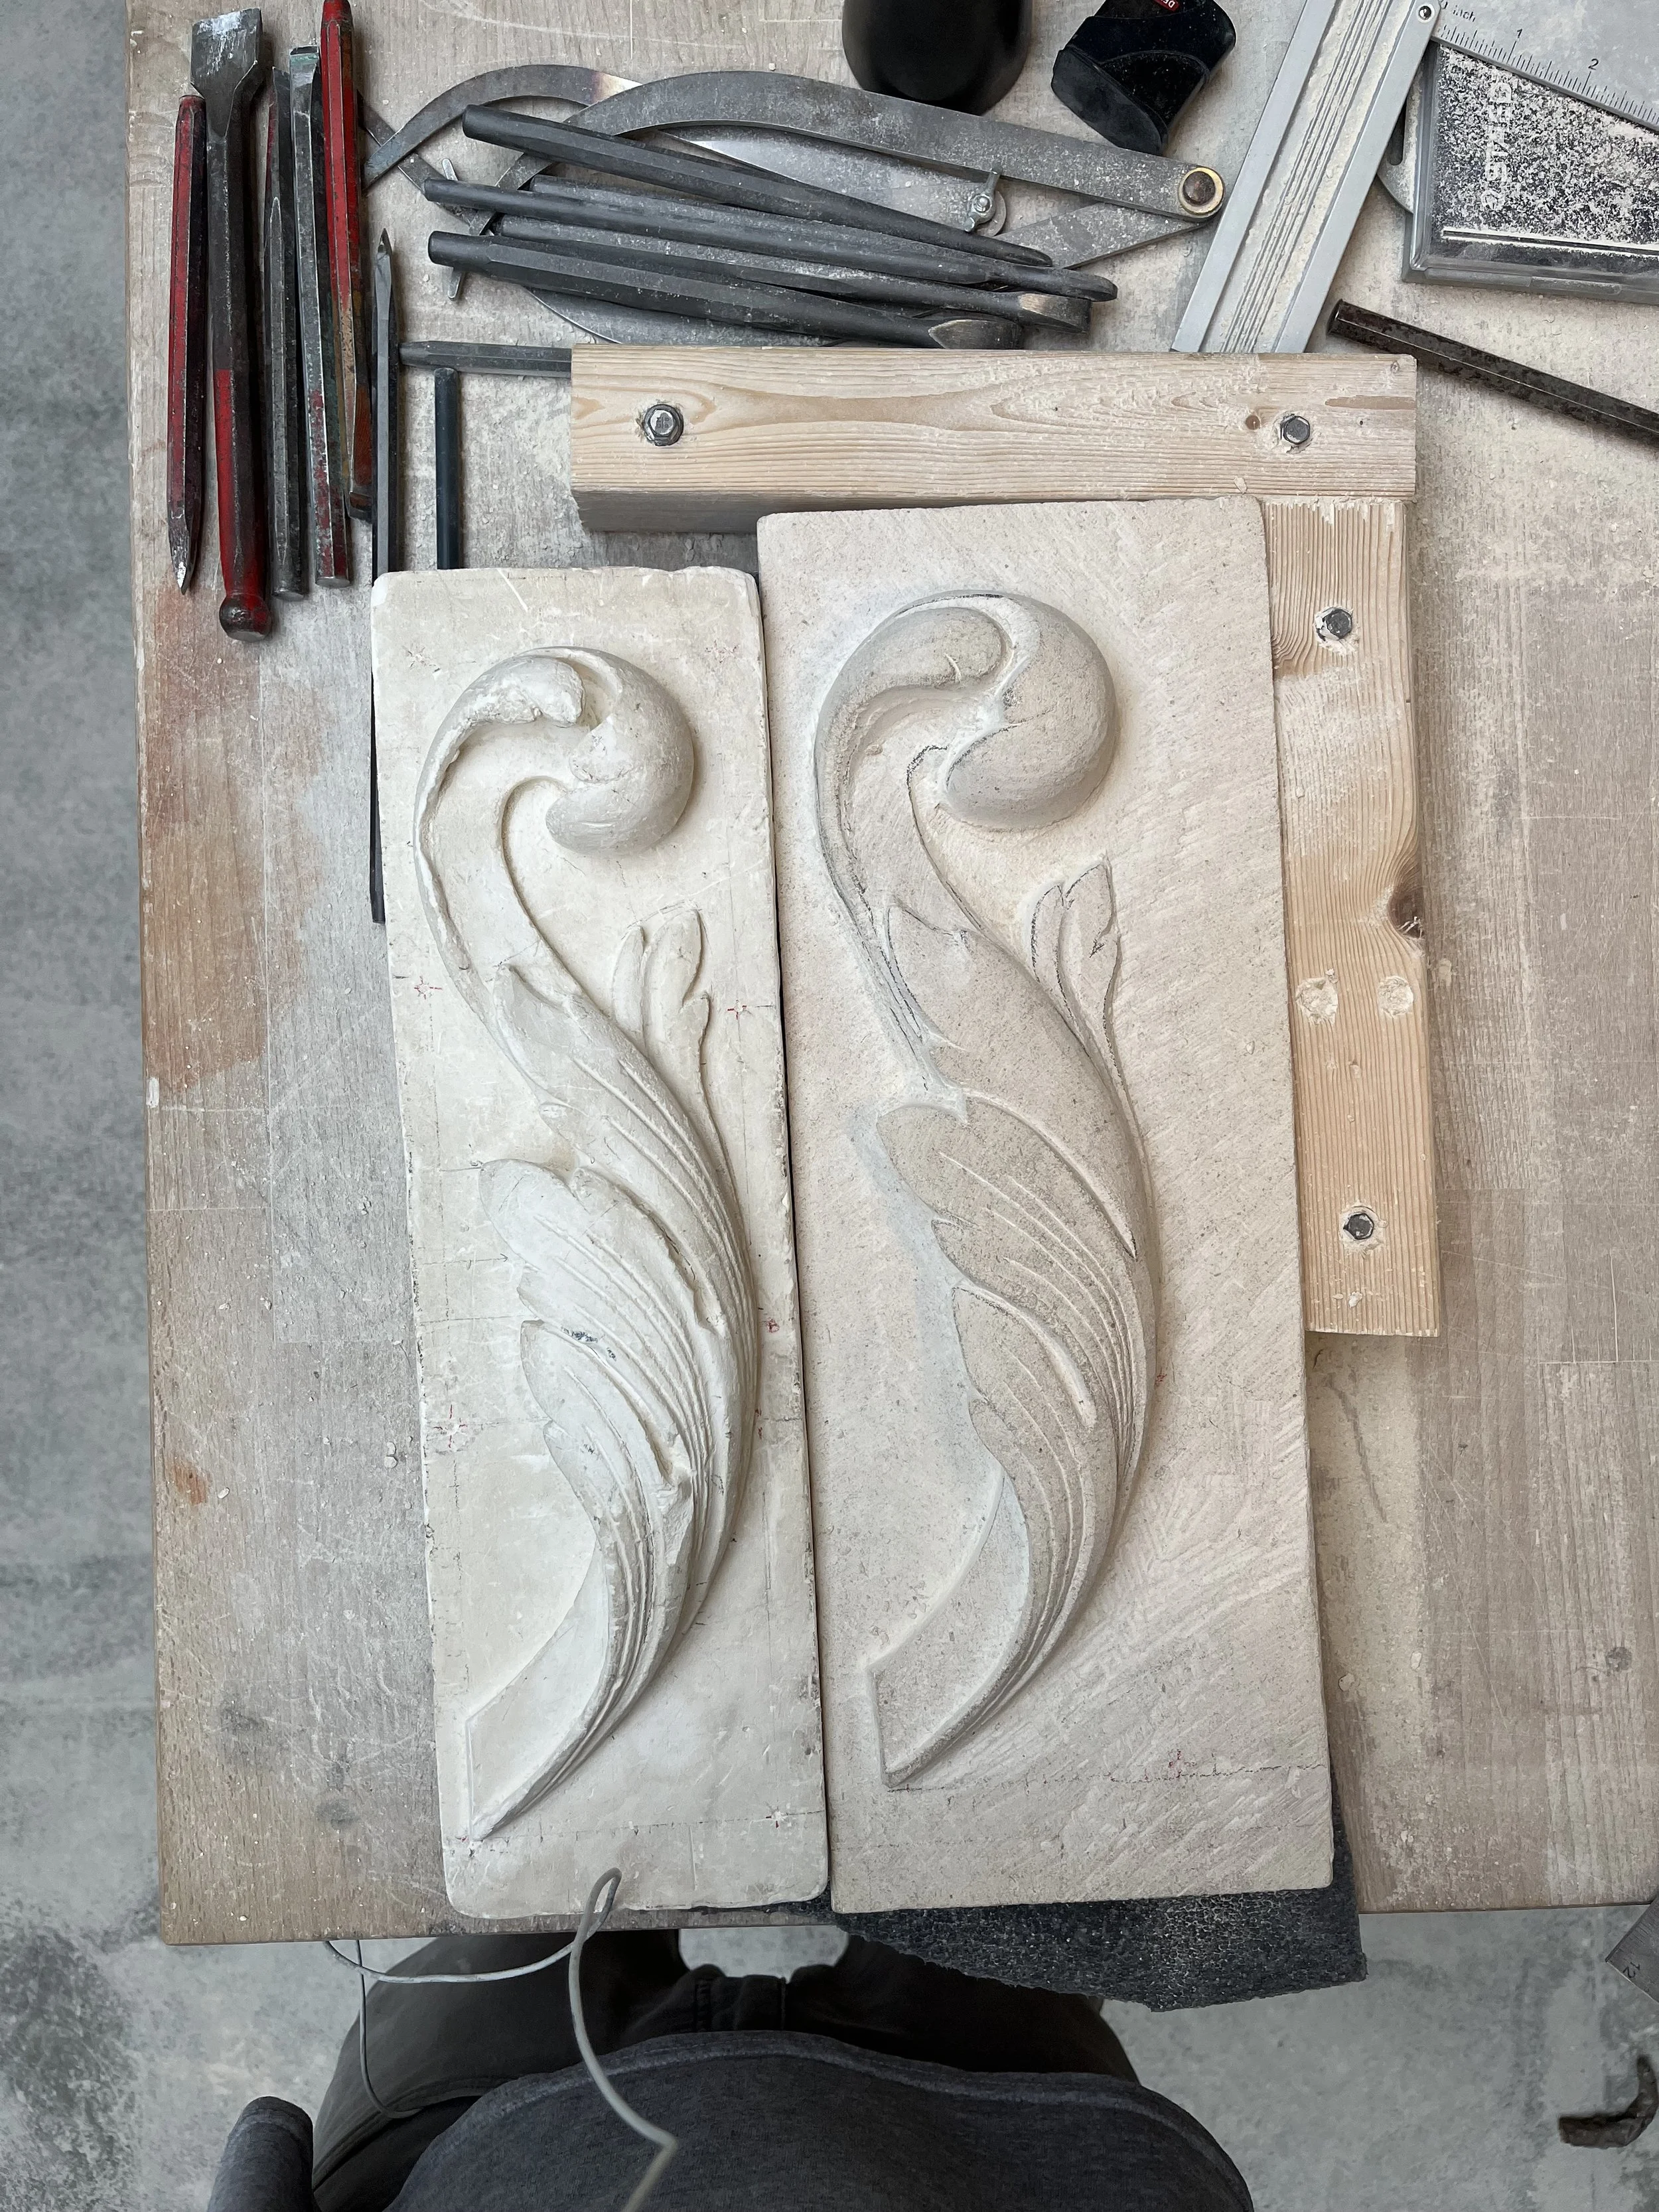
Here can be seen that most of the defining elements are in place but the carving is slightly bloated compared to the original, I also realized I took to much off the stem in the original blocking out phase.
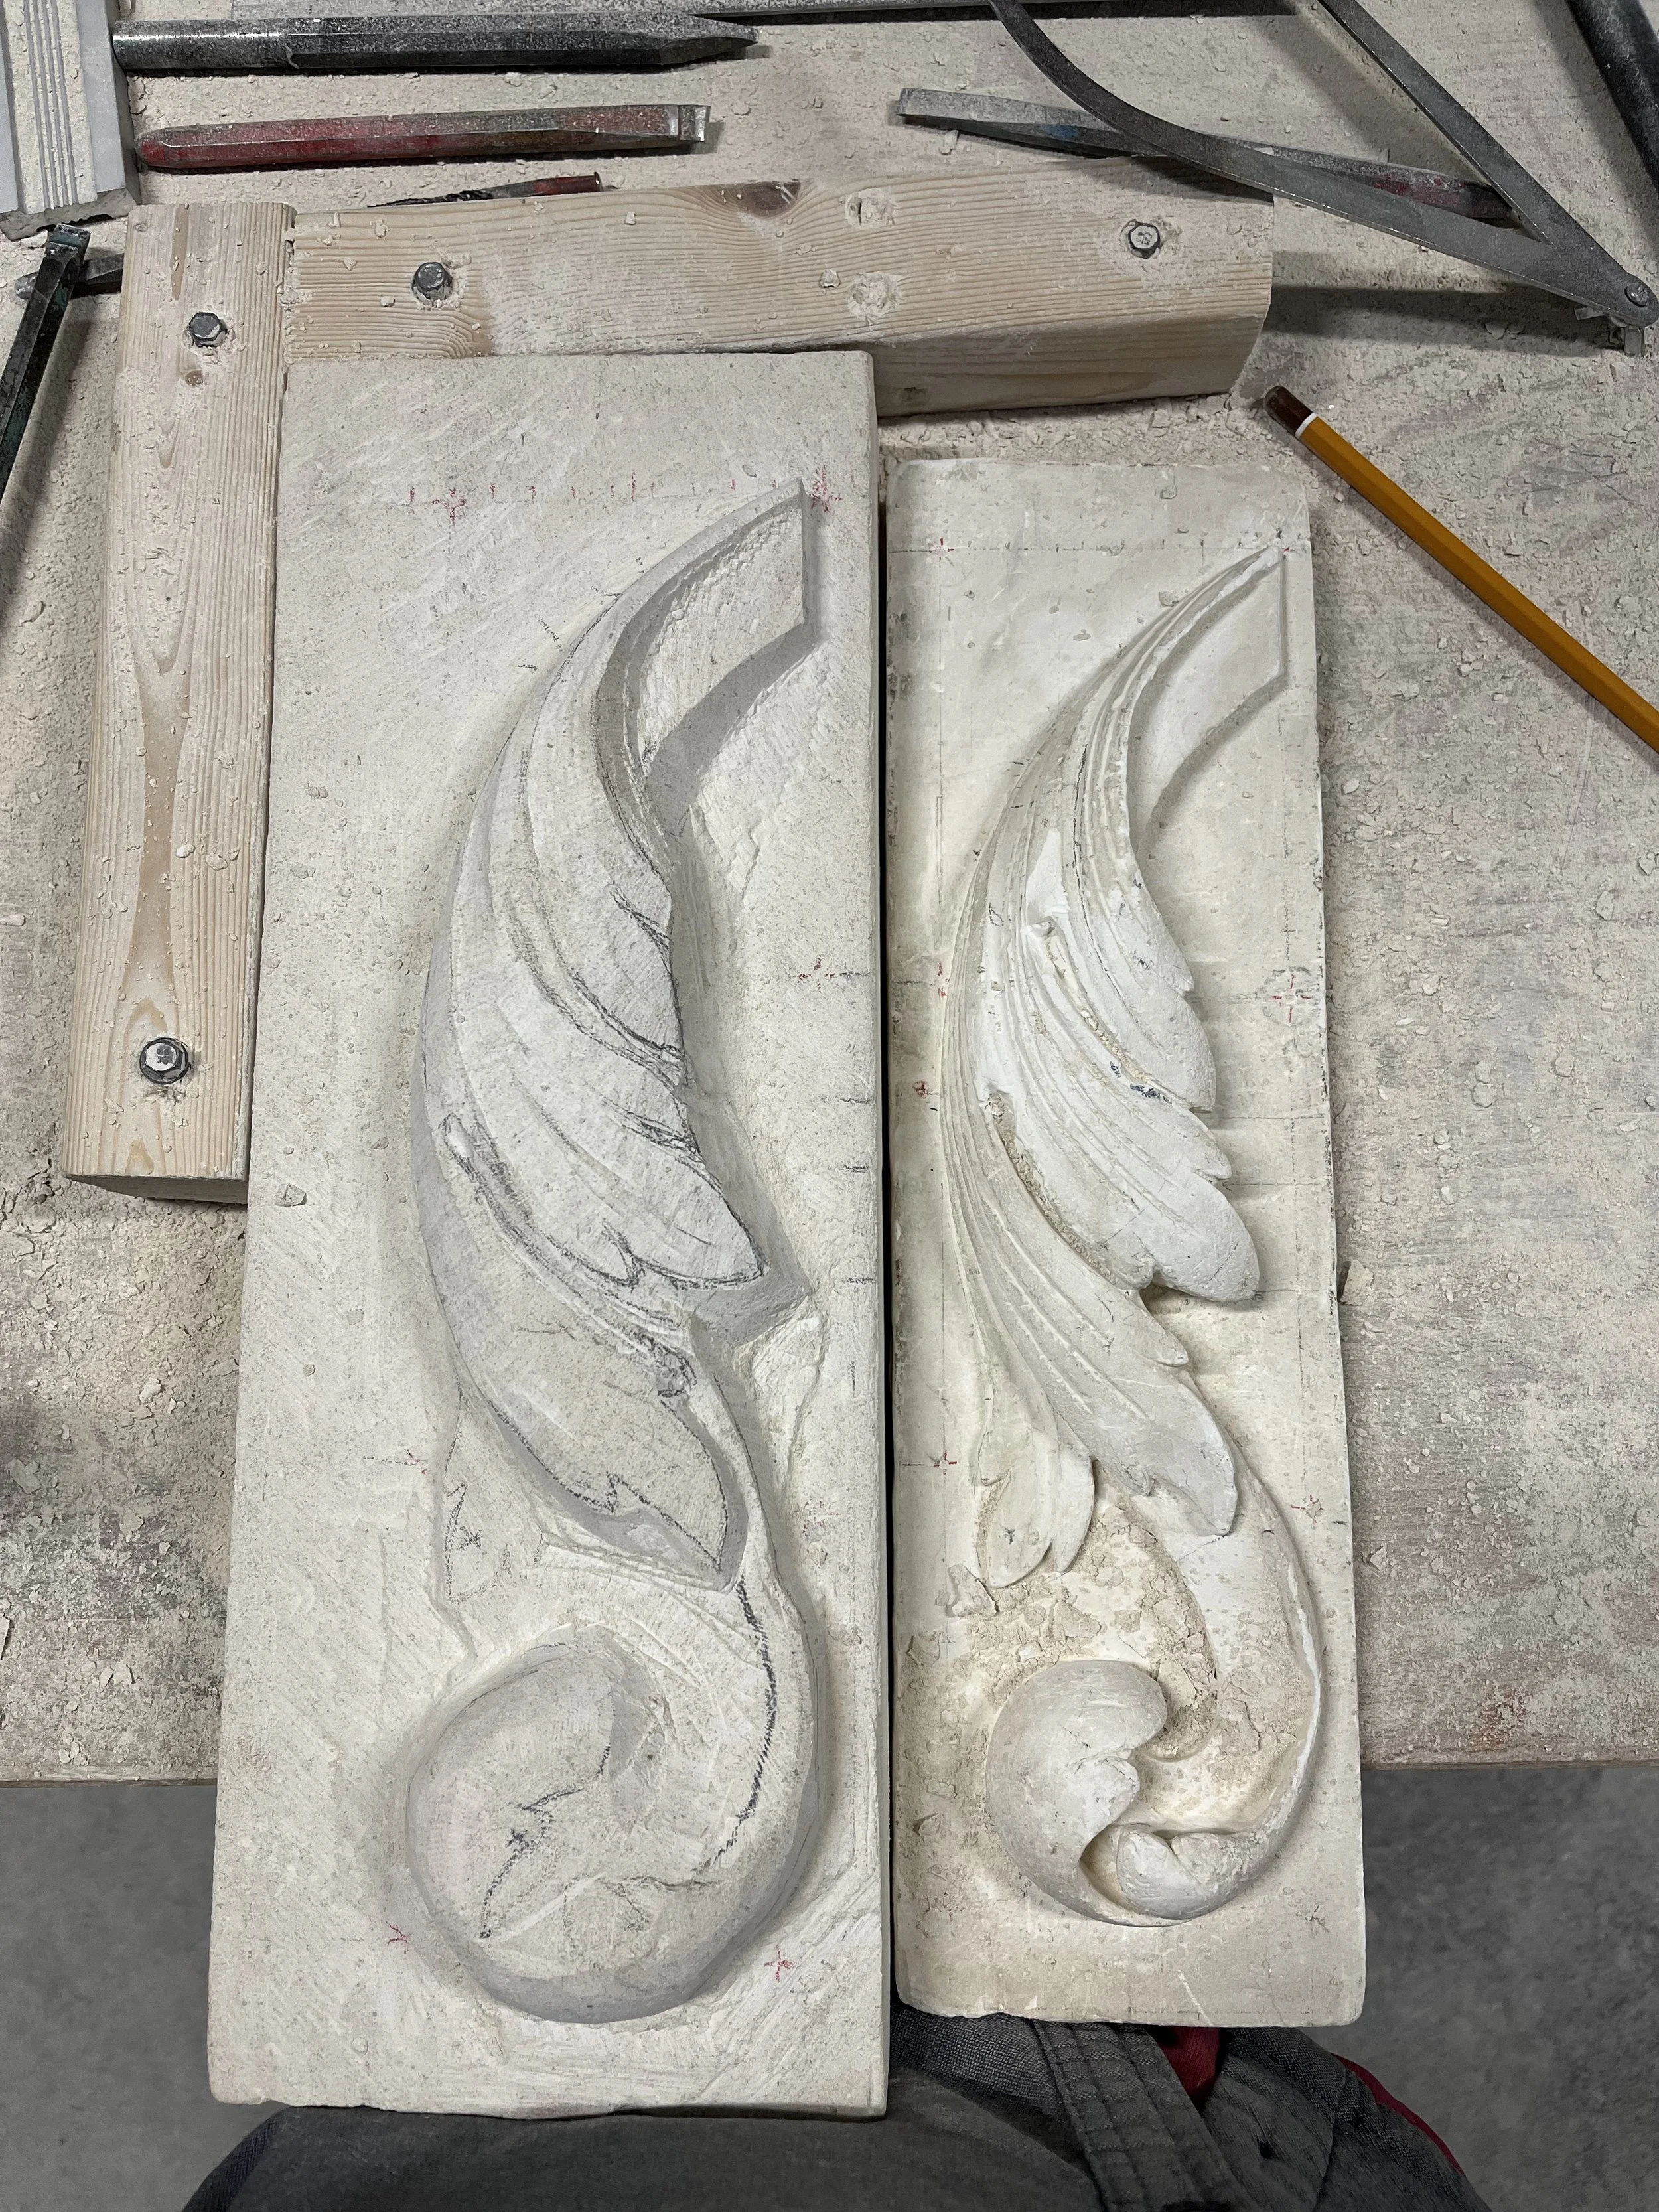
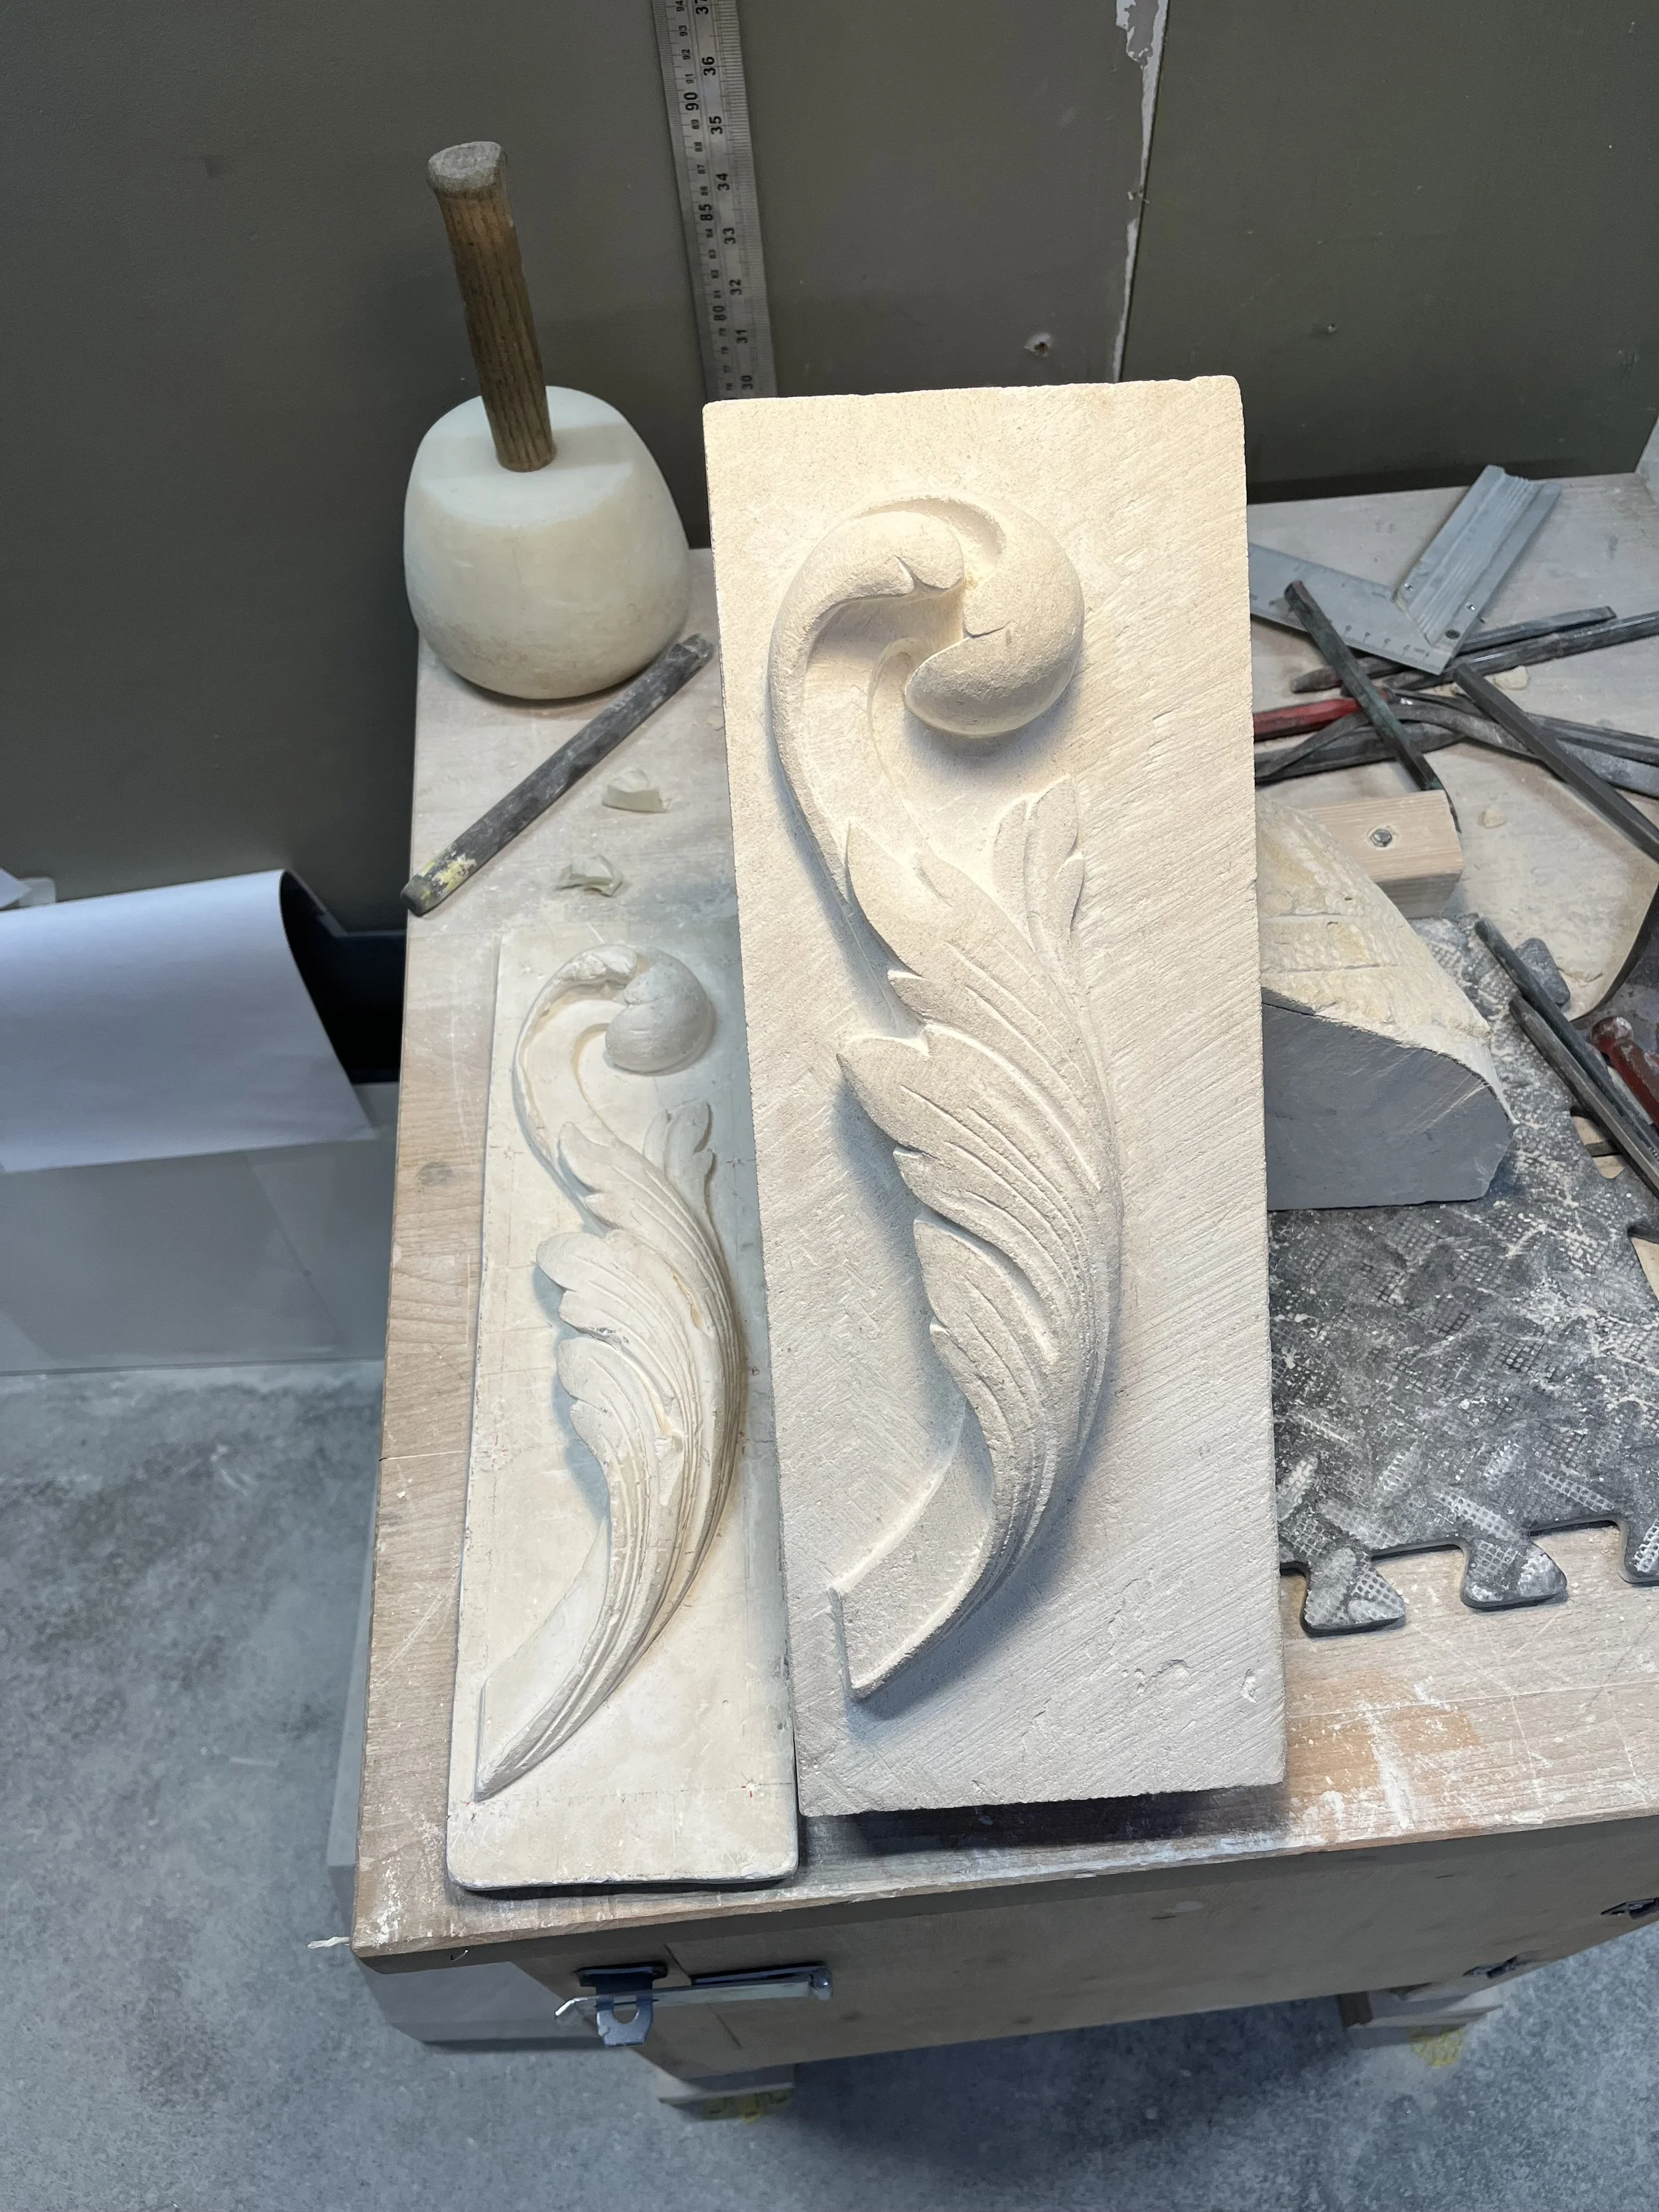
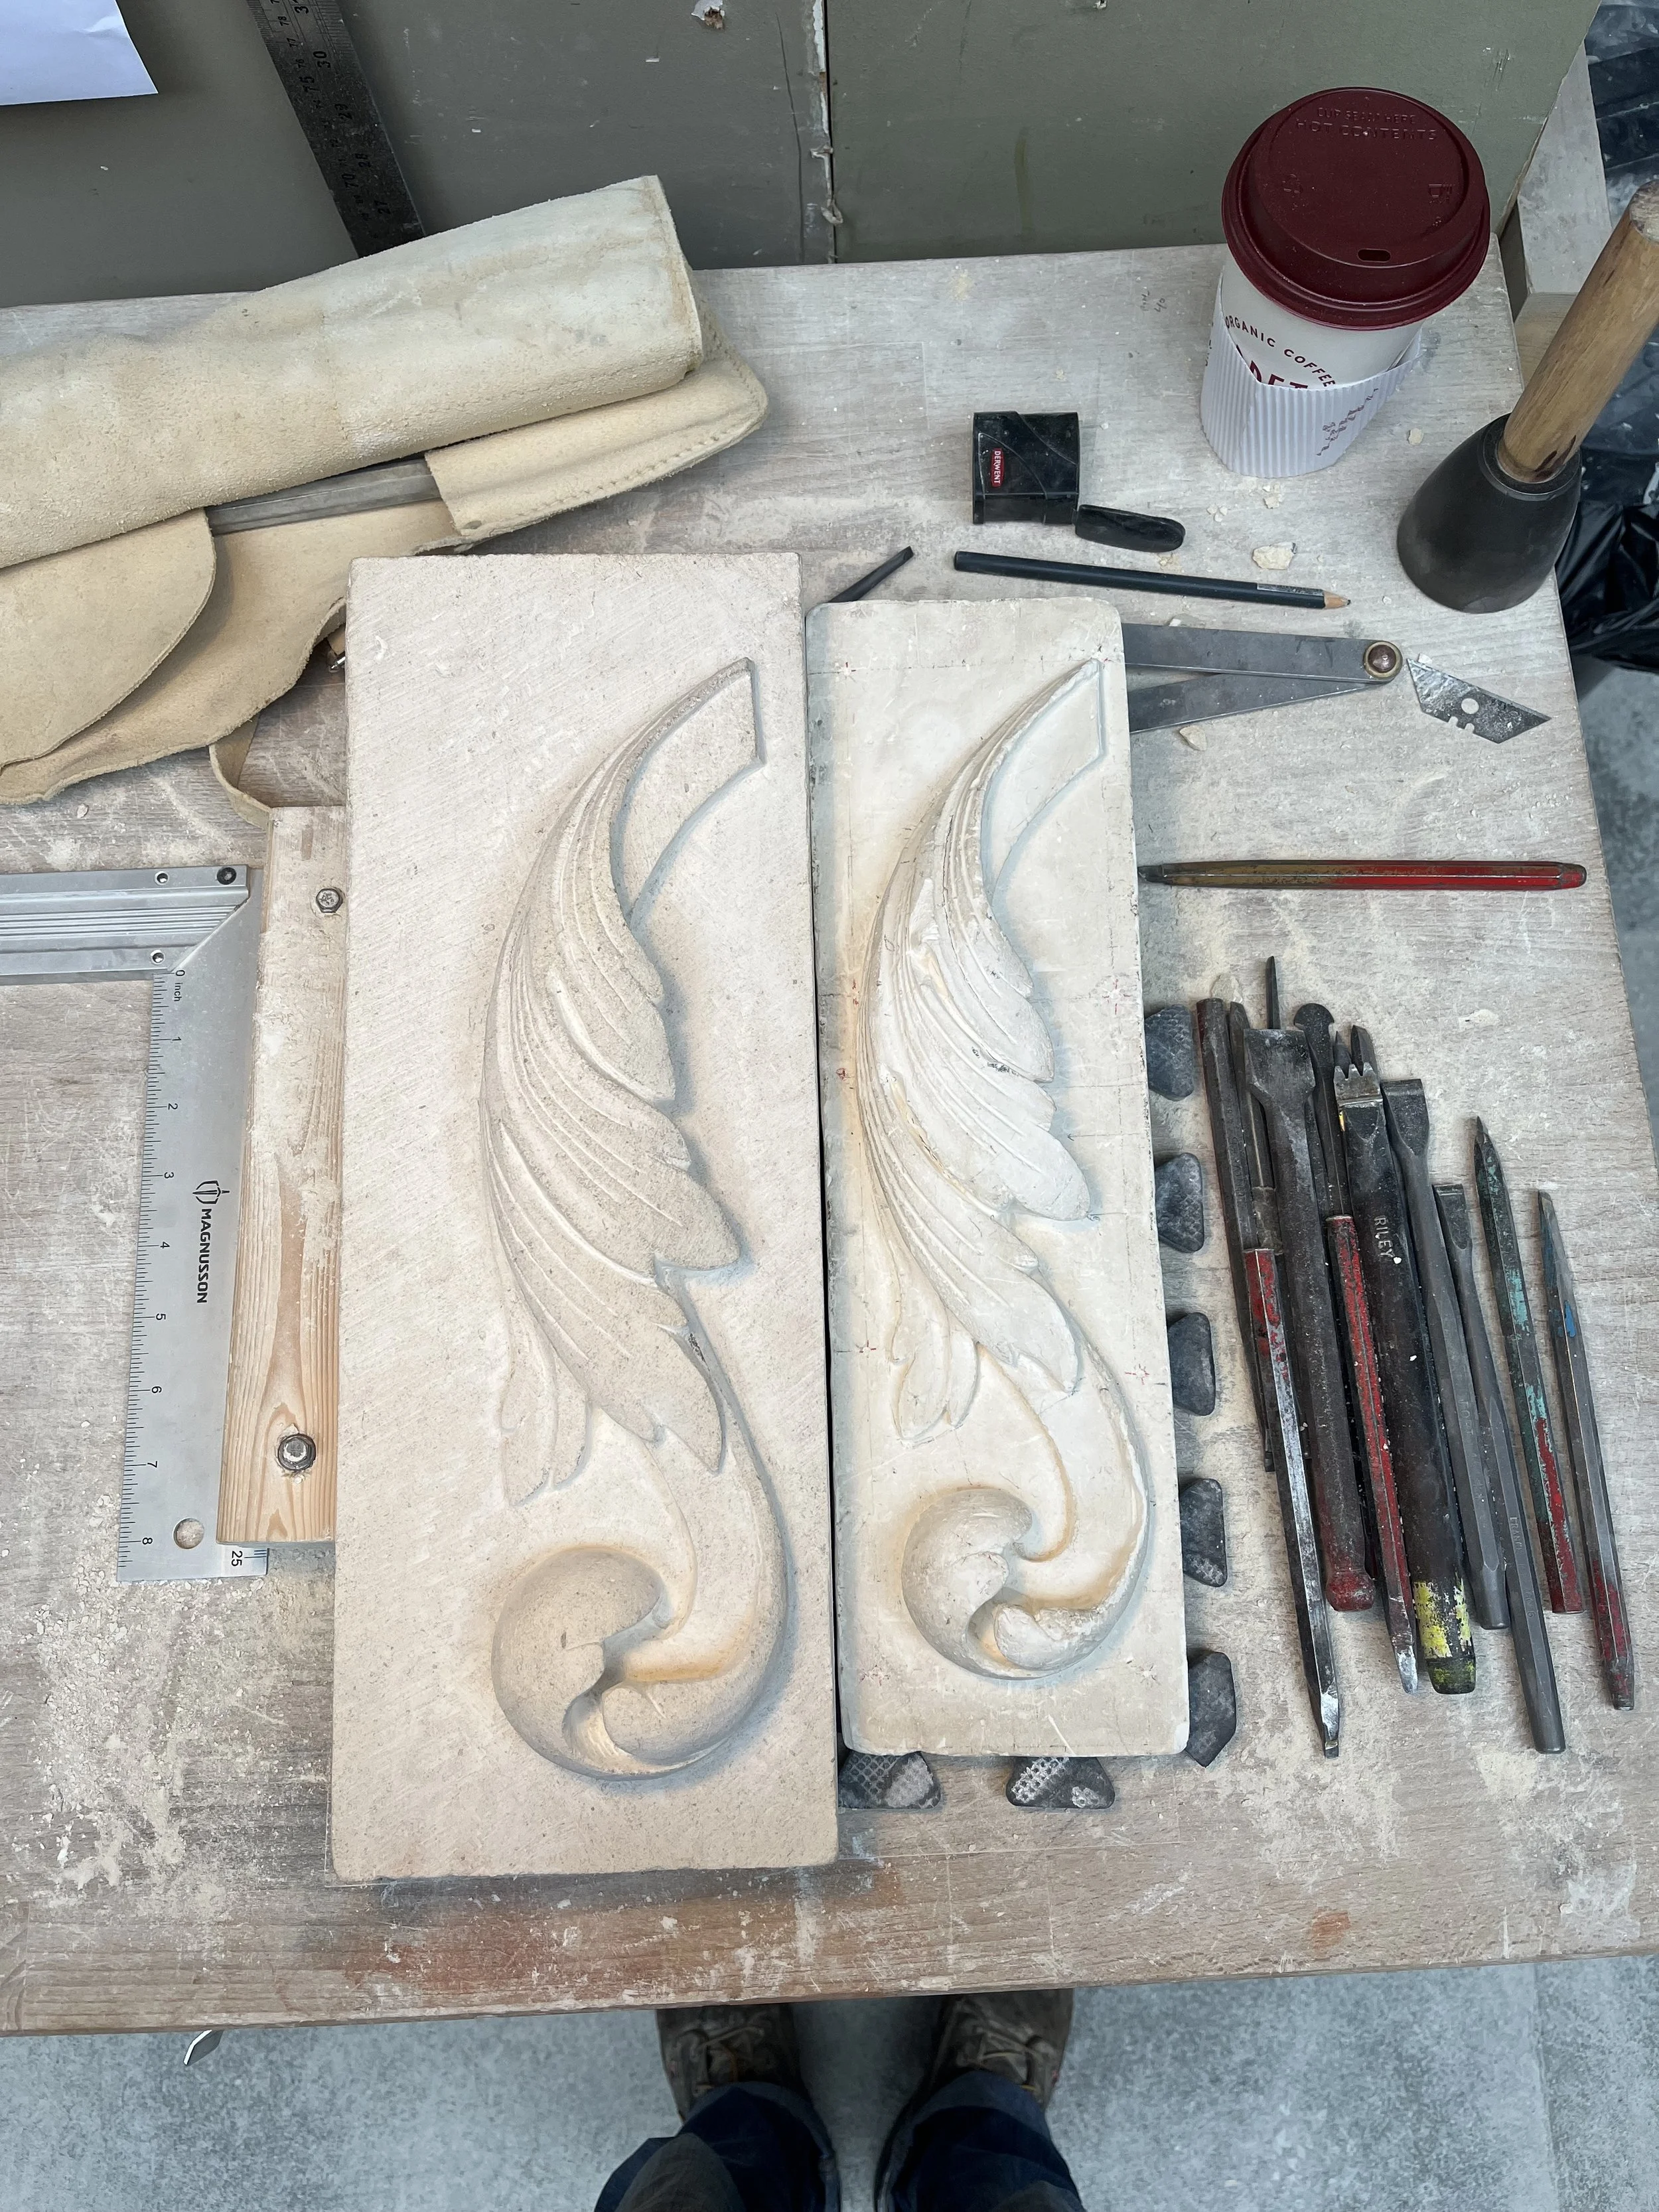
At this stage I have carved out most of the excess and taken special care with the fluting running along the leafs. I now try to clean up the block and remove the grid from the bottom.
Project Summary: This was my first completed carving project in the program. I enjoyed the project and learning how the triangulation works was slightly confusing at first but became very helpful as the project continued. I think that the major errors on this project for me were accidentally removing too much from the initial stem of the acanthus in the blocking out phase as it changed the feel of the shape of the carving. Also the ending curl on the acanthus was too large on mine, but I ended up liking the way it looked to i left it rather then trying to carve it down further.

