Modeling a Bust
Project Title: BAHC 1.4 Developing Practice
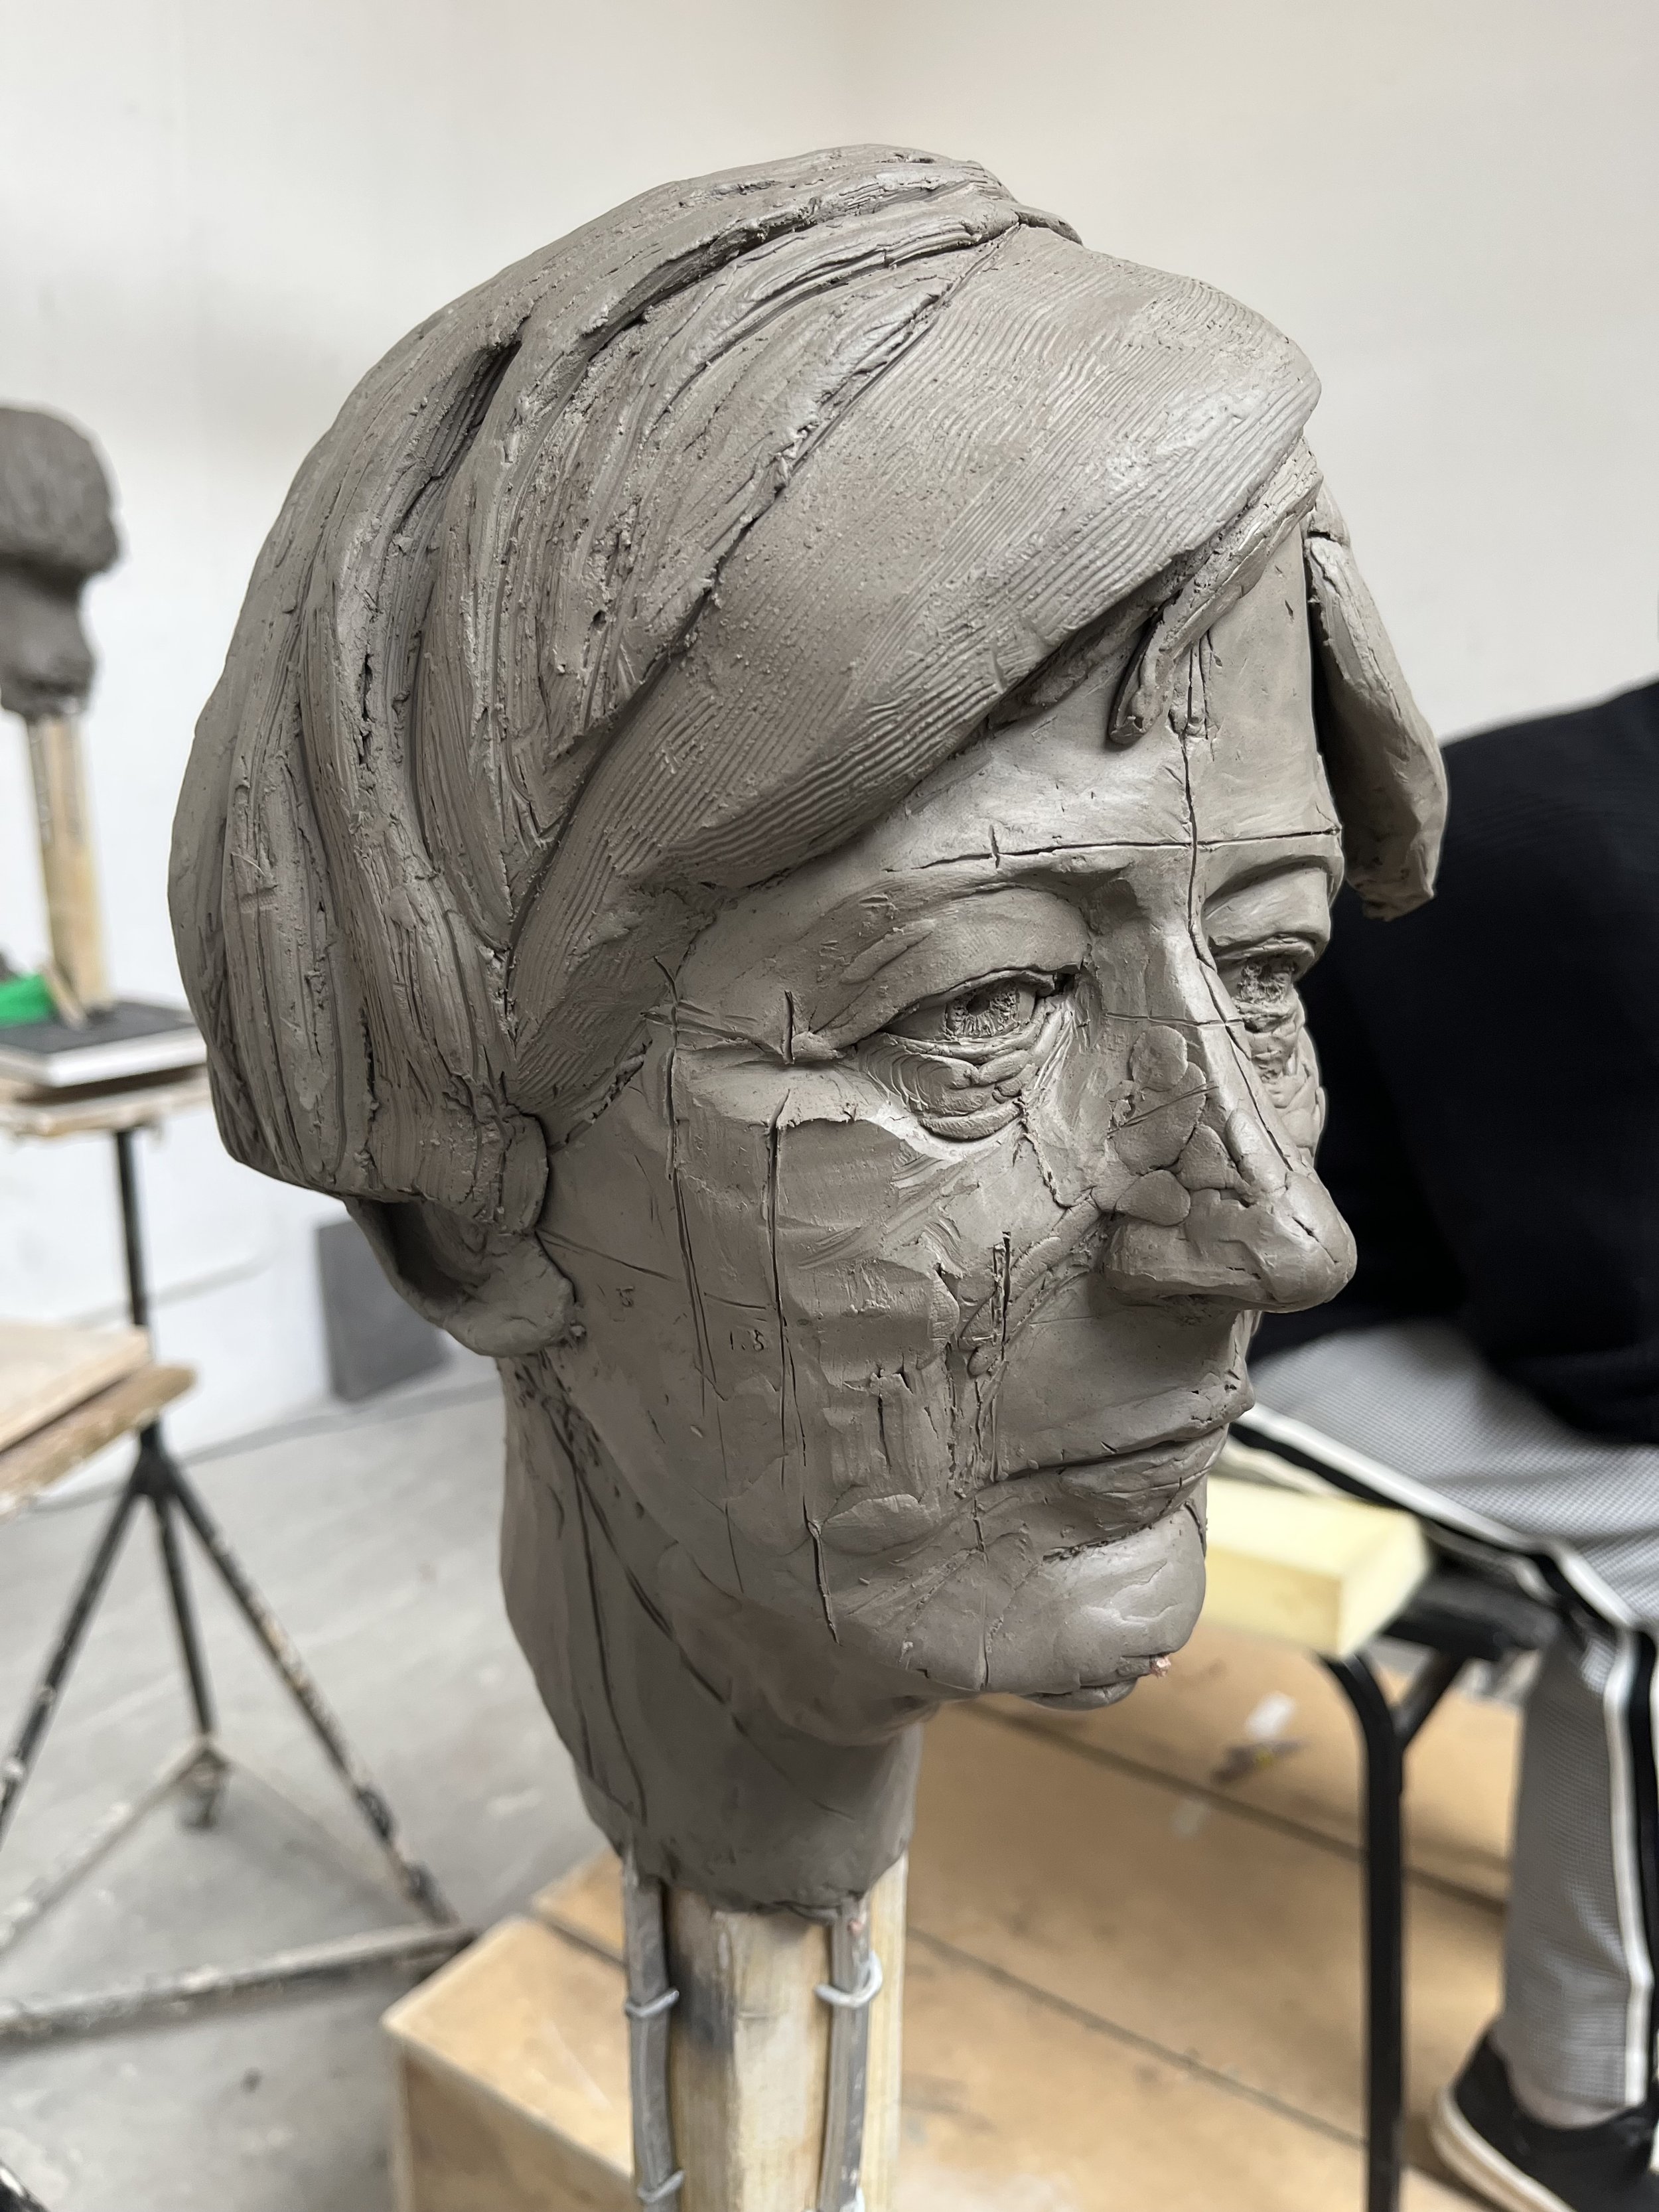
Brief: Modelling Clay Bust
Project Length: 8 Days
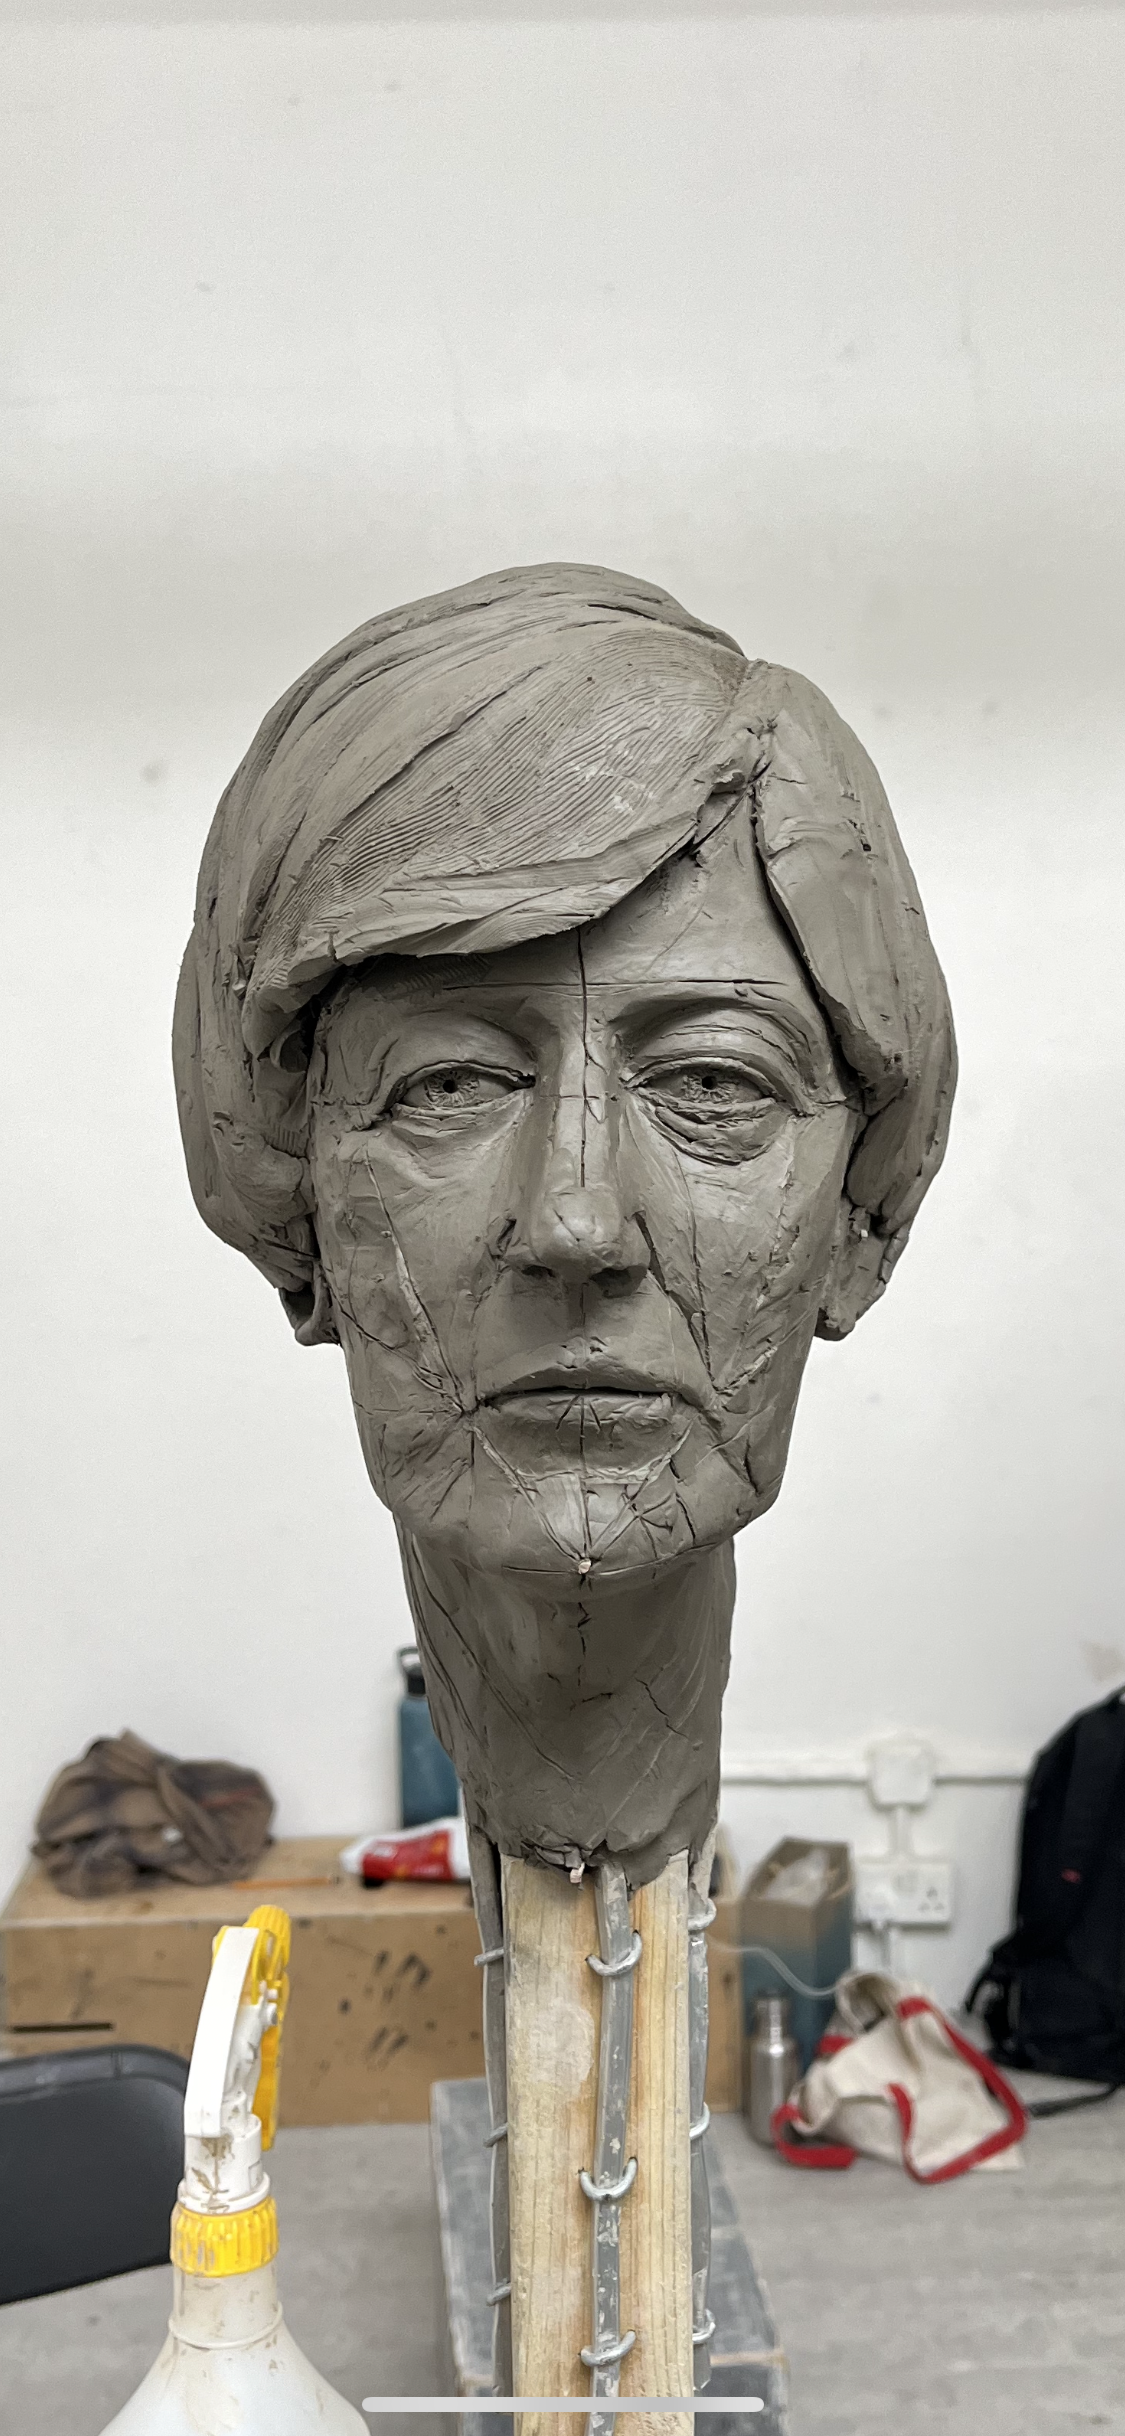
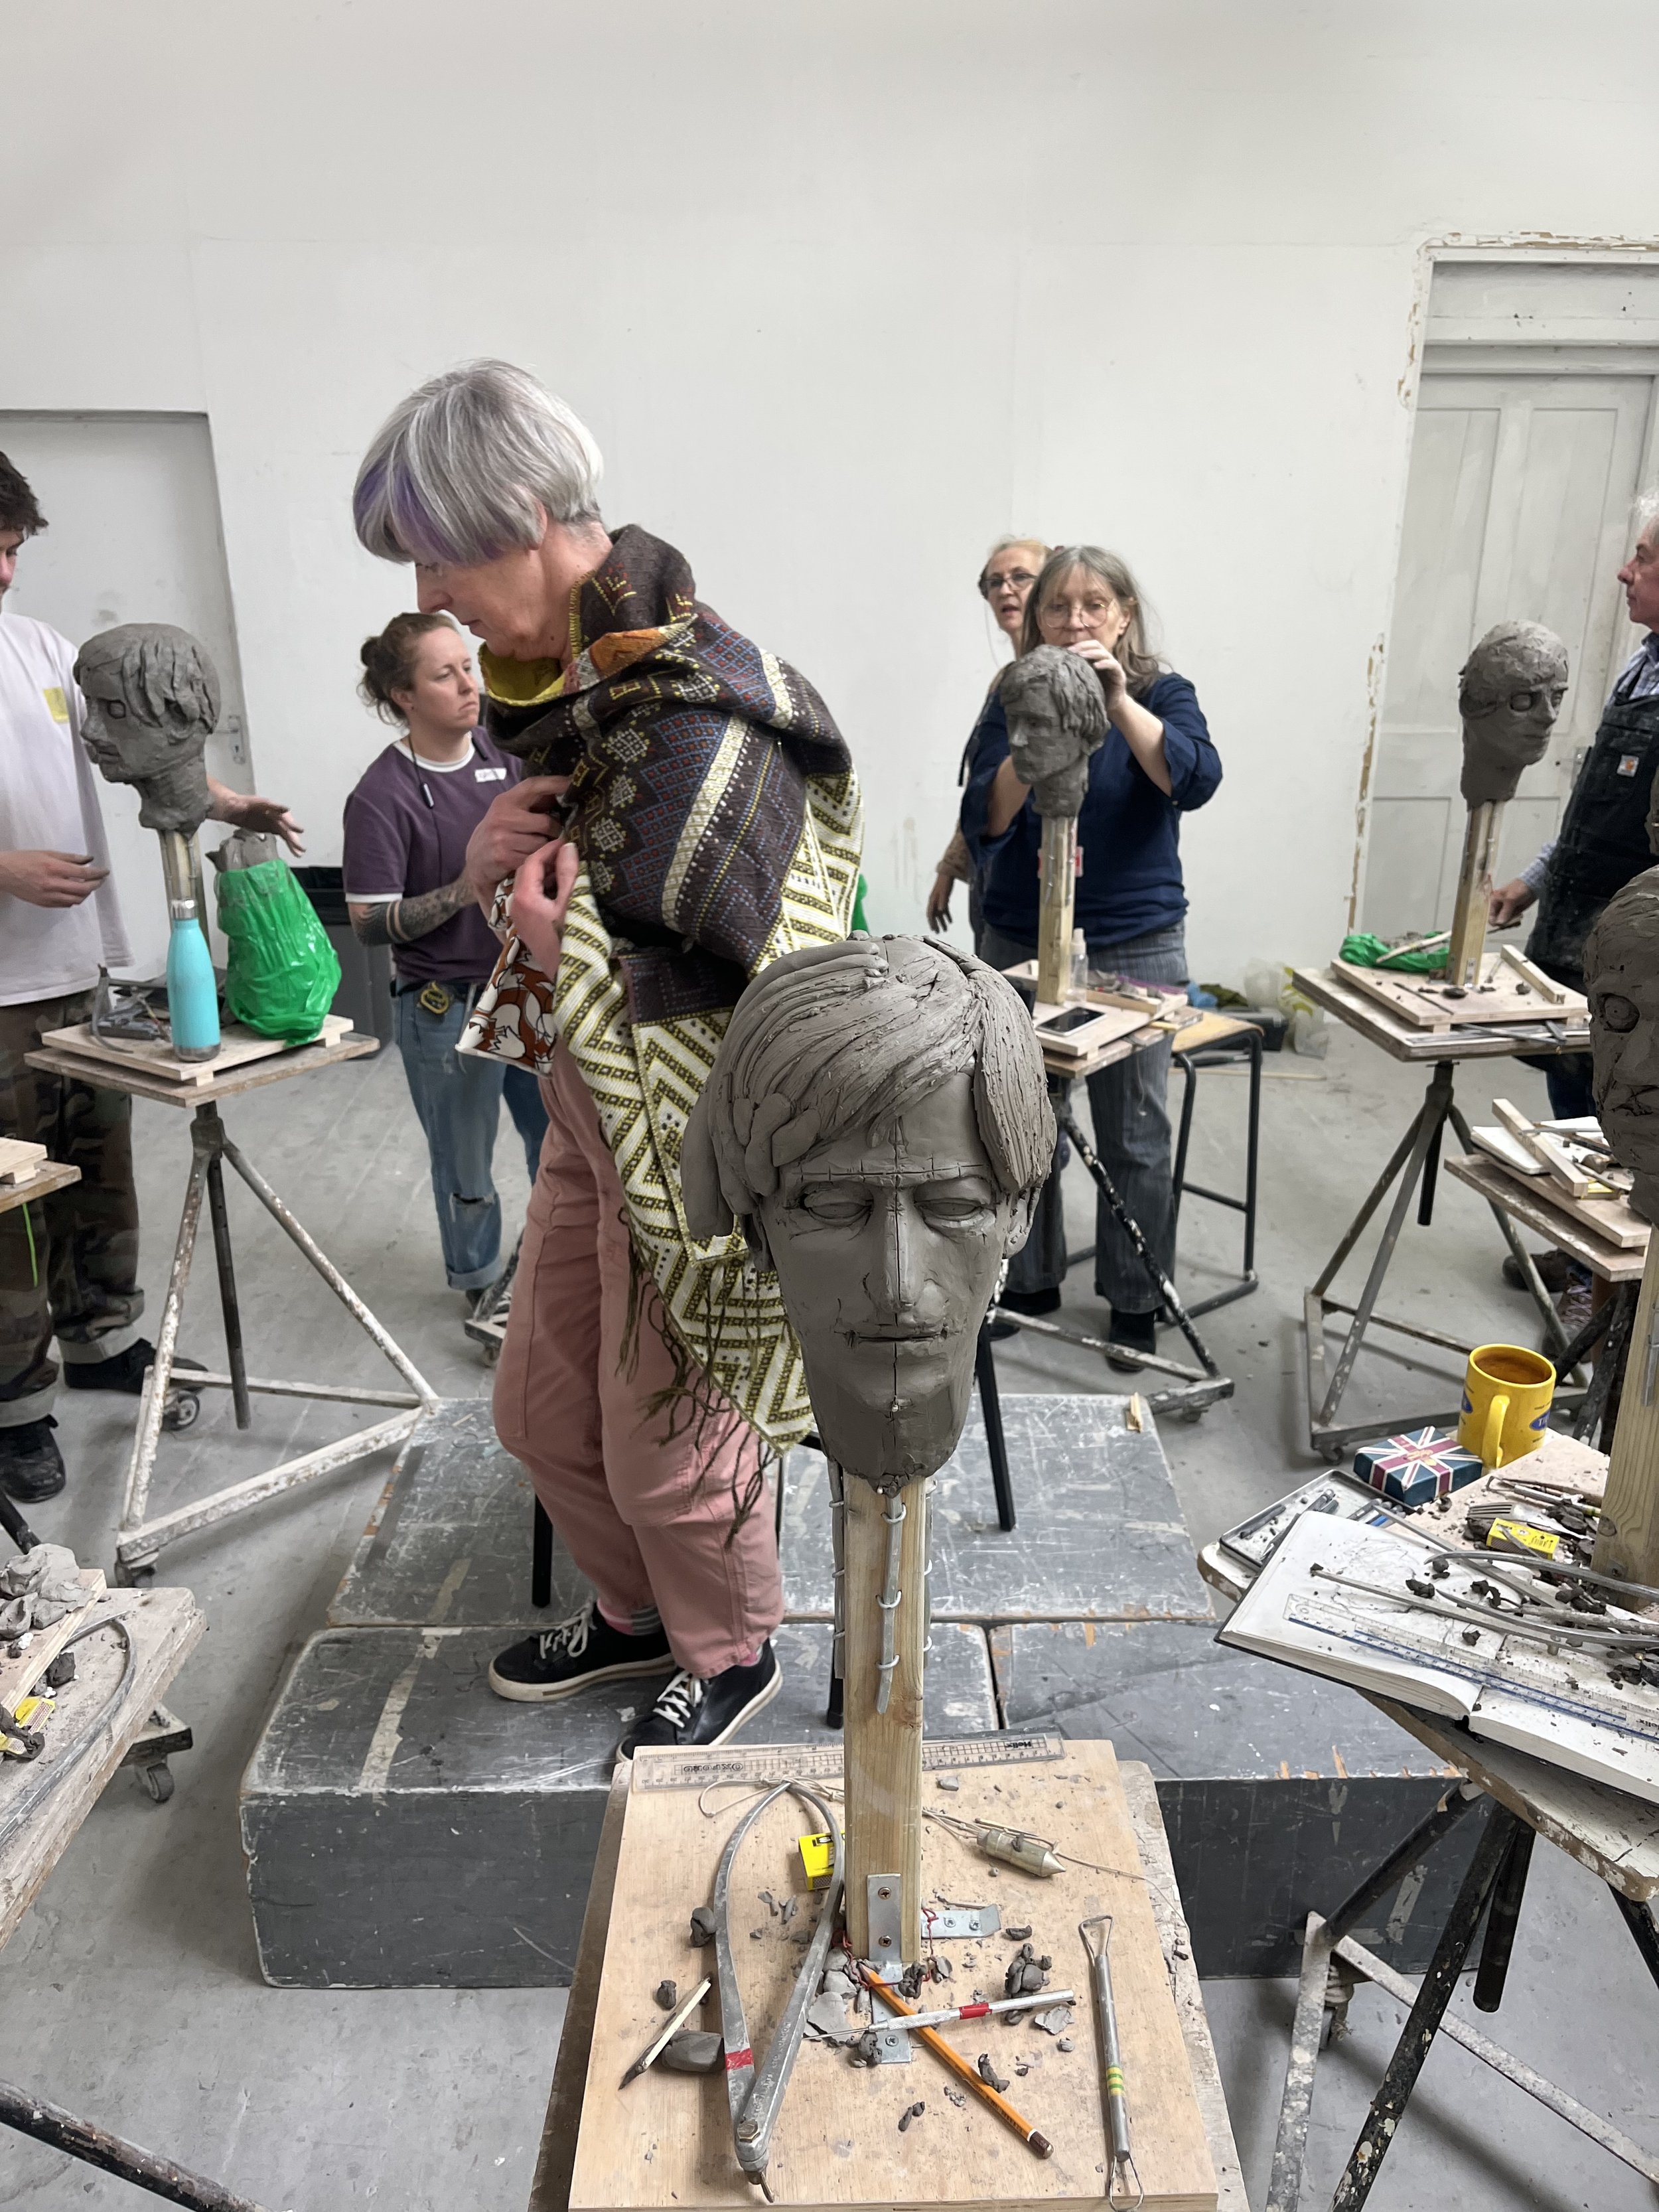
Project Overview: The purpose of this project was to learn how to accurately model a bust from a live model in one-to-one scale. It was shown how by making a thorough and systematic set of measurements a scale model could be made with accuracy. Modelling is different than portraiture in that in modelling more concern is given to accuracy then artistic styles. After the eight days of carving the bust would be left to dry and then could be either fired in the kiln or be cast in plaster.
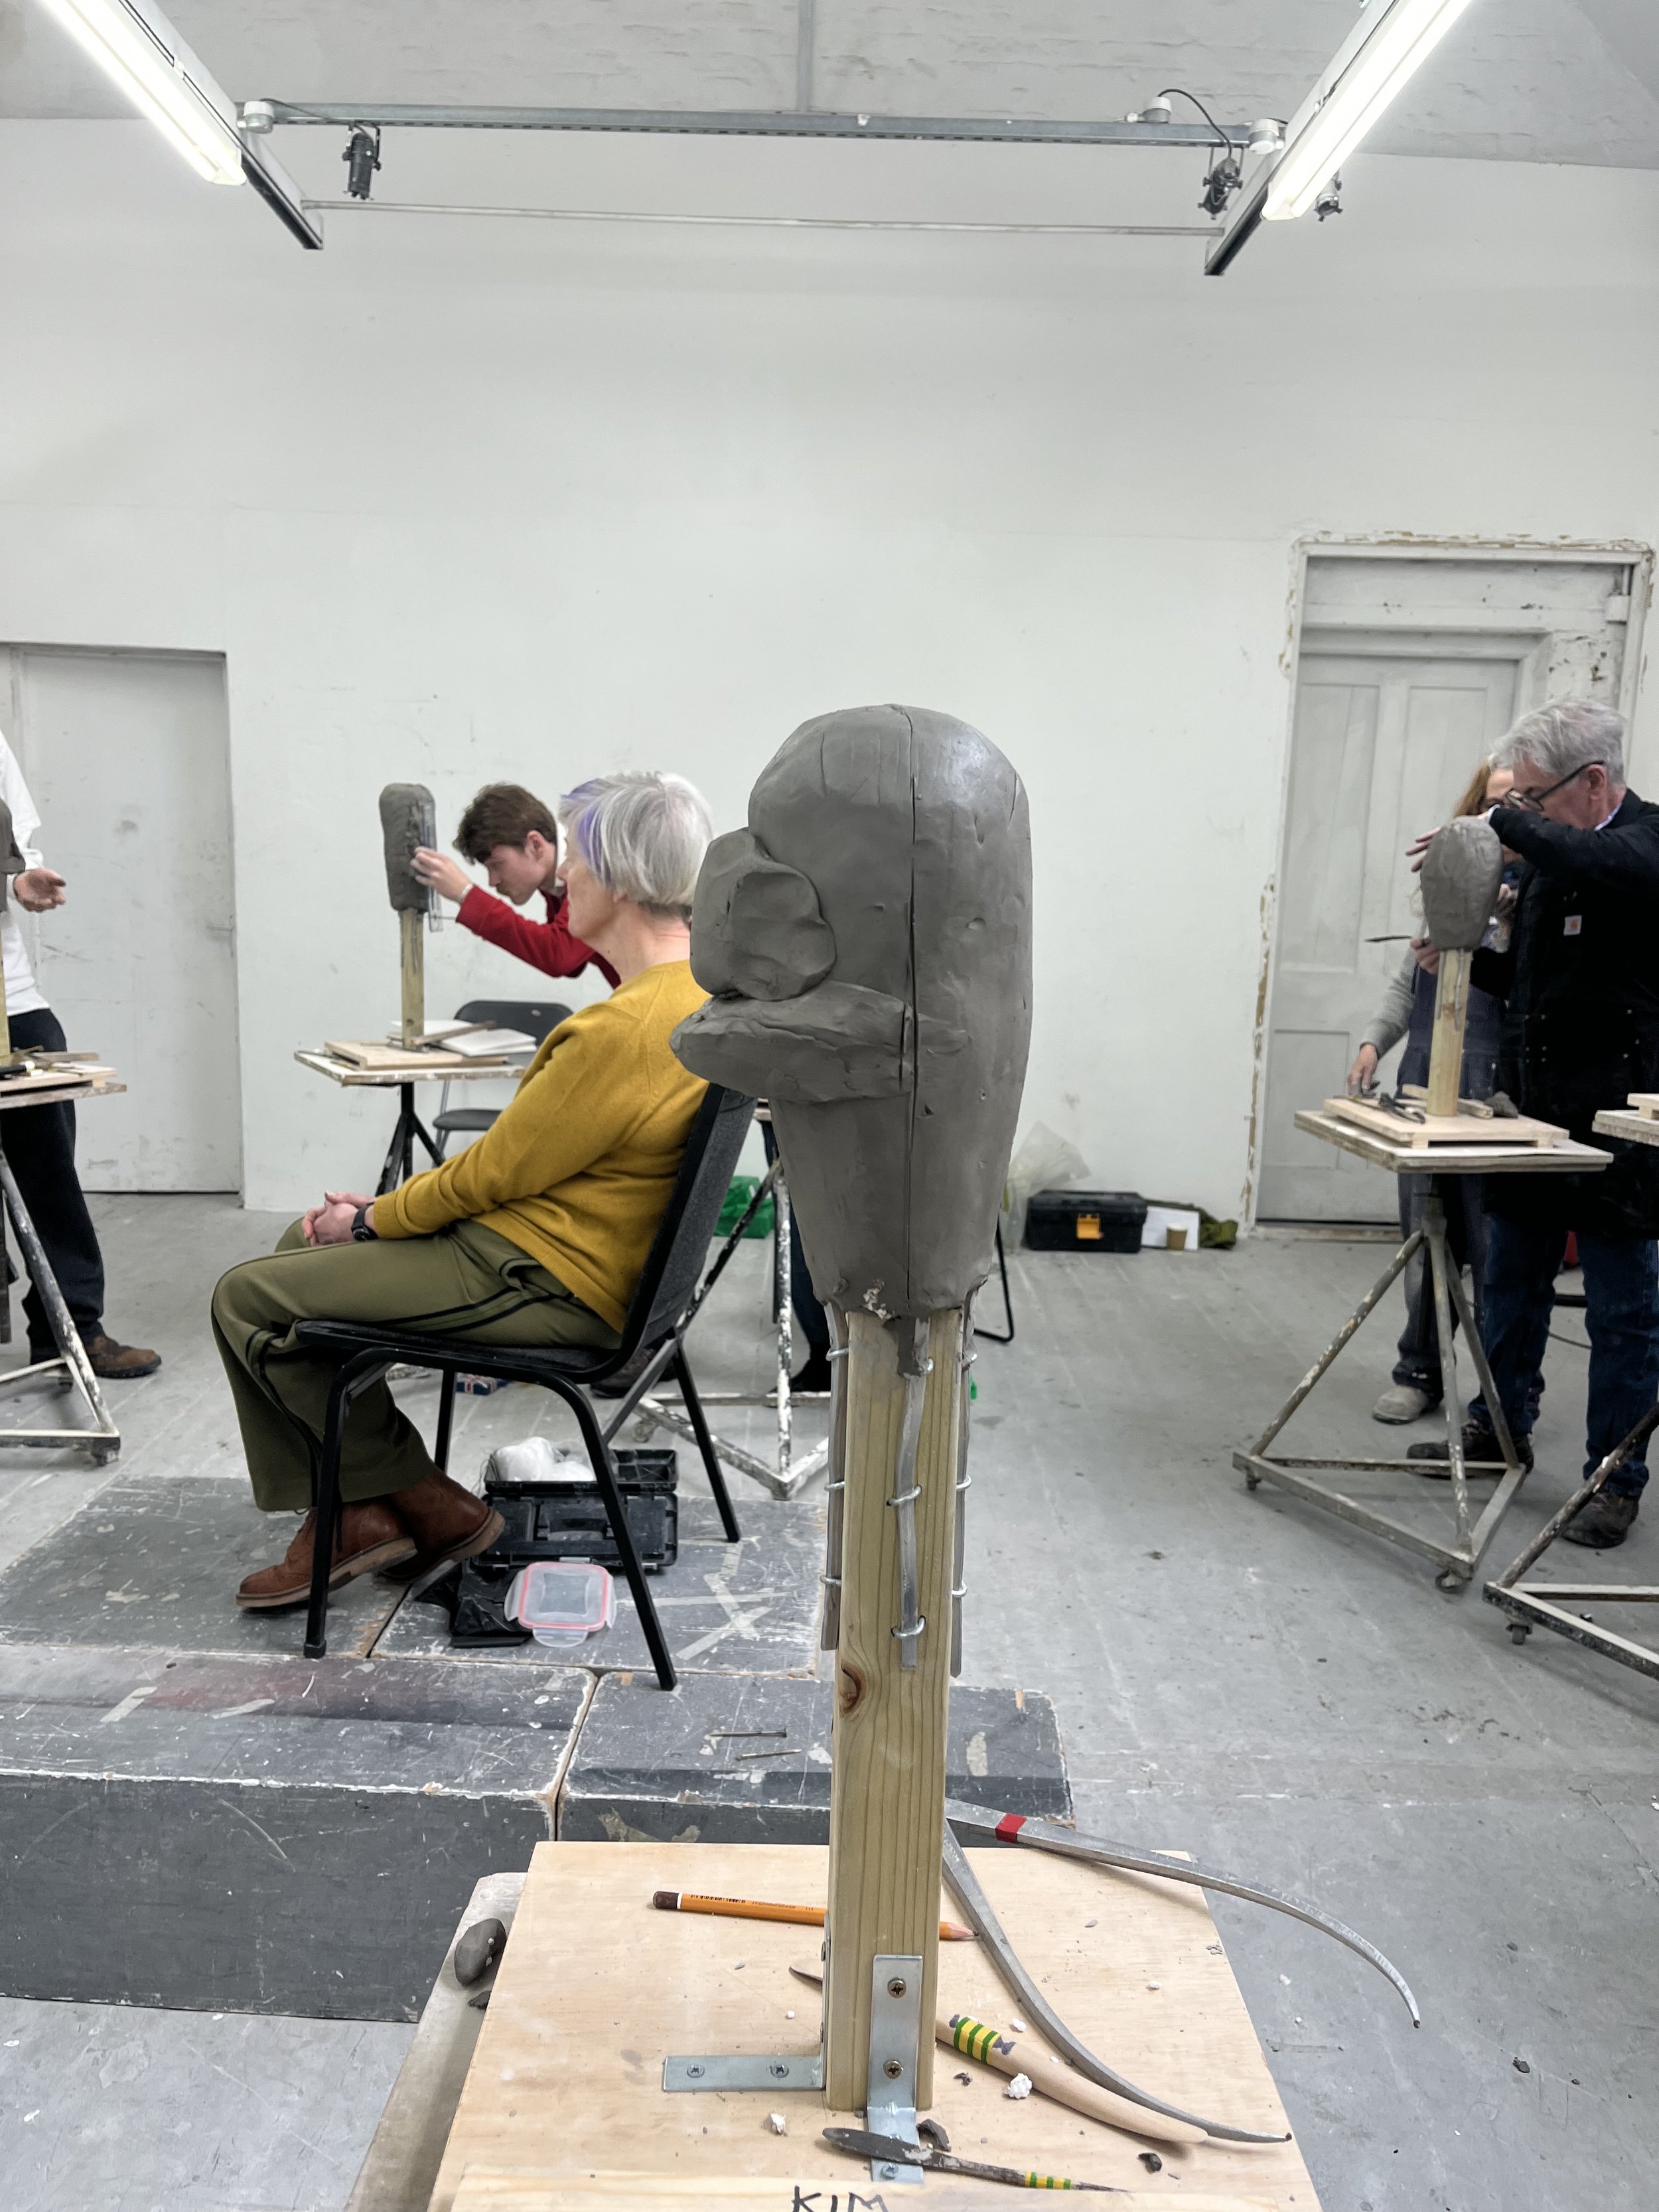
Starting Process: The first step in the project involves creating a bust peg. The bust peg consisted of a plywood base firmly secured to armature with L brackets. At the top of the armature is aluminum wire with Styrofoam infill to reduce weight and allow flexibility with the modeling of the bust. Once the armature is constructed clay is consistently applied all around the top of the armature to give a good starting point.
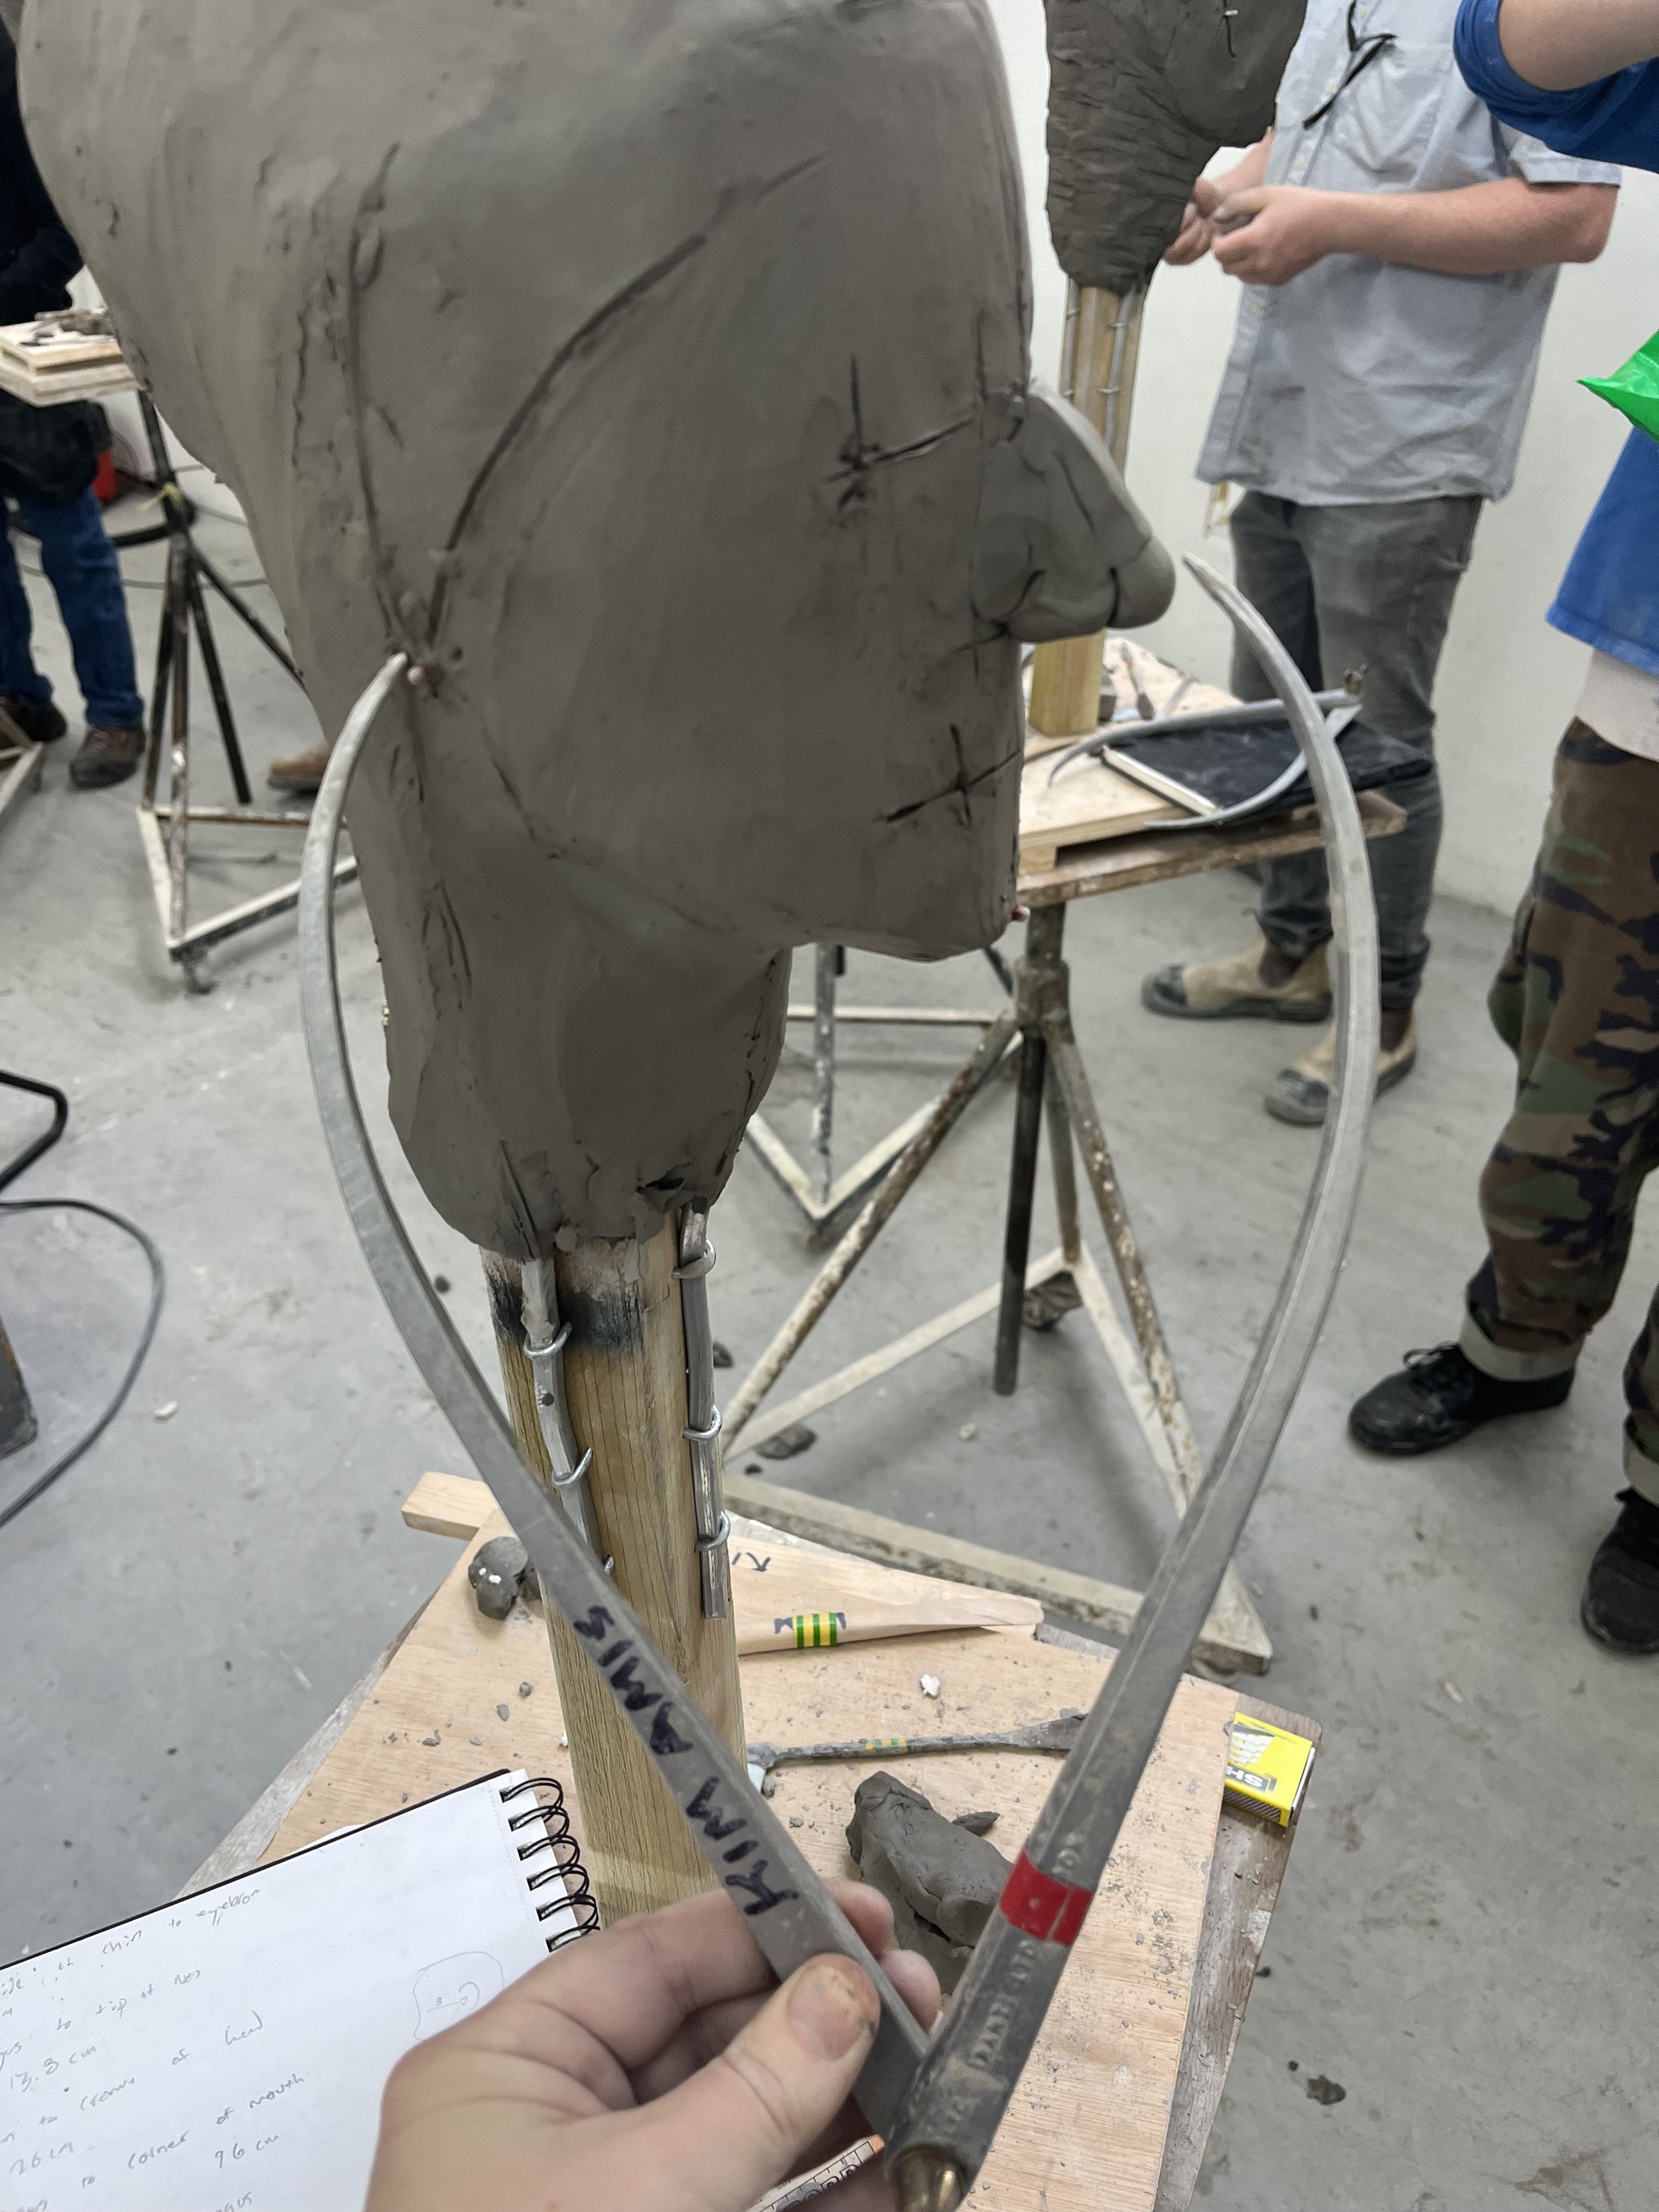
Middle Process: When the project is ready to begin and the bust peg is ready for modelling, the next step is to go about taking a system of detailed measurements from the model. Certain places on the head end up being used many times for multiple measurements, some of these points being, the mental eminence of the forehead, the tip of the chin, and the tragus. Lines could be drawn on the model’s face using a mascara pen to give a consistent point for measurements. All measurements were recorded when received on a notebook along with a rough sketch showing how they related to the face. The sketches while not detailed helped with showing quickly the measurements and made them easier to find while working on the bust.
After taking the measurements lines are marked on the clay laying out where different features will go like the eyes or hairline. Especially important marks like the tragus or chin are marked with a match stick to make sure they do not move.
Finishing Process: After the modeling stage was finished, the busts were tightly wrapped in plastic and left for several weeks. At this stage they can be either fired into terracotta, or cast in plaster. I have never had a project of this type fired in a kiln before so Terracotta was chosen. Before the bust can be fired the armature must be removed and interior must be hollowed out. Matchsticks and other combustibles must also be removed from the clay. Care must be taken to try and keep the depth of clay surrounding the bust the same thickness as during firing the clay can shrink and unevenness can cause distortion. To remove the armature the bust is cut in half from side to side, to hide the cut line from the face. Once all excess material is removed, small holes are poked in the interior to help any air bubbles escape during firing. Once both sides are complete they are sealed back together and laid out to dry for firing.

