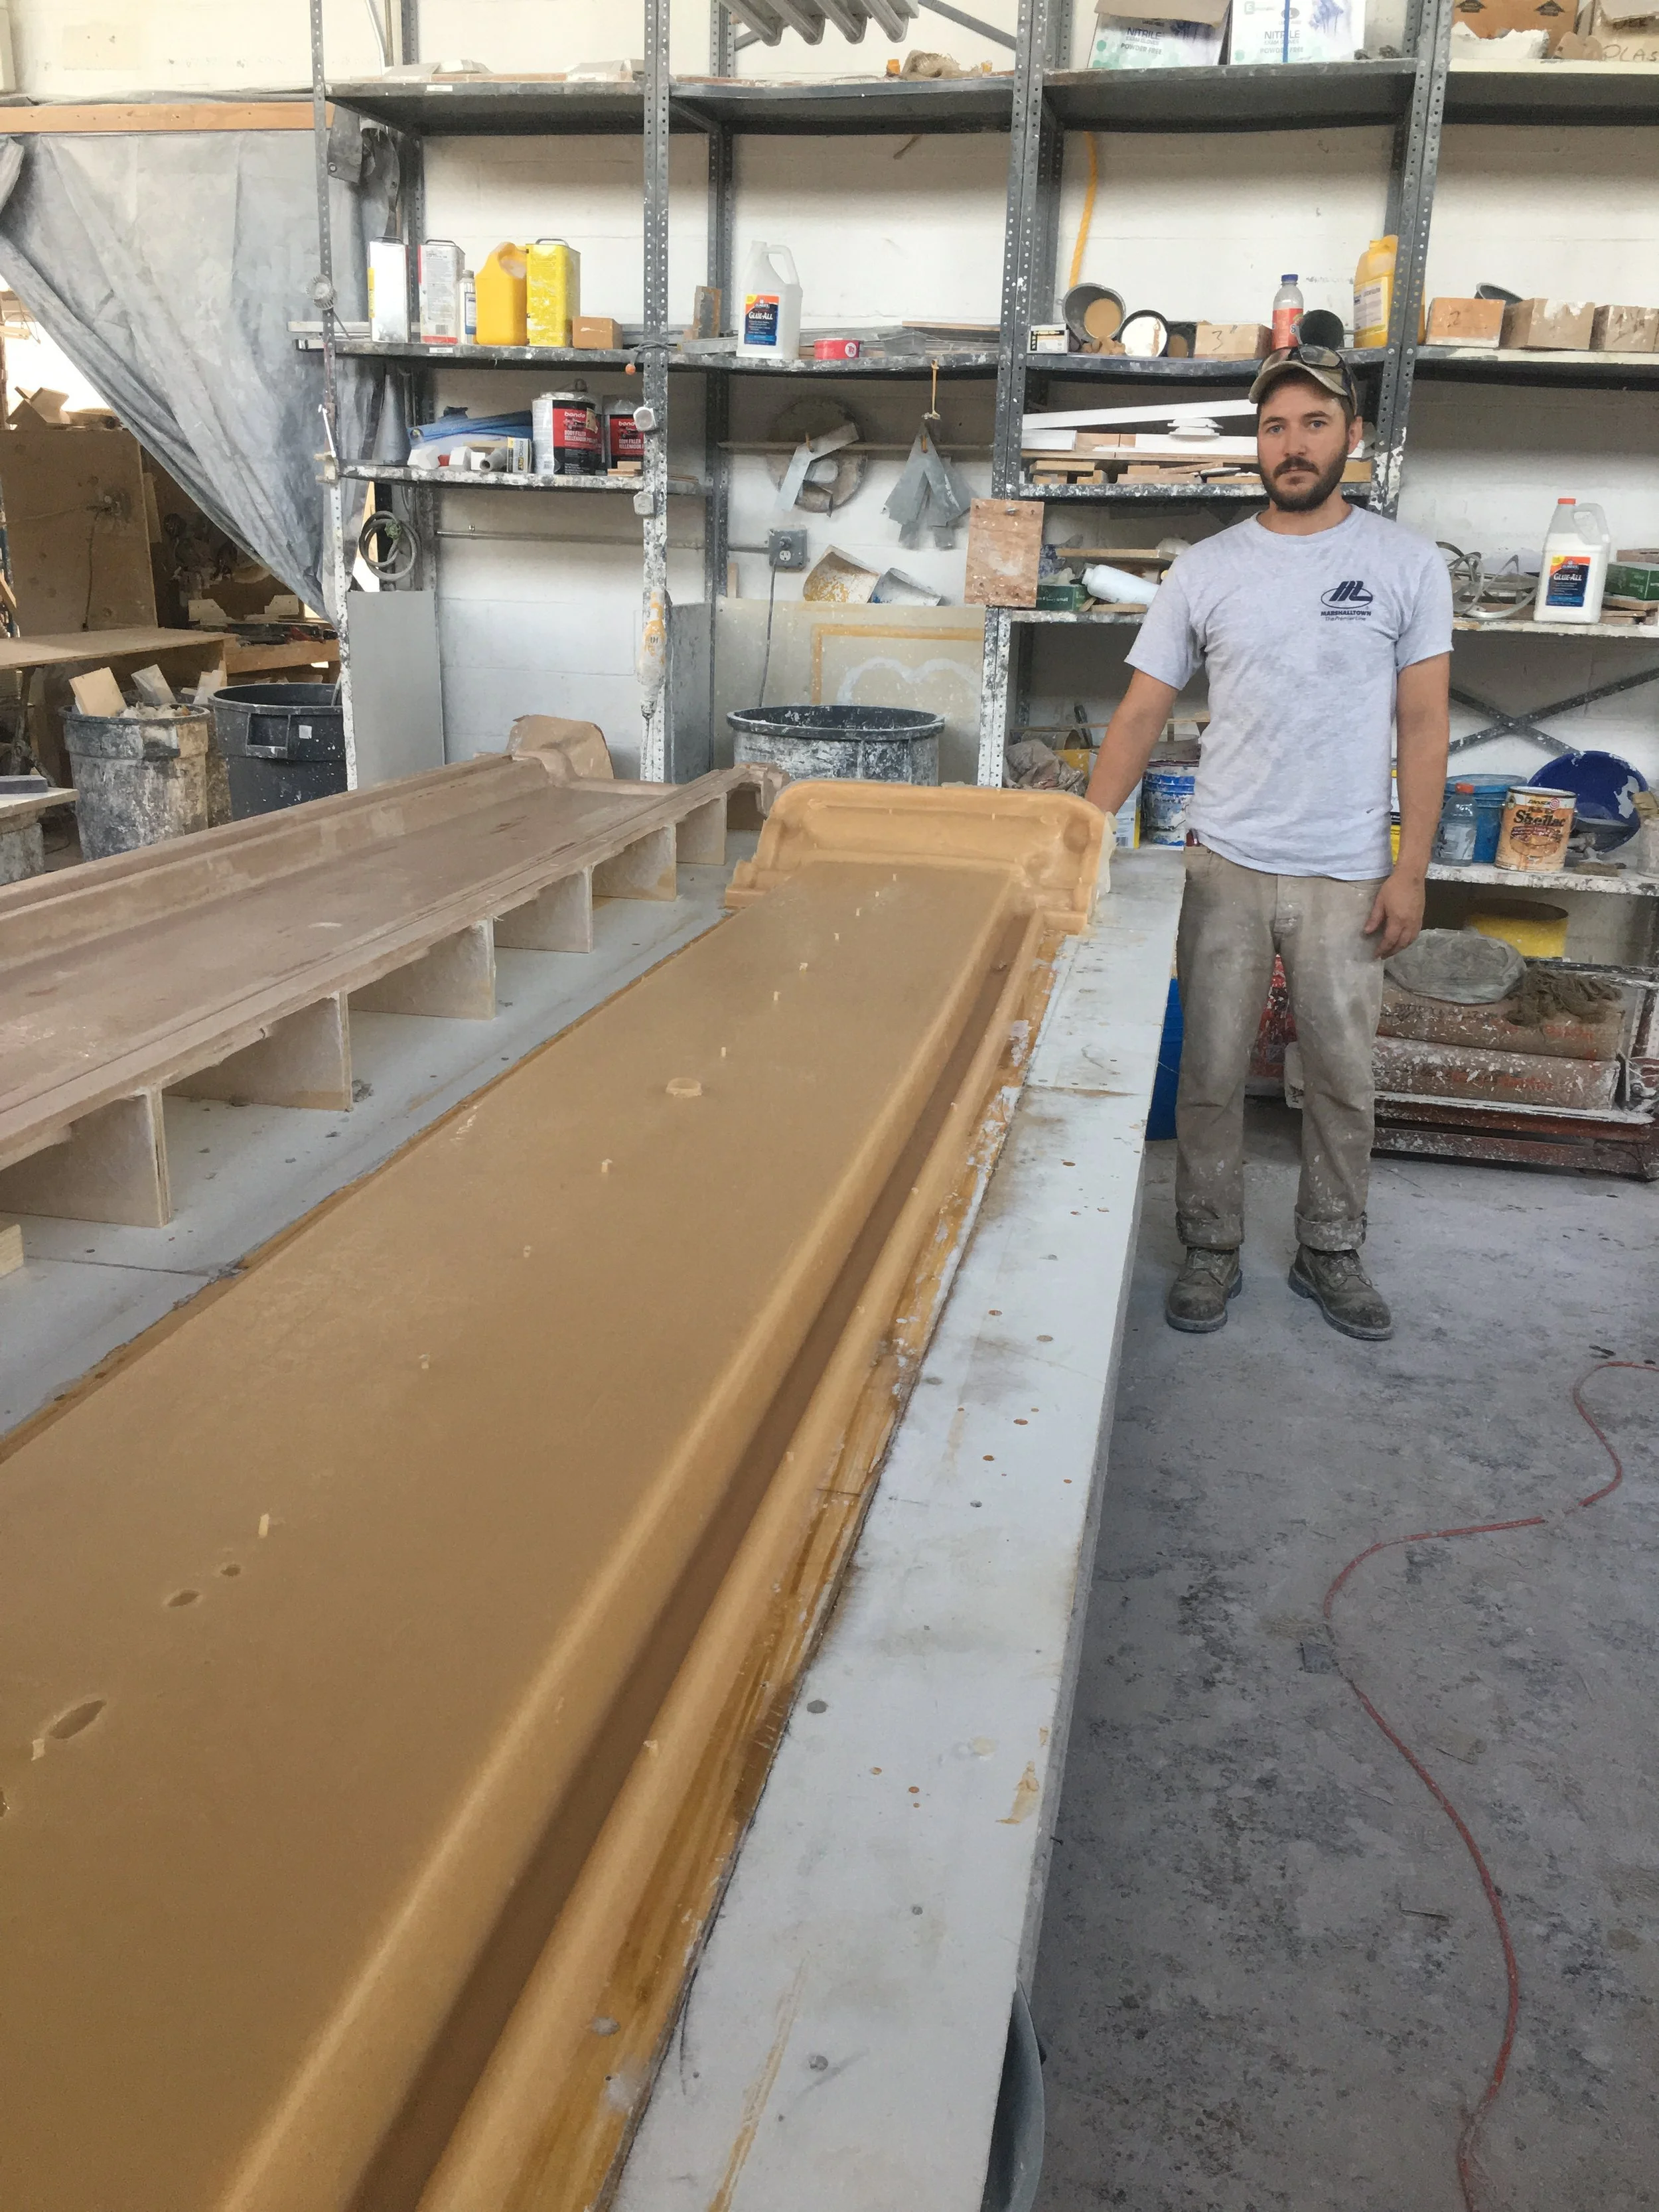
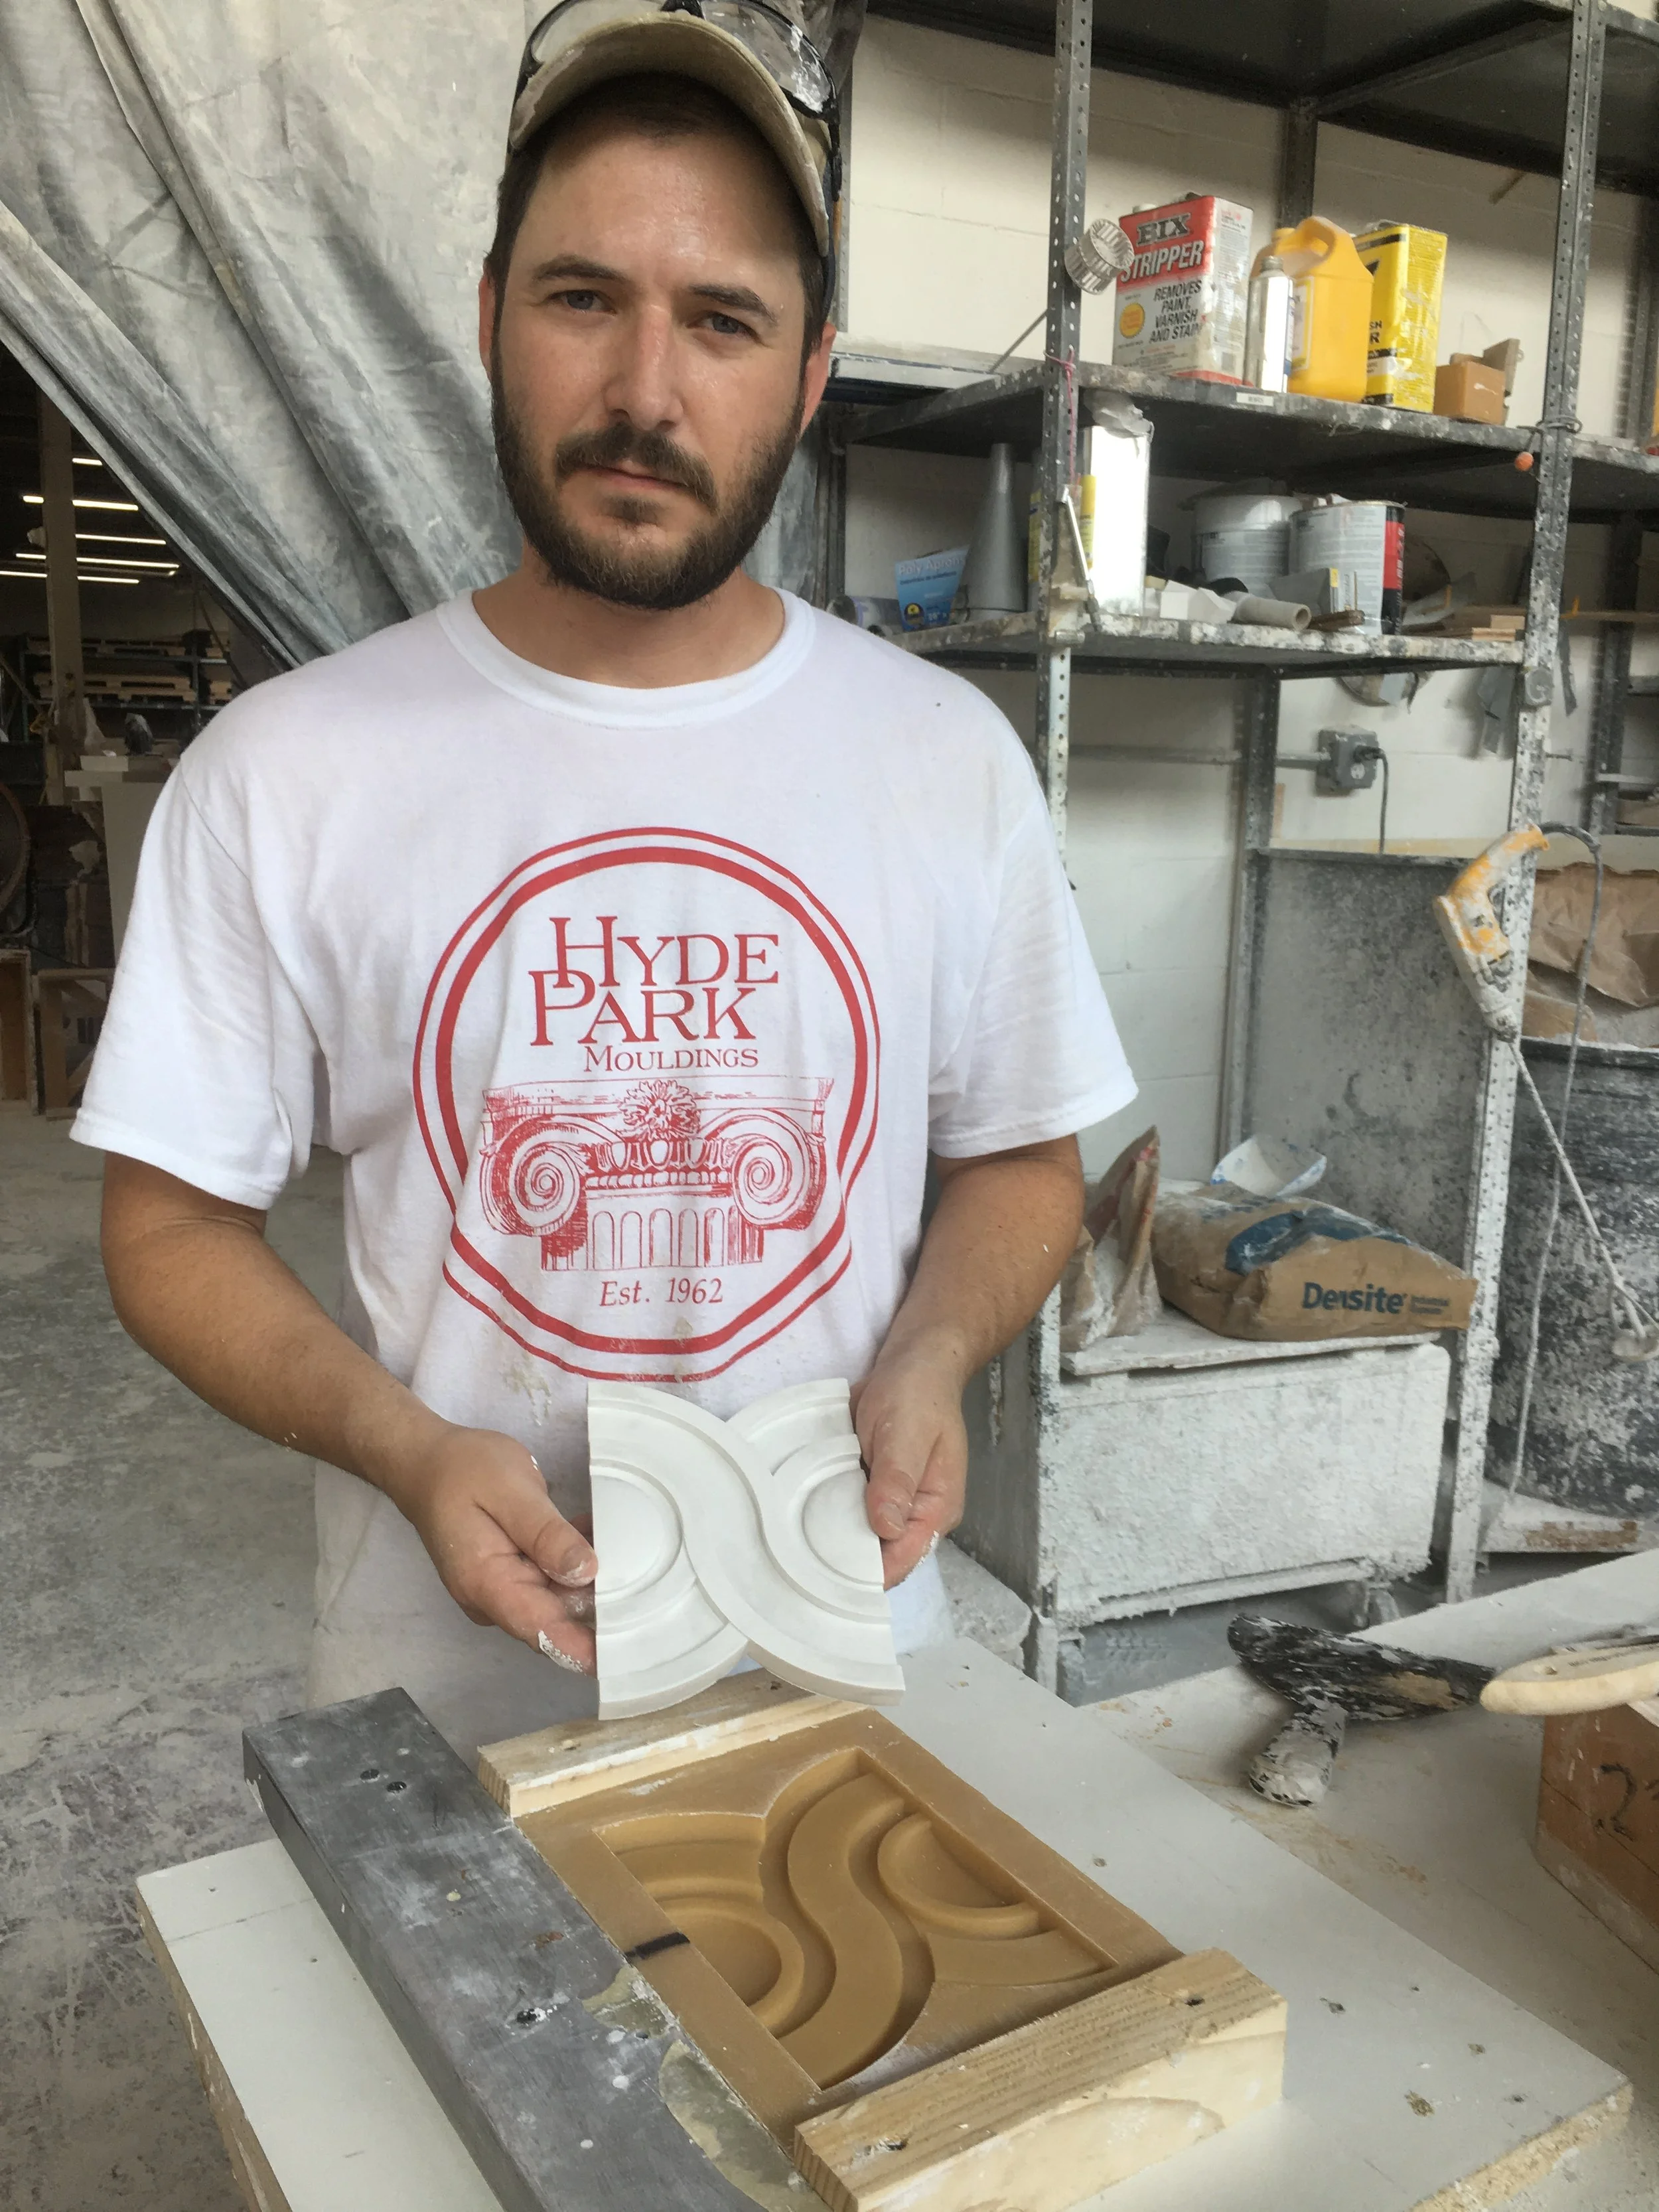
Hyde Park Mouldings, Design Studio
For my summer internship this year I would be working at Hyde Park Mouldings in New York. Hyde Park is a plaster moulding and design factory working in architectural plaster. For the first part of the Internship I would be working in the design studio, helping with blocking out clay shapes from a template for a full wall bas-relief. The bas-relief was for the Cartier jewelry company and would have the panthers in a jungle setting for a store in Mexico city.
My first day there I would help create the background for the bas-relief. It was a simple wall type frame covered in plaster panels. The plaster paneling was then shellacked so the plasticina could be adhered. The next part of the project involved taking a large print template of the design artwork and punching through the design into one quarter inch plasticina slabs. These slabs were then cut out and ready to be applied to the wall. Once the blocked out designs are attached to the wall the artists do the final smoothing and finishing. This was a very interesting project that I was glad to be a part of.
Inside the Design Studio at Hyde Park
Building the support framework for a wall section. after it is constructed it is raised and supported with sandbags.
Applying shellak to the wall plaster
Using a punch to transfer the design from the template to the clay slab beneath.
The template is peeled back to reveal the punch outlines. These outlines are then cut from the slab.
The final design I would be working on after completing the foliage would be the panther. This would be difficult because of its size and having to lay out multiple clay slabs underneath and have all the lines match up.
Some parts of the relief would need deeper clay slabs for details. The face was speicifed to be a half inch thick so it would appear closer to the viewer.
The full size with all pieces assembled.
All the blocked out components are labeled and laid out ready for assembly
After all the pieces are blocked out, large print outs of the artwork are assembled and have carbon paper taped to the back of them.
The templates and carbon paper are attached to the wall.
The template is then traced over with a red pencil to make it easy to identify areas all ready traced. When the pencil presses over the carbon papaer the design is transfered to the shellacked plaster below.
The design is then transferred. It is very important to make sure the templates are aligned together, and that all the lines are traced before removing the template.
Citrus oil is used to thin the back of the plastacina tiles to help them adhere to the plaster.
Applying the clay shapes to the wall.
After the shapes are applied they are roughly worked to indicate areas of shading from the original drawing. The head artists will then finish the peices
Here is the work as the artists are finalizing and smoothing the different elemnts of the bas relief.
A mock up of how the panthers will appear in final plaster.


